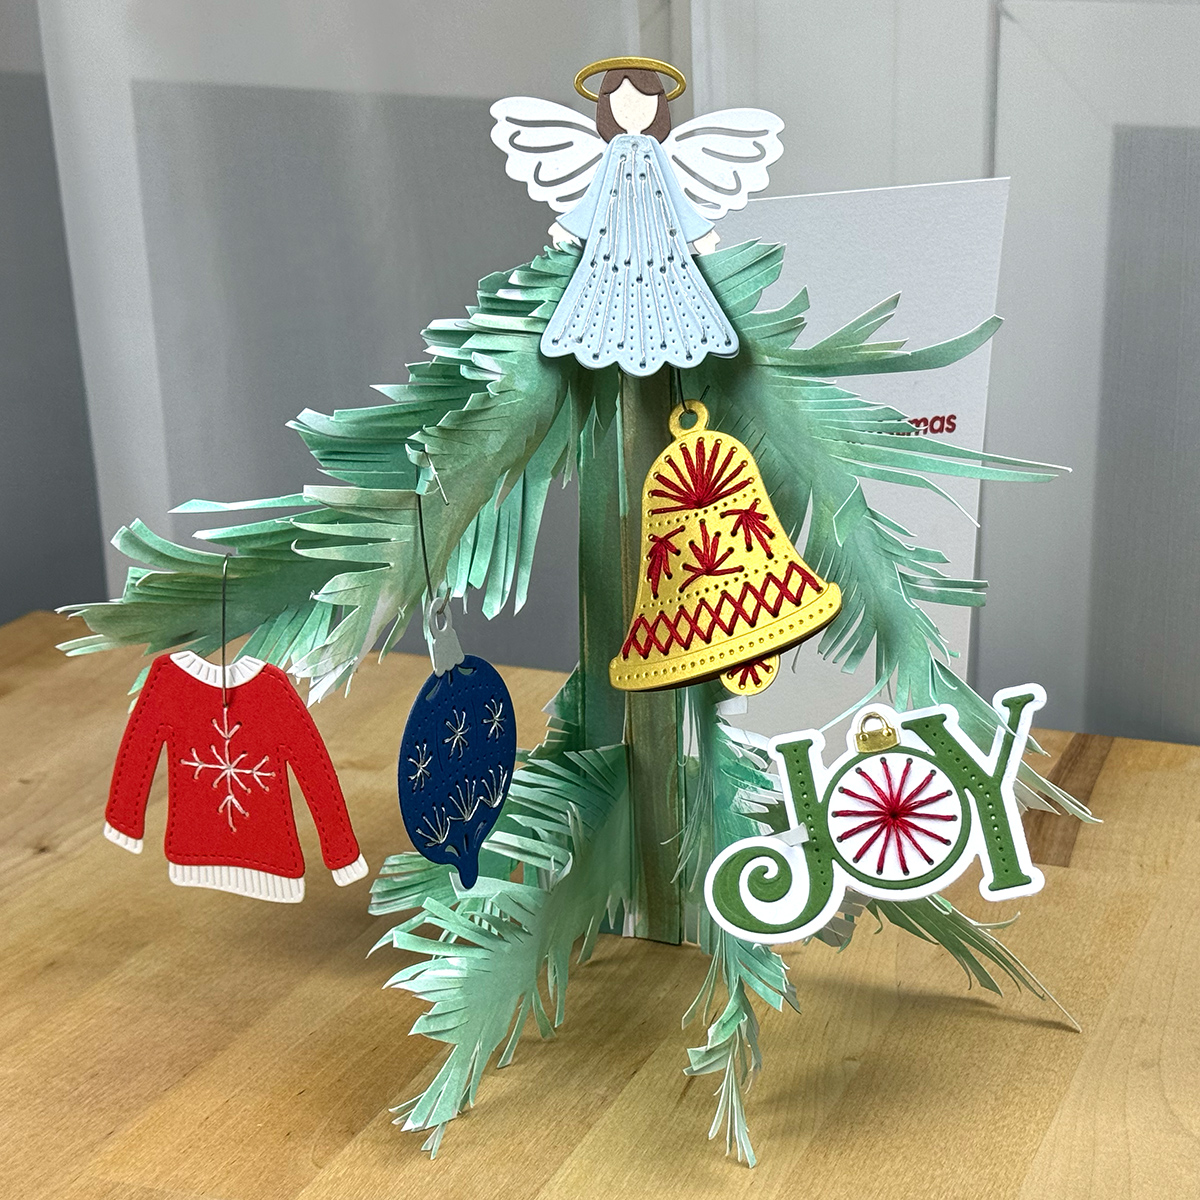
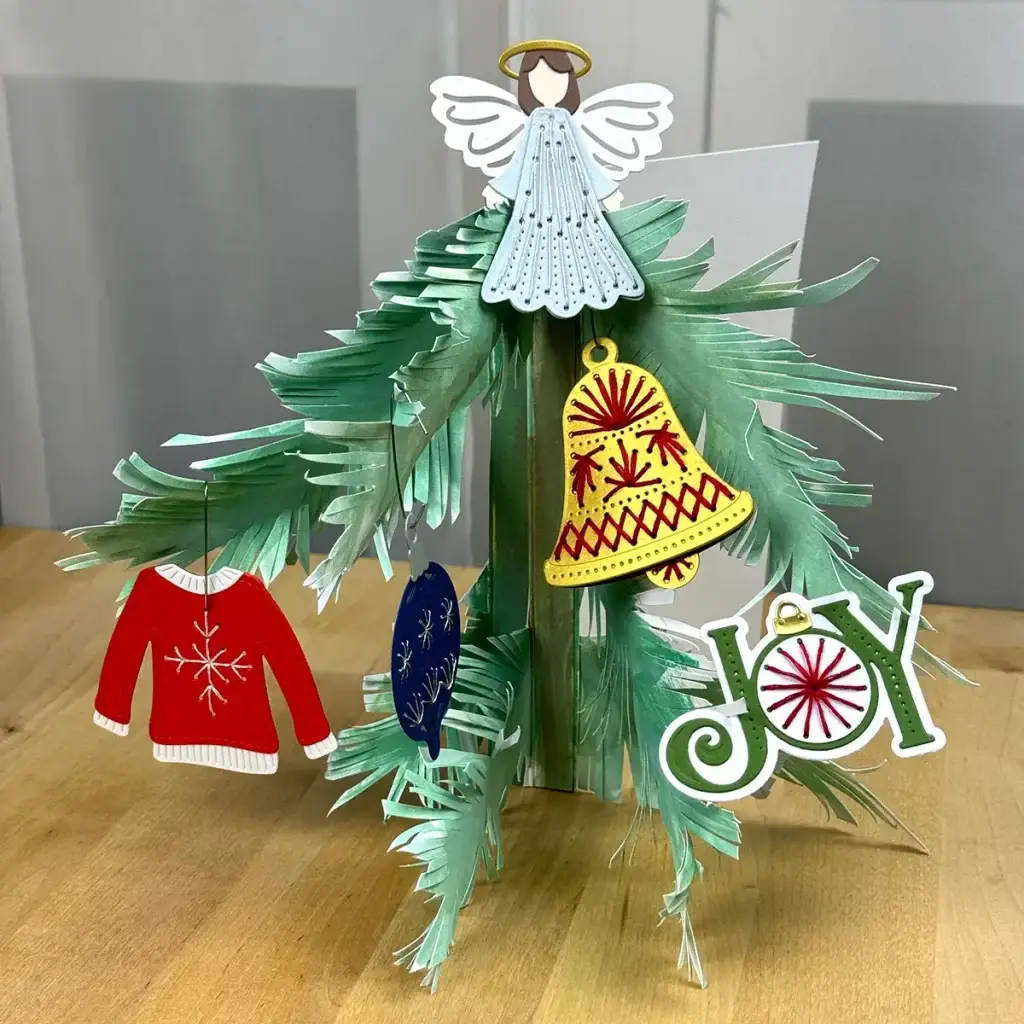
This Christmas Tree card is a 5″ x 7″ Christmas card with stitched ornaments from Spellbinders' 12 Days of Stitchmas hanging on it.
I love, love, love this kit! There are so many reasons, but the biggest two are: that each of the twelve die sets are absolutely beautiful designs and that you can use each one of them as an ornament or a tag. So you can gift them or create a card that they are temporarily attached to so that the receiver can use them.
And, that is the inspiration for this card. I kept thinking about how pretty each of these little things would be on a Christmas tree. Why not make the Christmas tree too? Believe it or not, it's really easy to create.
Before we go on to the instructions, I want to wish you a delightful holiday season.
Steps to Create the Christmas Tree Card Base
Cut Cardstock for Christmas Tree Card Base
- Trim one piece of heavy-weight (I used 120lb) cardstock to 4 1/2″ x 7″, 5 1/2″ x 7″, one piece to 6″ x 7″, and one to 7″ x 11″
- Score the 6″ x 7″ pieces vertically at 1″. When you fold at the score line you'll end up with a 5″ x 7″ card with a 1″ x 7″ flap. Score at 1/2″ vertically on the 4 1/2″ x 7″ and the 5 1/2″ x 7″ pieces. Score at 5″ from both sides of the long piece so that you end up with 1″ in the center of two 5″ x 7″ “pages” when they are folded on the scores.
Paint the Tree Boughs
- Using three green shades of ink, watercolor branches as follows (Make sure that you have a branch at the bottom of at least two of the pieces that you can use to help the card stand up):
- Once the paint has dried, fussy cut out the branches leaving long strips of cardstock that look like pine needles. Use your fingers to ruffle the needles to make them look more dimensional.
Assemble The Christmas Tree Card
- Stamp your sentiment onto the card base (6″ x 7″ piece that has been folded at the 1″ score line) with red ink
- Using strong double-sided adhesive tape and beginning with the piece with the 1/2″ piece on the left side, attach it on the top of the 1″ piece folded to the front of the card base. Then attache the one with the double scores in the center right on top. And finally fasten the piece with the 1/” stem on the right.
- Spread the branches out to create your three dimensional tree.
- 4 1/2″ x 7″ – with the 1/2″ score piece on the left side, paint two branches one that goes from the top to about midway down the right side and the other down at the bottom. When the paint is dry, paint the backside in the same way (so that it is green on both sides in the same place). I used wispy lines, nothing specific.
- 7″ x 11″ – paint two branches from the center out to the side on the left side and one branch in the center going from the center down towards the bottom on the right side. Try not to make the branches the same as what you did on the first pieces. When the paint is dry paint the other side
- 5 1/2″ x 7″ with the 1/2″ score piece on the right side, paint two branches in different places than you have done before.
- Paint the “stems” on all three pieces using green and brown ink
Steps to Create Stitchmas Day 7 – Stitched Bell
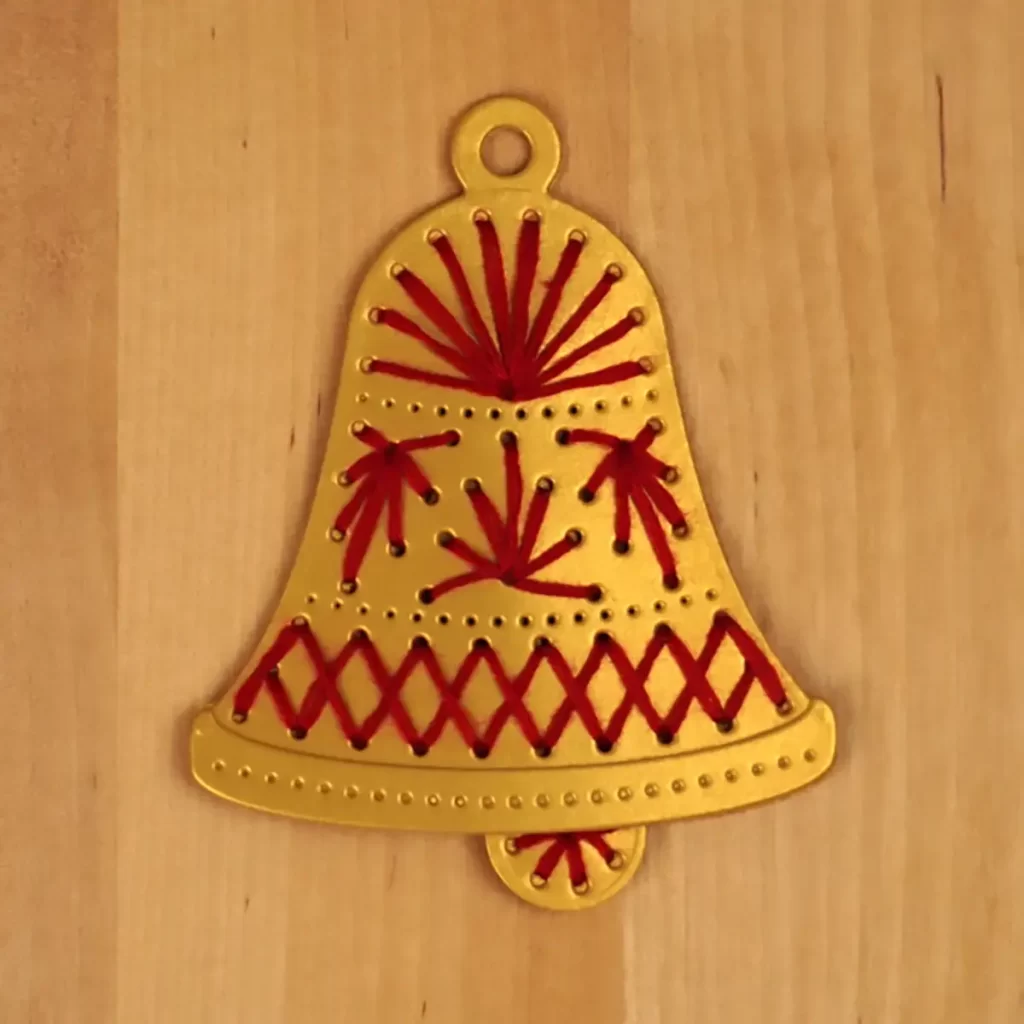
This is a special bell because the ringer moves back and forth. And, you can write a little message on the back of it if you like.
- Die-cut all pieces of the bell from Brushed Gold
- Use four strands of red embroidery floss to stitch the bell and ringer
- Adhere a small foam square or dot in the center of the back of the bell
- Place the ringer ring over the foam making sure that it is clear to move back and forth
- Remove the backing paper from the foam square and add liquid glue around the top and sides of the bell
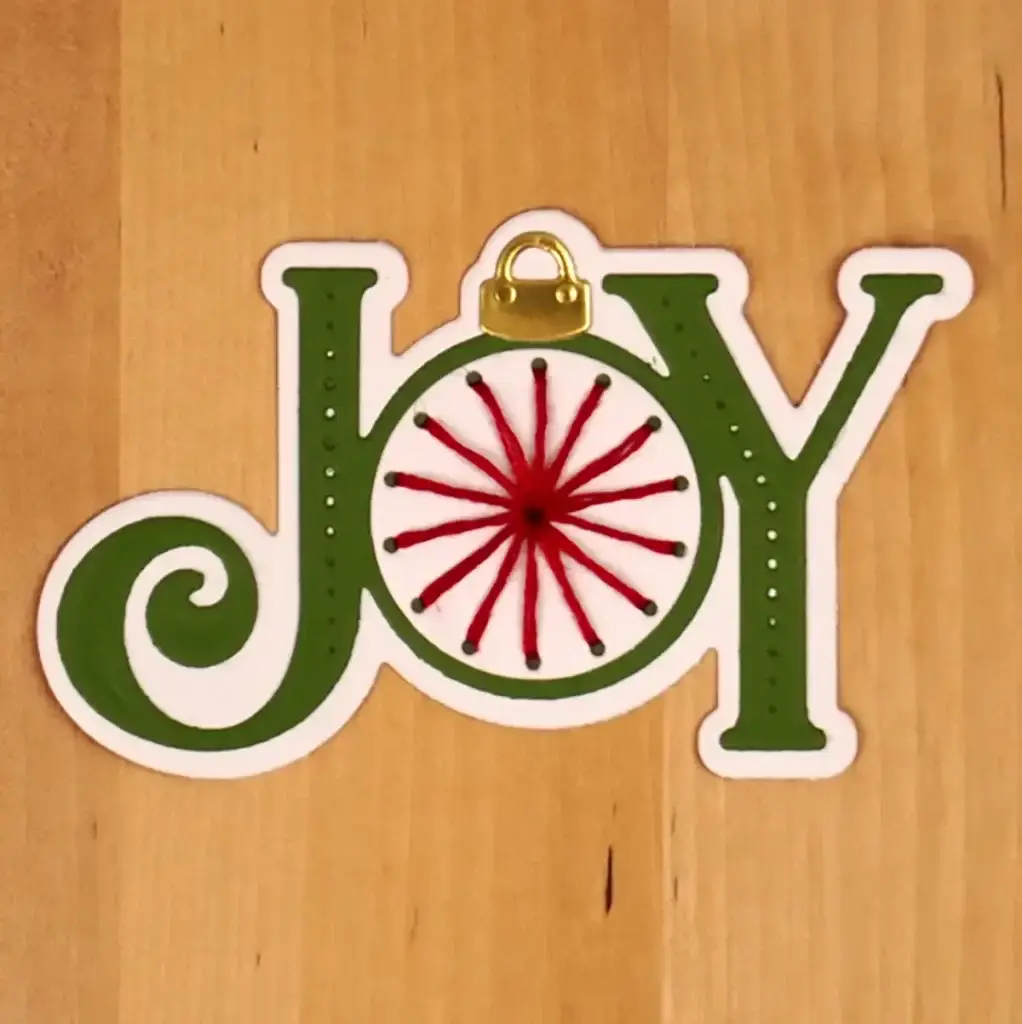
Steps to Make Christmas Tree Card – Day 8 – JOY
- Die-cut as follows:
- Joy – Fern
- Shadow and ornament – Snowdrift
- Ornament top – Mirror gold
- Stitch the ornament with two strands of red embroidery floss
- Assemble with liquid glue
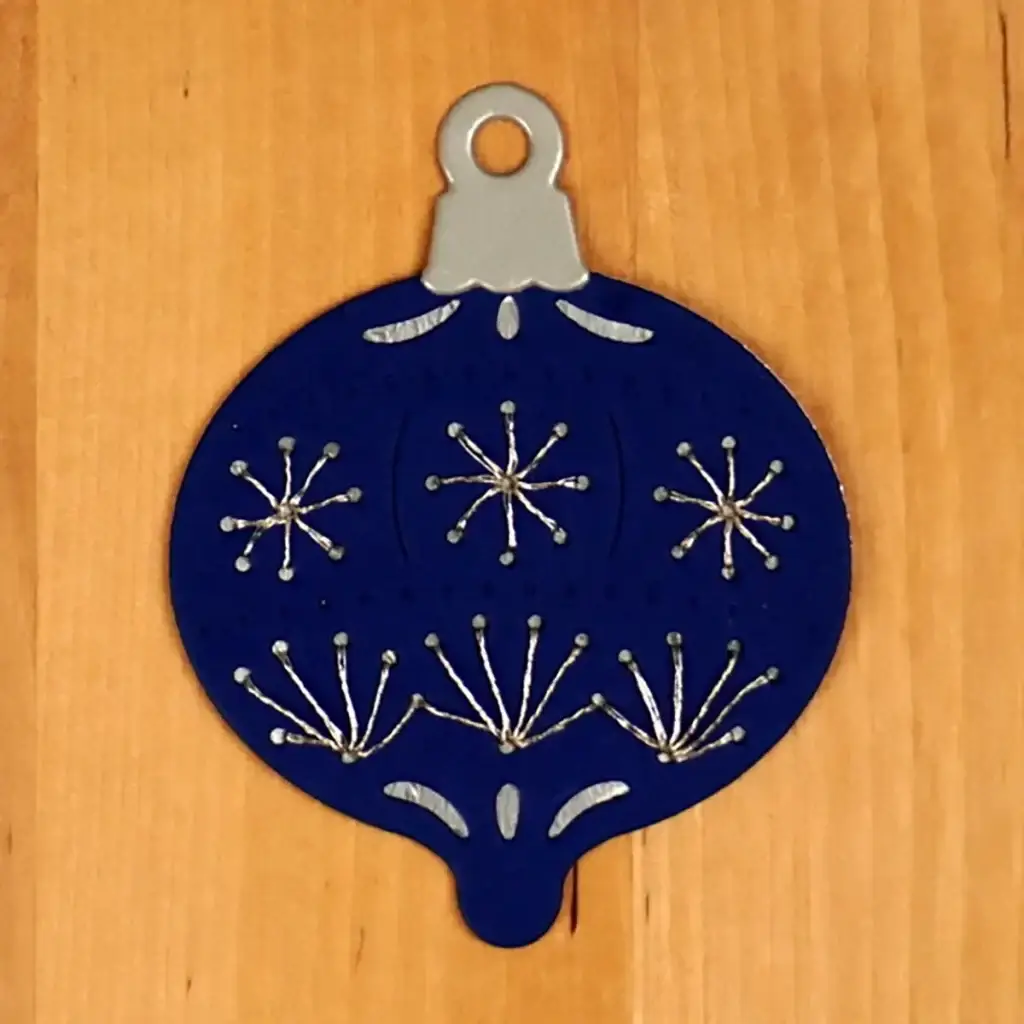
Steps to Create Stitchmas Day 9 – Ornament
- Die-cut as follows:
- Ornament backer – Silver Mirror cardstock
- Stitched ornament – Cosmic Sky
- Ornament Hanger – Brushed Silver
- Stitch the ornament with Silver Thread
- Assemble the ornament using liquid glue
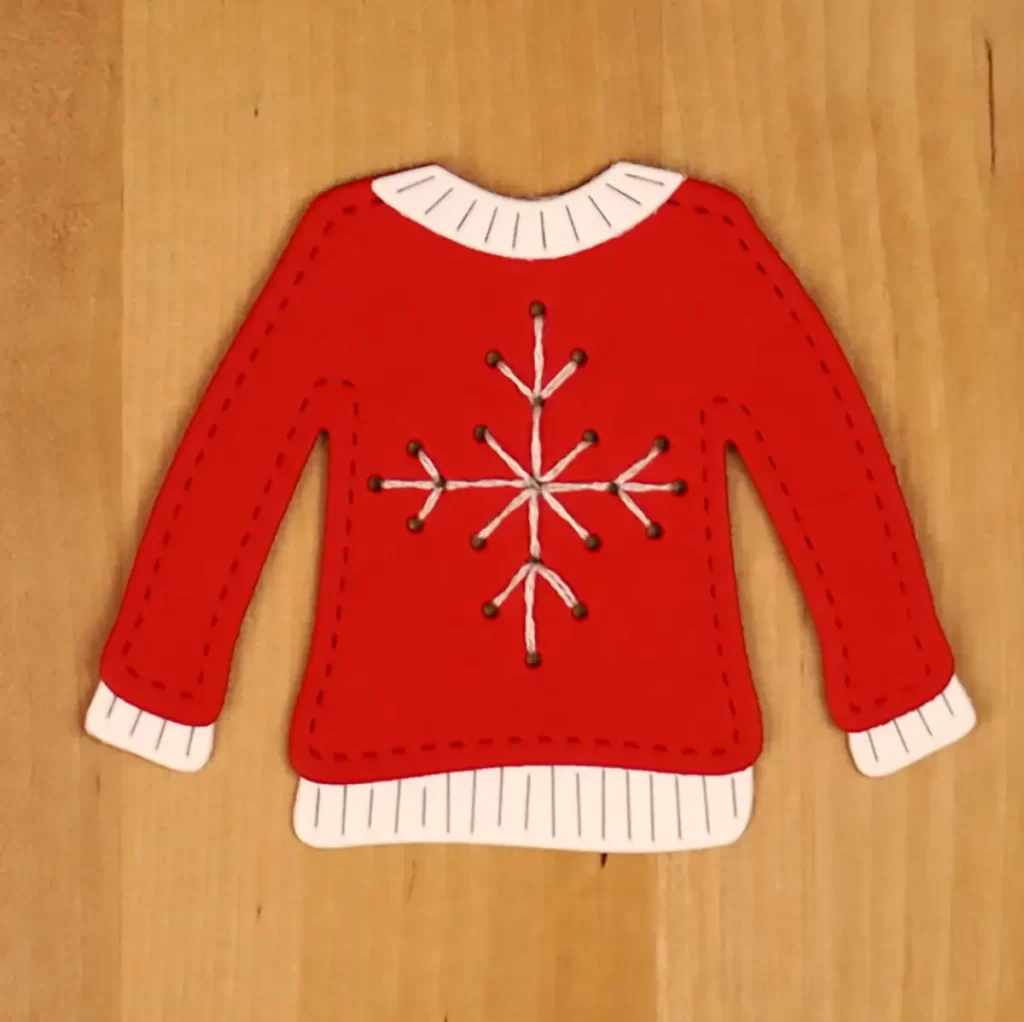
Steps To Create Christmas Tree Card Day 11 – Sweater
- Die-cut sweater from Poppy Field
- Die-cut collar, cuffs, and hem from Snowdrift
- Stitch the sweater with two strands of white embroidery floss
- Assemble the sweater with liquid glue
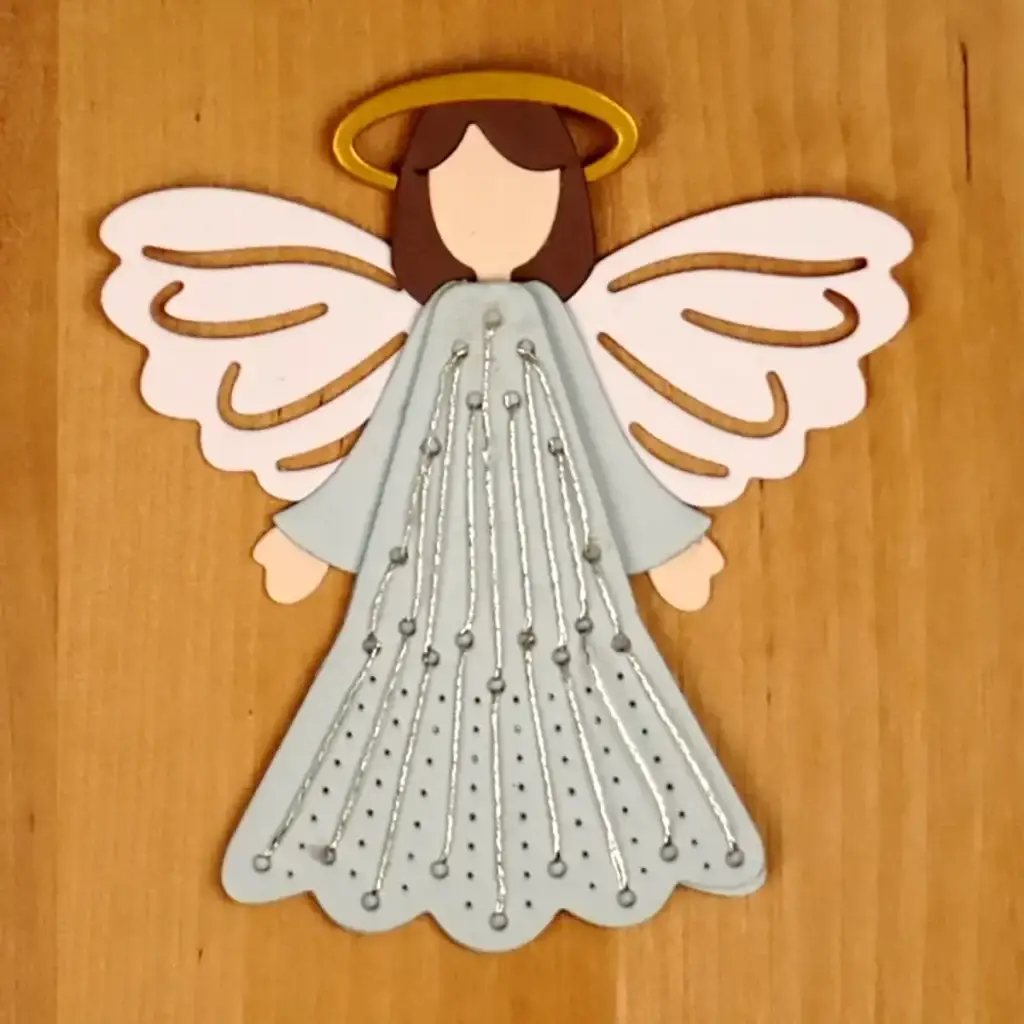
Steps To Create Stitchmas Christmas Tree Card Day 12 – Angel
- Die-cut as follows:
- Gown – Glacier
- Wings – Snowdrift
- Face and hands – Barely Peach
- Hair – Latte
- Halo – Brushed Gold
- Stitch the gown with Silver Thread
- Assemble the angel with liquid glue
I use affiliate links. If you purchase something after clicking on them I may receive a small commission at no extra cost to you. Thank you for your support.
WANT TO SEE PROJECTS FOR THE OTHER DAYS?
OR, WHAT ABOUT THE CRAFTY ADVENT CALENDAR?
- Advent Calendar – Day 1 – a cute car tag
- SPELLBINDERS 2023 CRAFTY ADVENT CALENDAR – DAYS 2 – 5
- SPELLBINDERS CRAFTY ADVENT CALENDAR – DAY 6 TURTLE
- SB CRAFTY ADVENT CALENDAR – DAY 7 GEO STENCIL
- ADVENT CALENDAR DAY 8 – MAGICAL MUSHROOMS
- ADVENT CALENDAR DAYS 9 & 10 – POSEY SHAKER
- ADVENT CALENDAR DAY 15 & 16: HELLO CARD
- ADVENT DAYS 13, 14, 17, & 18 BIRTHDAY SHAKER CARD
- ADVENT DAY 22 & 24: WHALE SHAKER
