We may earn money or products from the companies mentioned in this post via affiliate links to products associated with content in this article.
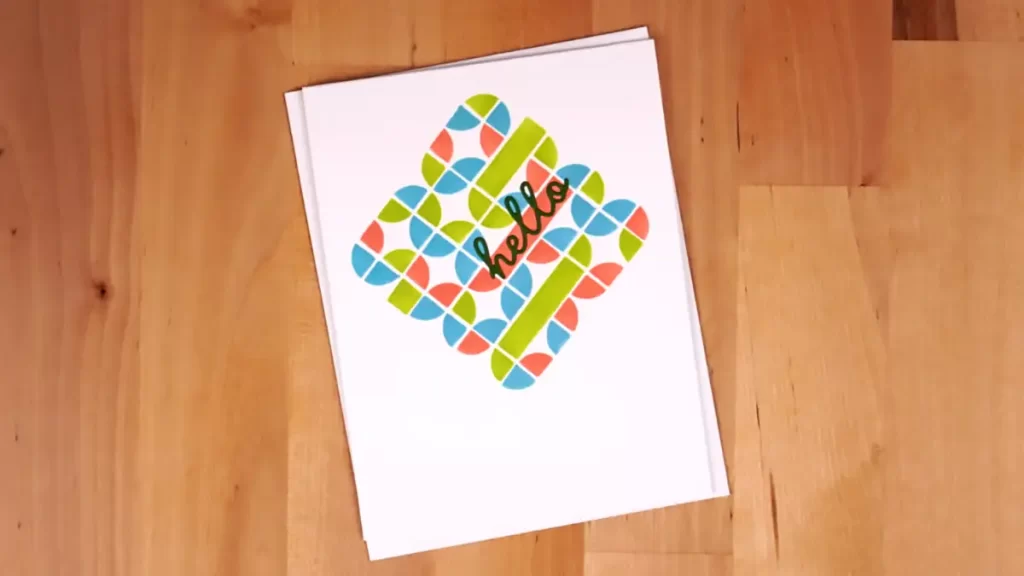
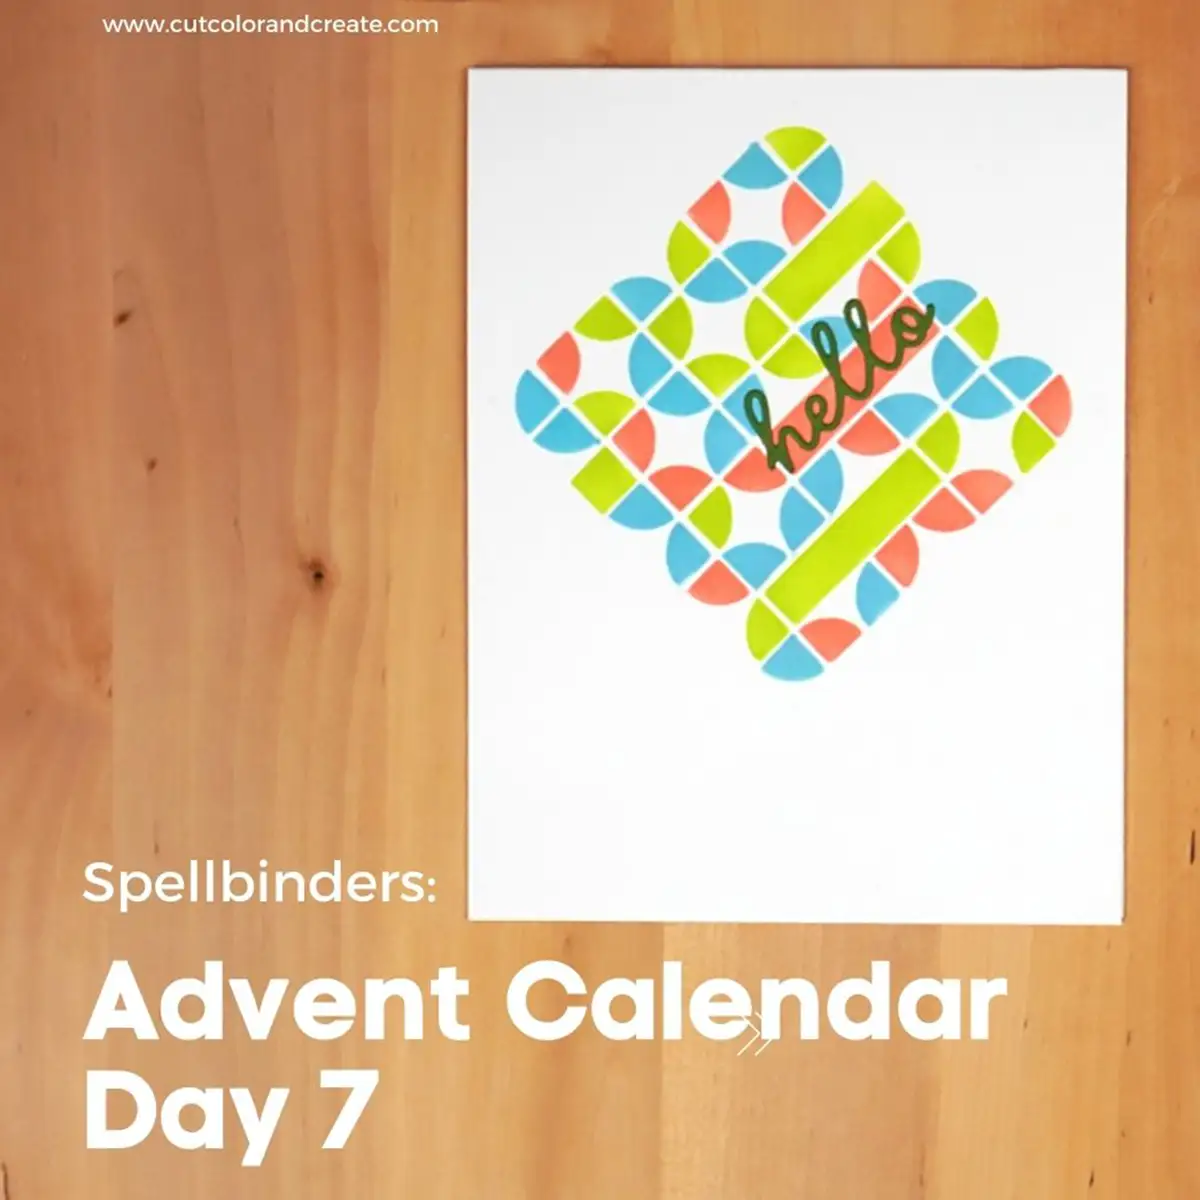
This clean and simple geo stencil card is perfect for letting people know that you are thinking of them. You can make it with Day 7. Read on to learn how.

I love the simple lines of this layered stencil. And, turning it on a forty-five-degree angle makes it even cuter! There is so much that you can do with this stencil by changing ink colors and positions of where you blend it.
Steps To Create The Geo Stencil Card
- Attach a white A2 size (4 1/4″ x 5 1/2″) card base to a sticky surface or tape it to your work surface.
- Position the stencil layer on the card base where you want the focal point to be. Use low-tack tape to hold it in place. Then, use the guide holes in the stencil to make a mark in all four corners. You will use these marks to position layers two and three.
- Blend peach ink over the first layer. HINT: mask off the edges and the guide holes of the stencil to keep it from blending where you don't want the ink to be. Carefully remove the stencil leaving the card base in place.
- Position the second layer onto the card base using the guide holes and looking at the design to ensure that it is perfectly in place.
- Blend blue ink over the stencil. Then, carefully remove the stencil.
- Finish the blending with the third layer and green ink using the same technique as you use for the first two.
- Die-cut a simple greeting from medium green cardstock and attach it with liquid glue.
WANT TO SEE PROJECTS FOR OTHER DAYS?
- Advent Calendar – Day 1 – a cute car tag
- SPELLBINDERS 2023 CRAFTY ADVENT CALENDAR – DAYS 2 – 5
- SPELLBINDERS CRAFTY ADVENT CALENDAR – DAY 6 TURTLE


