

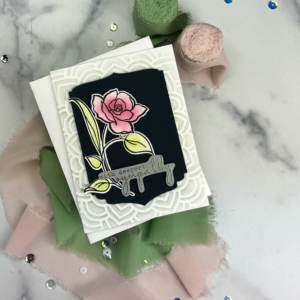
Learn how to make the Rose Sympathy card for an elegant way to express your sympathy!
1. Create a Card Base For The Rose Sympathy Card
To begin the card, we're going to create an A2 size (4 1/4″ x 5 1/2″) side-folding card base. For tips on how to make a card base, click HERE.
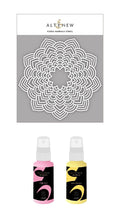
2. Make A Stenciled Background
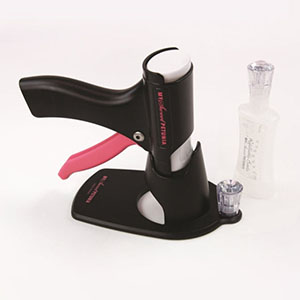
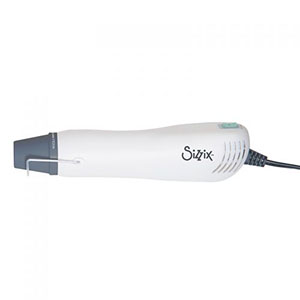
Fasten the card base on the sticky mat in the center of the base of your Stampwheel making sure that it is fasten down securely. Afterwards, place the Floral Mandala stencil down centered over the top of the card base.
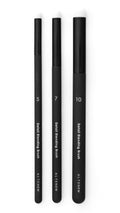
Using a blending brush, blend limestone fresh dye ink lightly over the stencil. For example, concentrate the color toward the center and go lighter out toward the edges.
Carefully lift off the stencil and set aside to wash later.
3. Ink-blend Floral Stamps
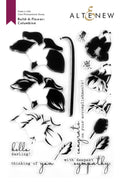
First, we're going to place a white A2 size card panel in our Stampwheel. Next, we'll position the large rose and the large stem with leaves stamps from the Amazing You Stamp set on the card panel. And then, we'll pick them up with the cover. The final step for the stamping is to ink up the stamps with Altenew Obsidian ink and then flip the cover and lower it down onto the card panel.
Afterward, we're going to color the floral images. To demonstrate how, we're going to blend both of the stamps first with the lighter hue. And then, we'll blend over what we just blended with the darker hue. You should end up with a large pink rose, and a large green stem with four leaves on it.
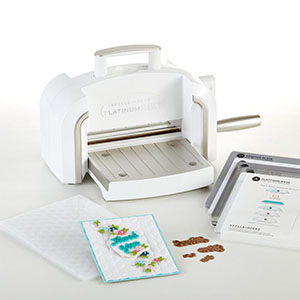
4. Die-cutting
Using the coordinating dies, die-cut out the rose and leaves. I find it helpful to use craft tape to hold the dies centered and in place. While we have the die-cutting machine out, let's go ahead and die-cut the second from the largest of the Ornate Nesting dies from a dark navy cardstock, like Hero Arts Nautical.
5. Heat Emboss The Sentiment For The Rose Sympathy Card
In keeping with the somber tone of the card, we're going to heat emboss the sentiment on gray cardstock with platinum embossing powder. Click HERE for tips on how to heat emboss.
6. Assemble The Rose Sympathy Card
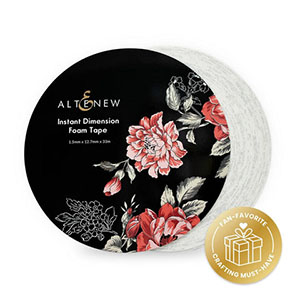
To finish the card, we'll give the ornate die-cut panel some dimension by popping it up with Instant Dimension foam tape. Then, we'll arrange the rose and leaves on top and fasten them down with liquid glue. You might want to die-cut an extra rose, cut it in half horizontally and layer it behind the blended one. This will result in holding up the rose so that it is flat. Lastly, we'll use a little bit of instant dimension and some glue to fasten the sentiment in place.
And, that's it for making this beautiful card to send your condolences.
Rose Sympathy Card Supply List
These links can be a little cantankerous. You need to hover over the supplier you want to go to until their name pops up, then click.


Tool List

The Rose Sympathy card celebrates @Altenew's 10th Anniversary with new and old Altenew products and an Instagram Hop Check out the article where I introduce a couple of cards and give hope details over at my blog.