Learn how to ink-blend floral stamps and all about another fun Instagram hop right here in this article! Keep reading for instructions, supply lists, and giveaway details.
Hi! Today I'm sharing two cards that stretch your crafty stash by using a combination of new and old products from @Altenew. I'm using some of my favorites for these cards.
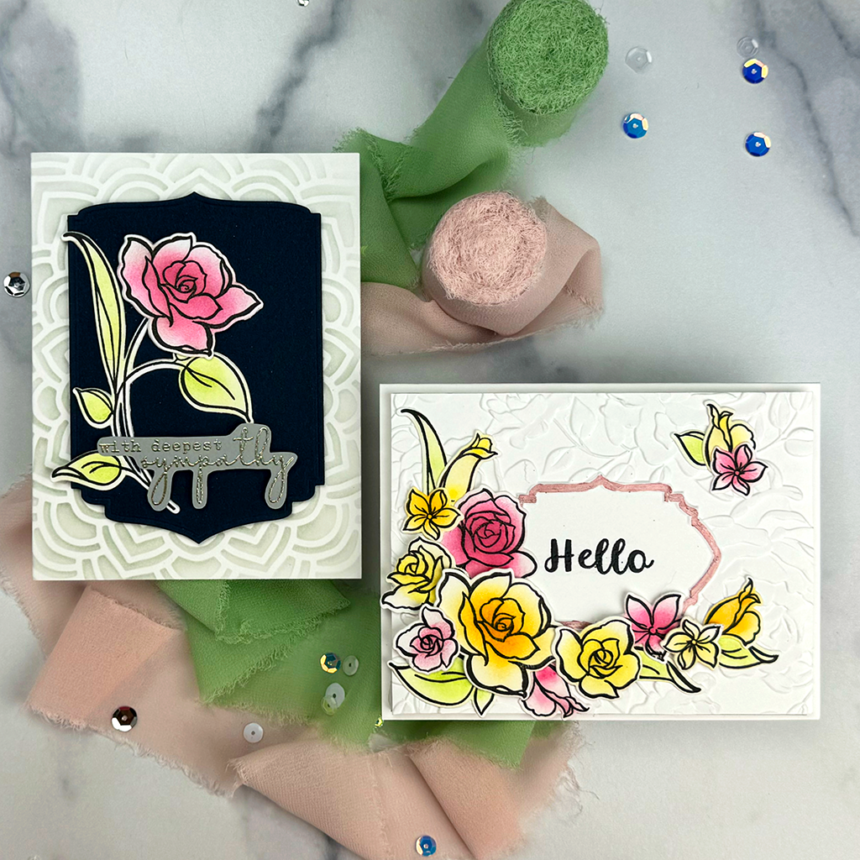
Here are my cards and the featured products to use. And, I have step-by-step instructions and a supply list for each card for you too!
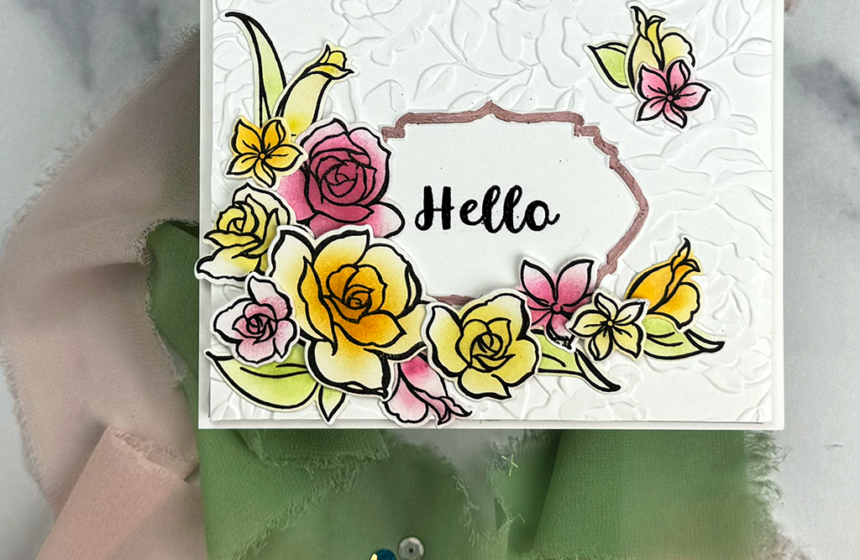
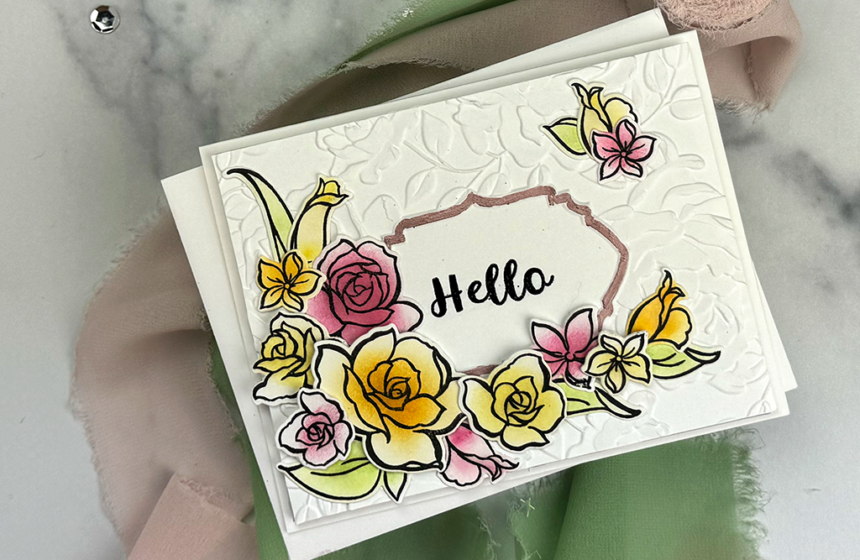
ROSEY HELLO CARD
Ink-blend floral stamps for the focal point and dry-emboss on white for a subtle background.
Featuring:
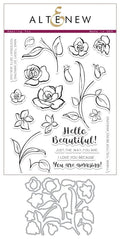
- Amazing You Stamp & Die Set [ Altenew ]
- Craft Your Life Project Kit: Never Stop Dreaming [ Altenew ]
- Fresh Dye Inks [ Altenew ]
Step-by-step instructions on how to make the card and additional tools and supplies can be found in the following links.
1. Create a Card Base For The Rosey Hello Card
To begin the card, we're going to create an A2 size (4 1/4″ x 5 1/2″) side-folding card base. For tips on how to make a card base, click HERE.
2. Make A Rosey Background
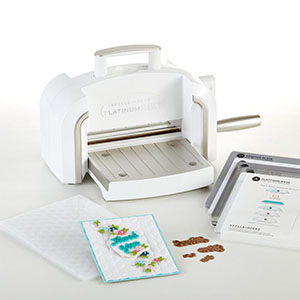
Next, you need to trim a piece of white cardstock to A2 size. And then, place it inside of your embossing folder and run it through your die-cutting and embossing machine. I used the embossing folder from Altenew's Never Stop Dreaming set. Now, trim down the embossed panel to 4″ x 5 1/4″.
Following the embossing, we're going to heat emboss the sentiment in the center with black embossing powder. You can find tips on how to get high-quality heat embossing results, click HERE.
Finally, there's one more step to creating the background and that's coloring the border in the center with a rose gold metallic marker. Specifically, you need to take care to keep the pigment on top of the embossed frame. For example, brush lightly and take care not to go over the edge.
3. Ink-blend Floral Stamps
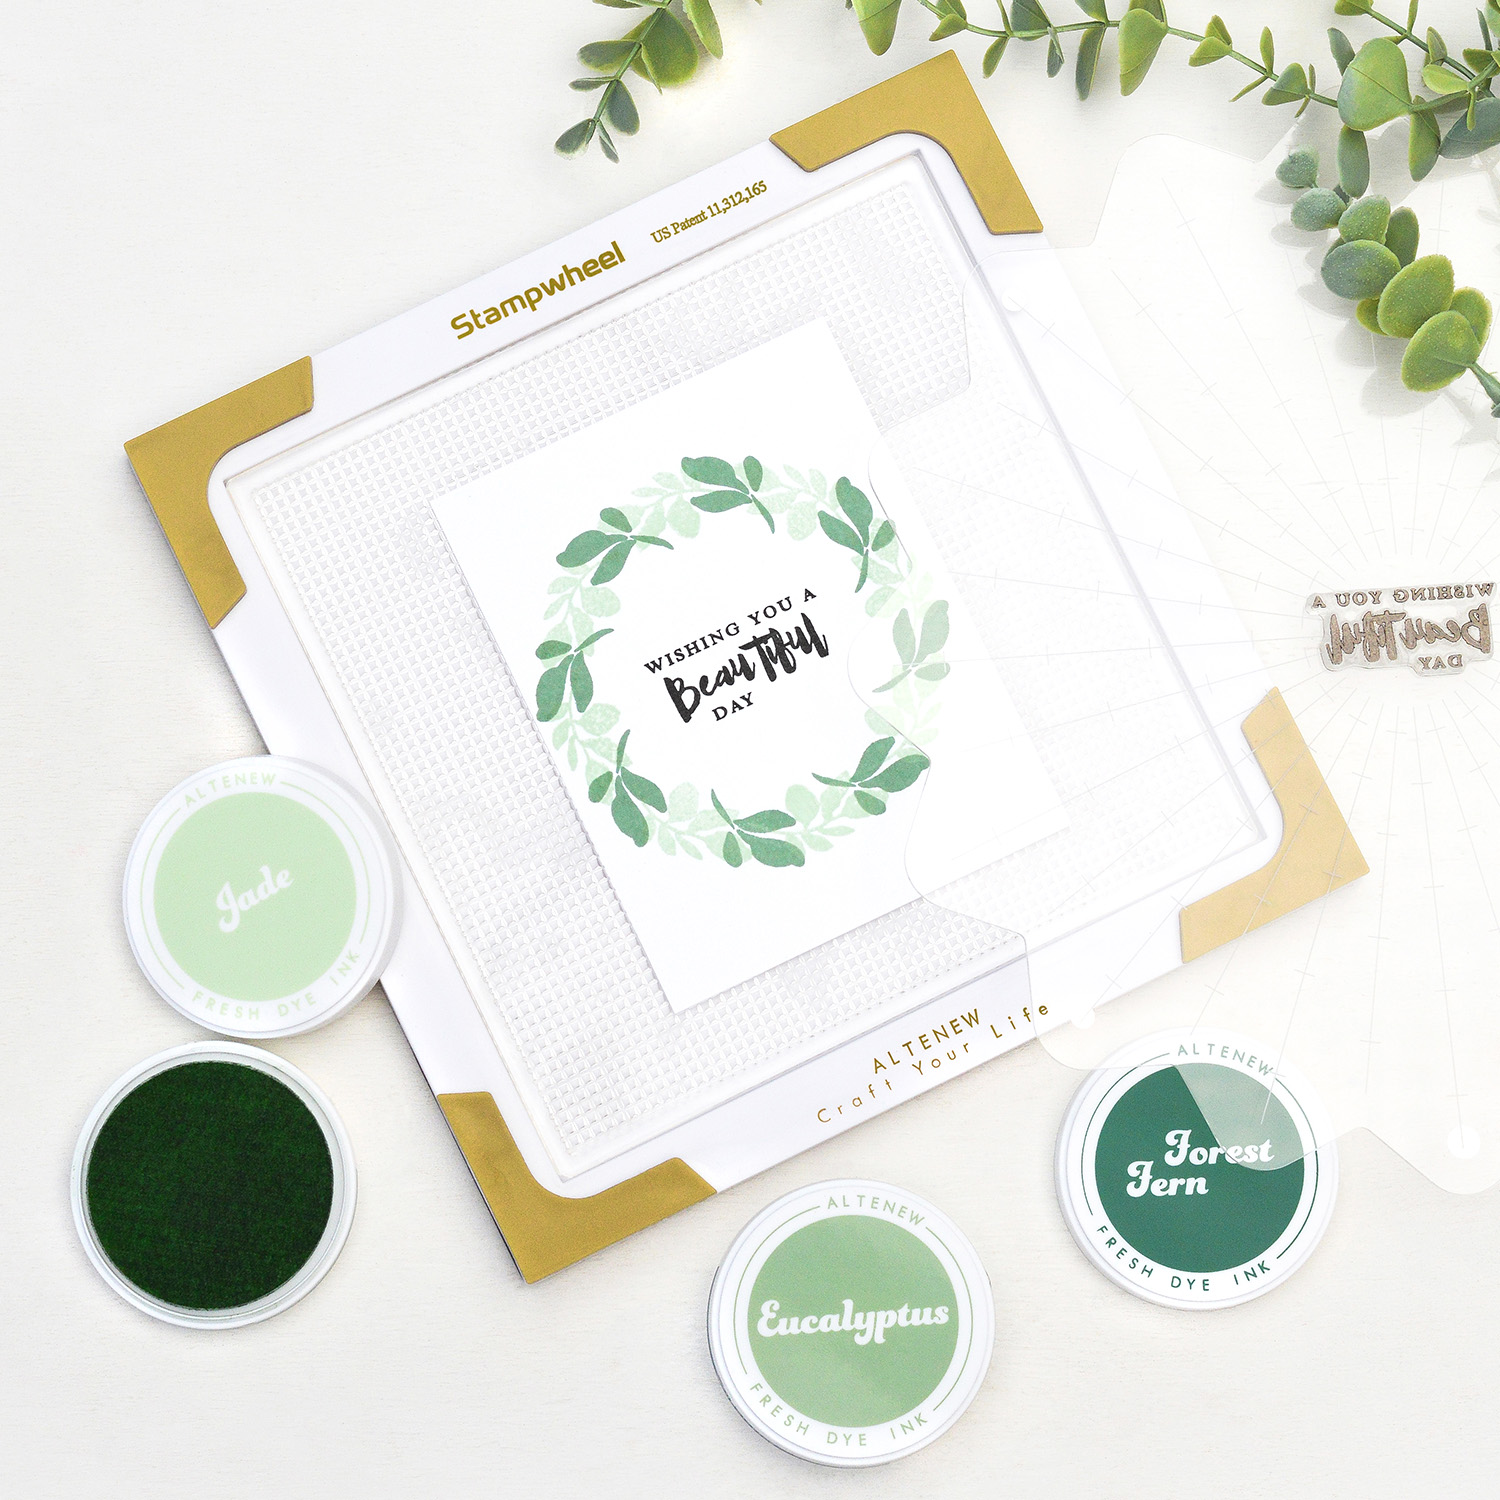
First, we're going to place a white A2 size card panel in our Stampwheel. Next, we'll position the floral stamps from the Amazing You Stamp set on the card panel. And then, we'll pick them up with the cover. The final step for the stamping is to ink up the stamps with Altenew Obsidian ink and then flip the cover and lower it down onto the card panel. Repeat twice more for a total of three card panels with floral images on them. Additionally, follow the same steps with the greenery stamps.
Afterward, we're going to color the flowers in three different colorways. To demonstrate how, we're going to blend each of the flowers with the lighter hue. And then, we'll blend over what we just blended with the darker hue. Meanwhile, you may have to use a small detail blending brush for some of the smaller flowers. You should end up with one card panel with pink flowers, one with orange, and one with yellow.
Using the same technique, go ahead and ink-blend the three greenery card panels with your green inks.
4. Die-cut The Floral Images
Using the coordinating dies, die-cut out all of the flowers and leaves.
5. Assemble The Rosey Hello Card
To finish the card, we'll give the embossed panel some dimension by popping it up with Instant Dimension foam tape. Then, we'll arrange the flowers and leaves around the lower left hand corner of the card. We'll glue some of them directly to the card front with liquid glue. And, to give the card a little more dimension we'll pop some of them them up with a little more foam tape.
Finally, we'll add a couple more of the smaller flowers and leaves in the upper right hand corner.
And, that's all there is to this elegant card to let them know you are thinking of them.
-
Amazing You Stamp & Die Set - Altenew
-
Craft Your Life Project Kit - Never Stop Dreaming
-
Frosty Pink Fresh Dye Ink
-
Chamomile Fresh Dye Ink
-
Aloe Vera Fresh Dye Ink
-
Rose Gold Metallic Marker
-
Coral Berry Fresh Dye Ink
-
Neenah Classic Crest 80lb Solar White
-
Matcha Fresh Dye Ink
-
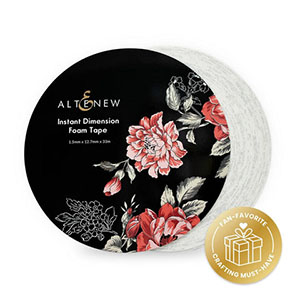
Altenew Instant Dimension Foam Tape
-
Spellbinders Black Embossing Powder
-
Buttercream Fresh Dye Ink
-
Mid-Yellow Fresh Dye Ink
-
Snapdragon Fresh Dye Ink
-
Versamark Watermark Ink
-
Bearly Art Glue
-
110lb Solar White
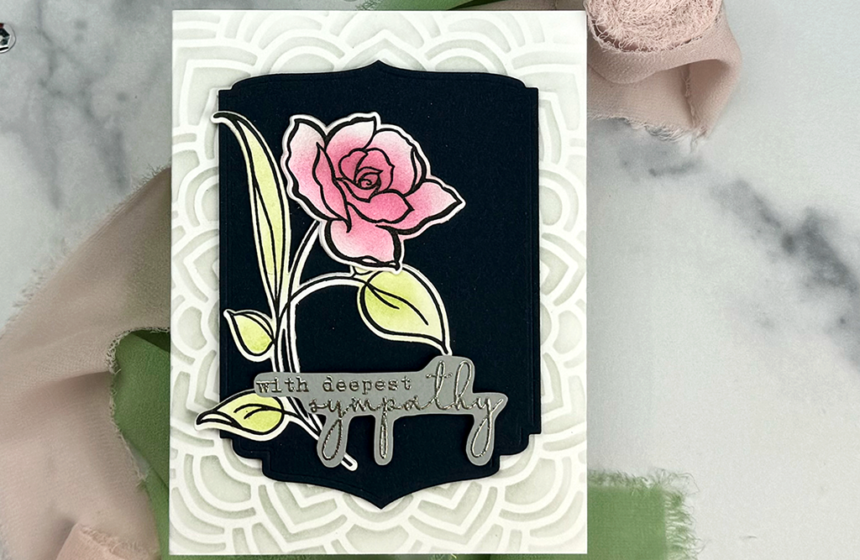
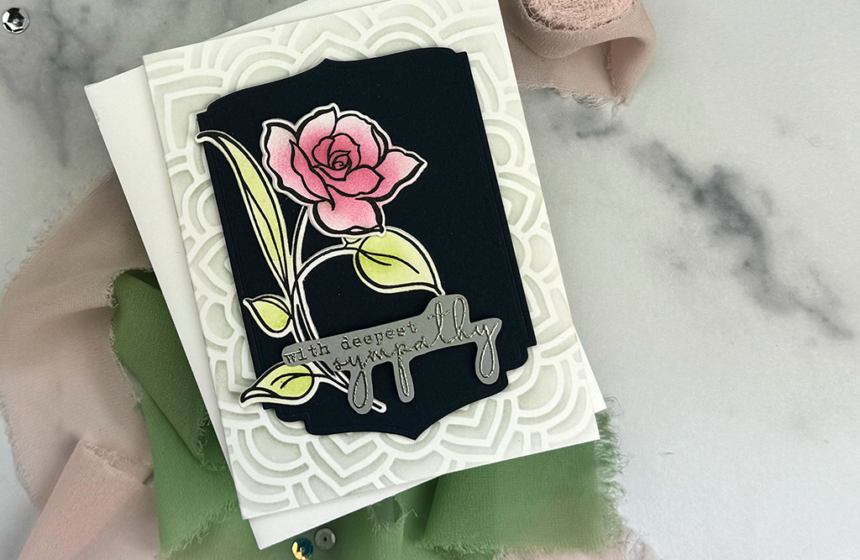
ROSE SYMPATHY CARD
Ink-blend floral stamps for the focal point and dry-emboss on white for a subtle background.
Featuring:
- Amazing You Stamp & Die Set [ Altenew ]
- Build-A-Flower: Columbine Stamp & Die [ Altenew ]
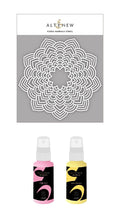
- Floral Mandala Stencil [ Altenew ]
- Ornate Nesting Die Set [ Altenew ]
- Fresh Dye Inks [ Altenew ]
Step-by-step instructions on how to make the card and additional tools and supplies can be found in the following links.
1. Create a Card Base For The Rose Sympathy Card
To begin the card, we're going to create an A2 size (4 1/4″ x 5 1/2″) side-folding card base. For tips on how to make a card base, click HERE.
2. Make A Stenciled Background
Fasten the card base on the sticky mat in the center of the base of your Stampwheel making sure that it is fasten down securely. Afterwards, place the Floral Mandala stencil down centered over the top of the card base.
Using a blending brush, blend limestone fresh dye ink lightly over the stencil. For example, concentrate the color toward the center and go lighter out toward the edges.
Carefully lift off the stencil and set aside to wash later.
3. Ink-blend Floral Stamps
First, we're going to place a white A2 size card panel in our Stampwheel. Next, we'll position the large rose and the large stem with leaves stamps from the Amazing You Stamp set on the card panel. And then, we'll pick them up with the cover. The final step for the stamping is to ink up the stamps with Altenew Obsidian ink and then flip the cover and lower it down onto the card panel.
Afterward, we're going to color the floral images. To demonstrate how, we're going to blend both of the stamps first with the lighter hue. And then, we'll blend over what we just blended with the darker hue. You should end up with a large pink rose, and a large green stem with four leaves on it.
4. Die-cutting
Using the coordinating dies, die-cut out the rose and leaves. I find it helpful to use craft tape to hold the dies centered and in place. While we have the die-cutting machine out, let's go ahead and die-cut the second from the largest of the Ornate Nesting dies from a dark navy cardstock, like Hero Arts Nautical.
5. Heat Emboss The Sentiment For The Rose Sympathy Card
In keeping with the somber tone of the card, we're going to heat emboss the sentiment on gray cardstock with platinum embossing powder. Click HERE for tips on how to heat emboss.
6. Assemble The Rose Sympathy Card
To finish the card, we'll give the ornate die-cut panel some dimension by popping it up with Instant Dimension foam tape. Then, we'll arrange the rose and leaves on top and fasten them down with liquid glue. You might want to die-cut an extra rose, cut it in half horizontally and layer it behind the blended one. This will result in holding up the rose so that it is flat. Lastly, we'll use a little bit of instant dimension and some glue to fasten the sentiment in place.
And, that's it for making this beautiful card to send your condolences.







#Altenew10thAnniversary! Combine old & new to create magic Instagram Hop Details!


…And the Altenew 10th Anniversary celebration continues…
This time we're participating in a fun Instagram Hop that features how Altenew old products & new products can be used together. It is an awesome way to inspire you to dust off your supplies as the possibilities are endless!
Giveaways
Altenew is giving away a $50 Gift card to TWO winners and $20 Gift cards to FIVE winners! All you need to do is:
FOLLOW @altenewllc and @cutcolorandcreate
COMMENT on them by April 28, 2024
Winners will be announced in Altenew’s post on April 30, 2024.
What are you waiting for? Gorgeous project inspiration and fun prizes await you! Don’t forget to show some love by commenting to every designers!
Happy hopping!



Leave a Reply