

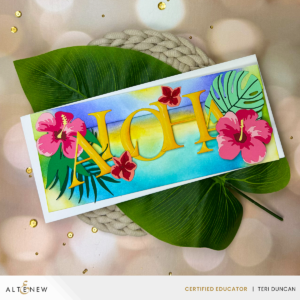
Whether the person who receives this is traveling or not, this card delivers a tropical hello wherever they are. You can achieve these beautiful results to by using the following steps:
1. Create a Slimline Card Base
A search for slimline card dimensions will deliver several choices, but our card will be 3 3/4″ x 9″. And, we're going to use a unique card base to show off the die-cuts that we'll be using. Therefore, trim a piece of Neenah Classic Crest 110lb Solar White cardstock to 4 3/4″ x 9″. Then, we're going to score the cardbase at 1″ along one of the long sides. After burning the fold your finished card base should be 3 3/4″ x 9″: the back is the same size and the front is 1″ x 9″.
2. Die-cutting
Using the Hibiscus Garden die set, die-cut as follows:
- Two Large Flowers – Red Cosmos Gradient Cardstock Set plus buttercream from the Summer Afternoon Gradient Cardstock Set for the flower center
- Two Small Flowers – rouge, crimson, and velvet from the Red Sunset Gradient Cardstock Set
- Leaves – Green Meadows Gradient Cardstock Set
Using the Classic Alphabet die set, die-cut from 110lb Solar White cardstock as follows:
- A – cut 2 from warm sunshine (Summer Afternoon Gradient Cardstock Set), and 2 from Neenah Classic Crest 80lb solar white
- L – cut 1 from warm sunshine (Summer Afternoon Gradient Cardstock Set), and 1 from Neenah Classic Crest 80lb solar white
- O – cut 1 from warm sunshine (Summer Afternoon Gradient Cardstock Set), and 1 from Neenah Classic Crest 80lb solar white
- H – cut 1 from warm sunshine (Summer Afternoon Gradient Cardstock Set), and 1 from Neenah Classic Crest 80lb solar white
3. Ink Blending For The Aloha Card
To begin with, we're going to add a couple of masks to make sure that we only add ink where we want it to be. To do so, take a long piece of mint tape (longer than 9″) and fasten it to the back of the card base right at the fold line. Following that, do the same thing on the back side of the front of the card base. You should now have the front (the 1″ x 9″ card front) and the inside of the back (3 3/4″ x 9″) exposed.
These are the surfaces that we are going to blend on. Additionally, the front will be a duplicate of what we do on the inside of the back.
And, the plan is to create a sandy beach with a blue sky above. We'll begin by blending the sun on both the card front and the inside back with buttercream ink. And, while we're at it we're going to add in the beach about a third from the top and in the two bottom corners. Next, we'll add some shadowing to the beach with warm sunshine and caramel toffee.
Following that, we're going to create the sky. Beginning with water hyacinth, followed by alpine aster, and finishing with crystal violet we'll radiate out from the sun on the front and on the inside. HINT; make sure that you don't overlap the beach too much with the sky.
Now, we'll create the ocean using all of the colors of the Sweet Dreams Fresh Dye set. And we'll finish the blending with a little bit of forest glades on each side on the inside of the card.
4. Assembly of the Aloha Card
The first thing that we're going to do is fasten all of the individual pieces together. To do this, we'll layer one yellow and one white die-cut of each letter with liquid glue. And then, using the guide that comes with the Hibiscus Garden Die set, we'll put the flowers and the philodendron leaf together also using liquid glue.
Before we go any further, we're going to use the blending brush that we blended the caramel toffee with to add some shading to the right side and bottoms of each letter. Afterward, we'll add some highlights using a white prismacolor colored pencil.
All that is left to do is to attach the flowers and the letters that make up Aloha to the card front. Begin by getting an idea of what you want your layout to be. To demonstrate, make sure that your arrangement will be plenty strong by attaching the die-cuts together.
Supply List for the Aloha Card

Hibiscus Garden 3D Die Set
from: Altenew

Gradient Cardstock Set - Summer Afternoon
from: Altenew

Platinum 6 Machine w/ Universal Plate System
from: Altenew
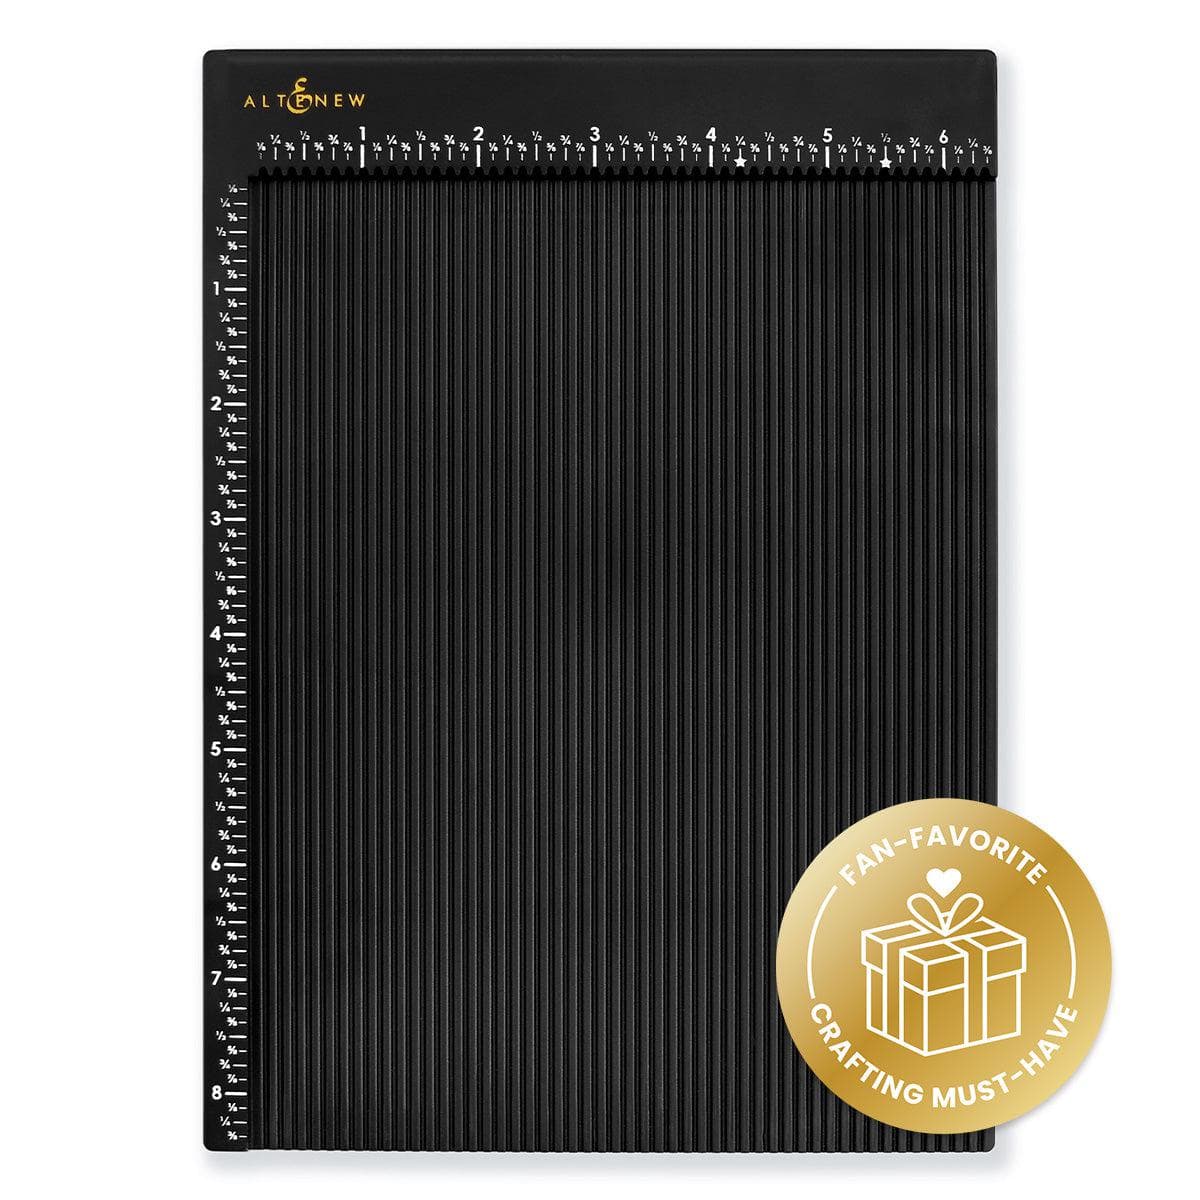
Crafter's Essential Scoring Board
from: Altenew

Classic Alphabet Die Set
from: Altenew

Gradient Cardstock Set - Green Meadows
from: Altenew

Green Fields Fresh Dye Ink
from: Altenew
Bearly Art Original 4 fl oz Precision Craft Glue + Tip KitPaper Arts
from: Spellbinders

Crafter's Essential Bone Folder
from: Altenew

Gradient Cardstock Set - Red Cosmos
from: Altenew


Blue Mountains Fresh Dye Ink
from: Altenew
My Sweet Petunia - Precision Glue Press
from: Scrapbook.com

Pinkfresh Studio - Dual Tip Embellishment ToolPaper Arts
from: Spellbinders

Gradient Cardstock Set - Red Sunset
from: Altenew

Summer Afternoon Fresh Dye Ink
from: Altenew

Mini Blending Brush Set
from: Altenew
Reverse TweezersPaper Arts
from: Spellbinders
The Aloha Card celebrates a fun Instagram Reel Hop that I am participating in with the Altenew Educators called Delightful Die0Cutting. Check out the article that describes all the links, and details, and tells about the giveaways: