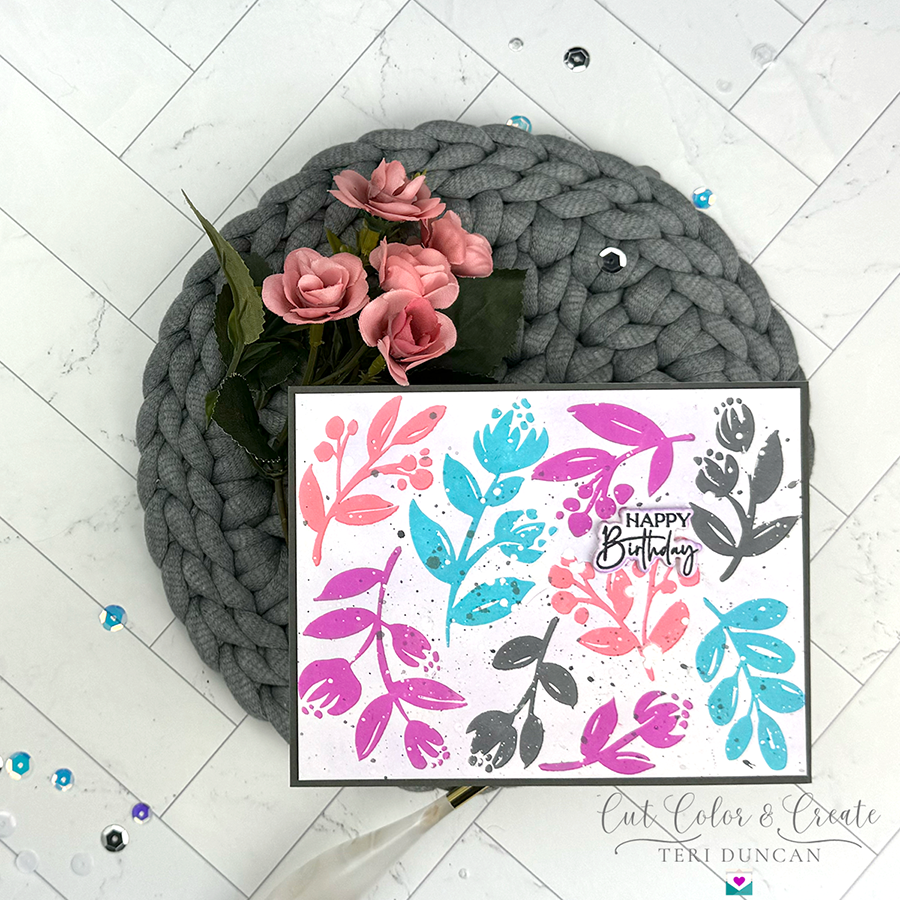
Although it may not appear like it, this card is pretty quick and easy to put together.
To begin with, we're going to create an A2 size (5 1/2″ x 4 1/4″) top-folding card base. For tips on how to make a card base, click HERE.
Next, while we have the trimmer out, go ahead and cut an A2 color panel from graphite cardstock. Additionally, let's trim a piece of porcelain cotton cardstock to A2 size as well. And then, let's lightly blend it with shaded lilac distress oxide ink.
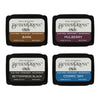
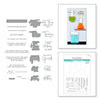
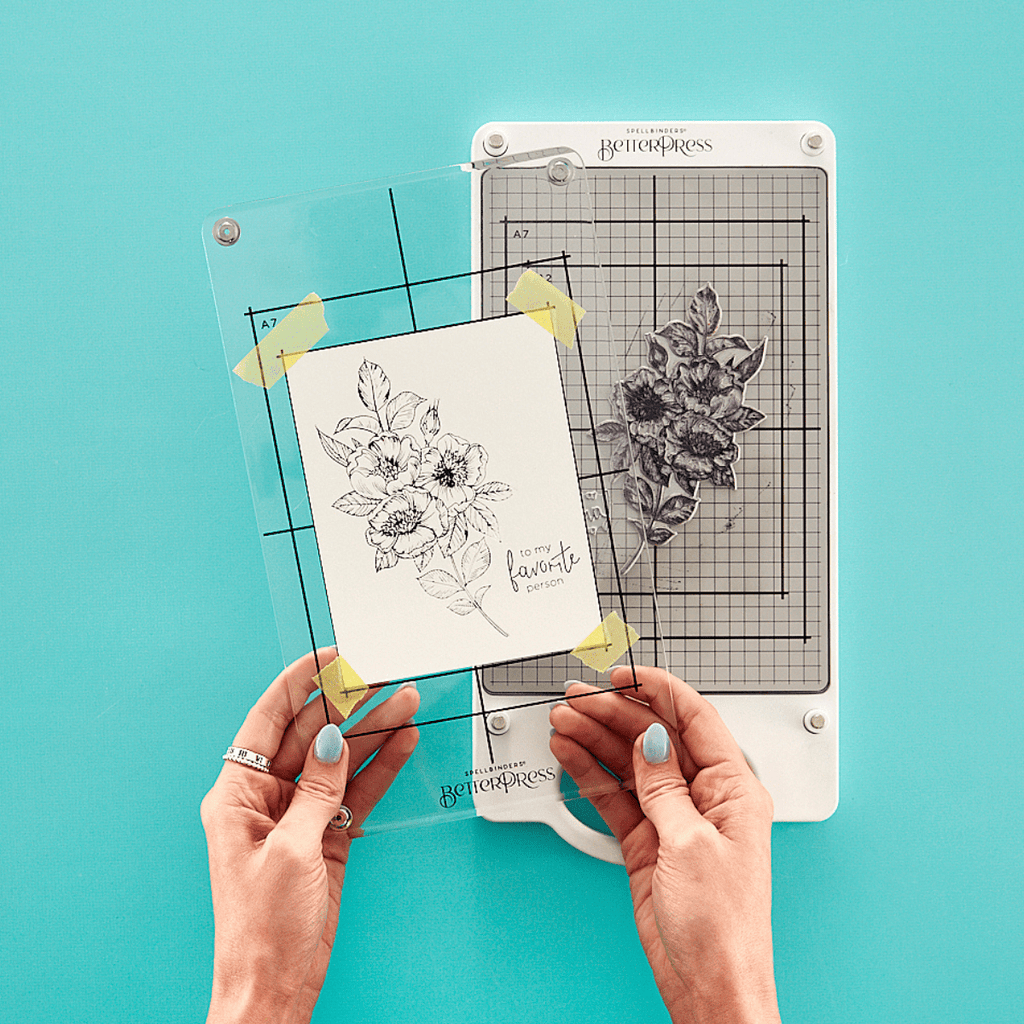
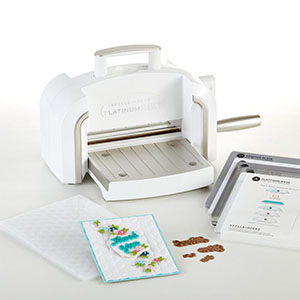
And then, we'll go ahead and press the Sprigs Registration & Die Set on the blended panel. If you're not familiar with Registration plates, they make it possible to create lovely letterpress images with different colors. For this card, we're using the following BetterPress Inks:
- Wild Berry (Nature Tones BetterPress Set)
- Azalea (Flower Garden BetterPress Set)
- Teal Topaz (Tropical BetterPress Set)
- Thunder (Jet Set BetterPress Set)
Hint: it is easy to get ink on the acetate guide which then transfers to your cardstock when you press it. I recommend that you use a microfiber cloth to wipe around the press plate after you ink it.
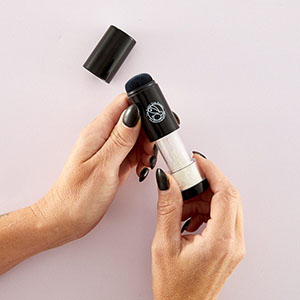
After that, we're going to do some splattering with white and black. Spellbinders has this cool new splatter watercolor that we'll use for the white. I recommend that you watch this video before you use the white splatter. And, I recommend that you just dip some of the jet black spray out onto an acrylic block and then brush it off onto the panel to splatter it.
Assembly
To put the card together, we'll trim a graphite color panel to A2 size. After that, we'll attach it to the card base using a tape runner. If you have trouble getting them aligned straight I suggest that you take a look HERE. Next, we'll trim the pressed panel. To do so I gradually trimmed off excess cardstock on all four sides. If you trim down just to the point where the cut meets any of the printing then you should end up with a nice small frame.
Attach the panel to the card front with a tape runner. After that, heat emboss the sentiment with black embossing powder on a scrap of white cardstock. Use the coordinating die to die-cut the sentment and a couple more from white cardstock. Use the same brush you used to blend earlier and blend over the sentiment.
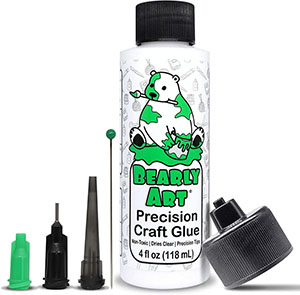
Then, layer the die-cuts with liquid glue making sure that the one with the sentiment is on top. And finally, fasten the sentiment to the card front.
There are affiliate links in this article. If you use one I may receive a small commission at no extra cost to you. Thank you for your support!








The Sprigs Registration birthday card celebrates the new Propagation Garden collection at @Spellbinders. Check out the article where I introduce several of the new press plates over at my blog.
