

Learn how to make a watercolored floral BetterPress card for a special friend. Step-by-step instructions and the full supply list are in this article.
This card takes a little time to make, but the beautiful colorful results are worth it.
Steps To Make A Watercolored Floral BetterPress Card
Watercoloring The Watercolored Floral BetterPress Card
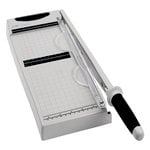
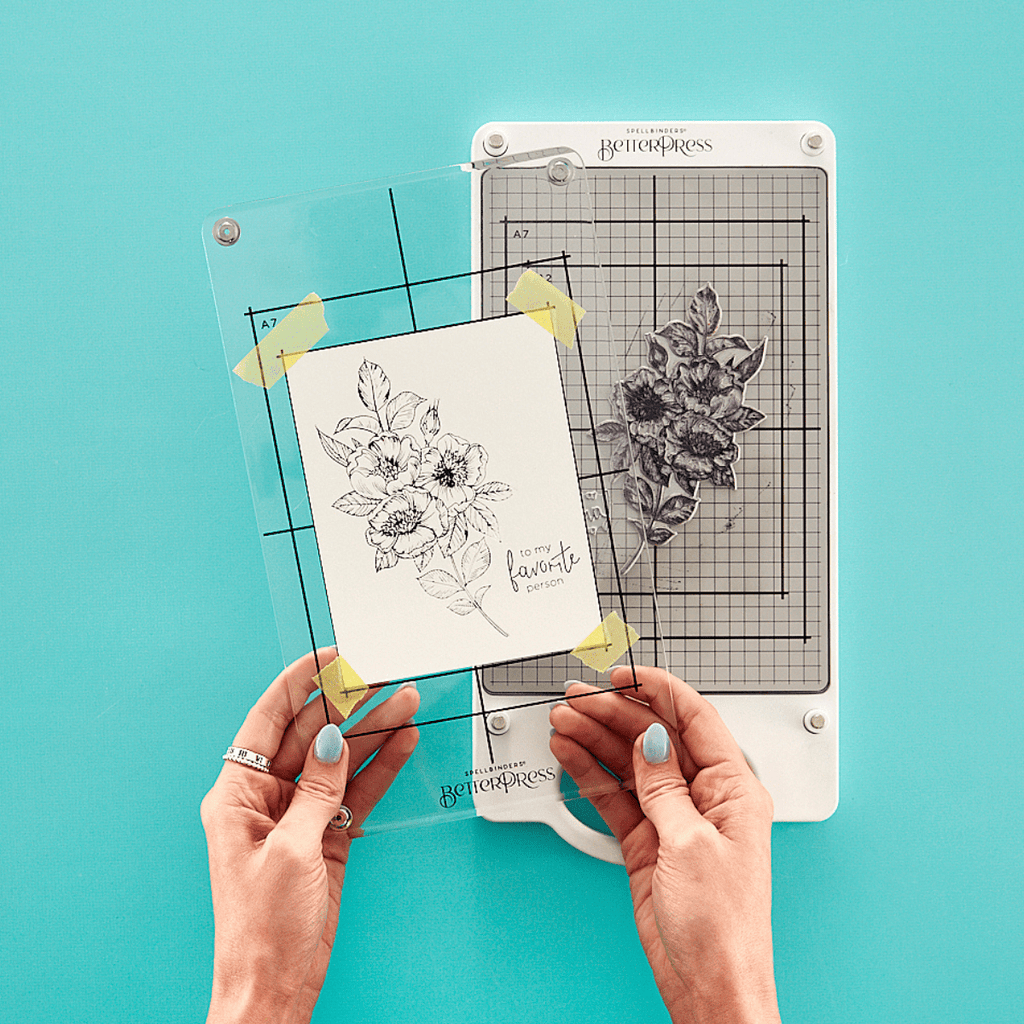
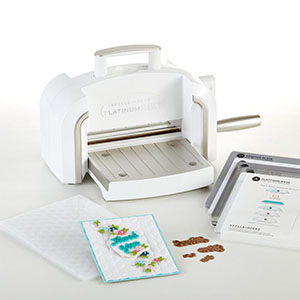
- To begin with, we'll trim a piece of Porcelain Cotton Cardstock to A2 size (4 1/4″ x 5 1/2″) and press it with the Mirrored Arched Blooms press plates. TIPS: Could you make sure that you have the sentiments straight? And, that it is centered in the middle.
- Following that, we'll get to watercoloring. We're using Karin Brushmarker Pro markers for our coloring on this card. We're not using watercolor paper, so you want to work in small sections at a time. For example, I like to work on one petal at a time. And, if the petal is too big then just work with a portion of one.
- There are three basic steps that you will follow for each section you're working on. First, use a watercolor brush to wet the section that you will be painting. Next, lightly tap the marker onto the stamped image where you want the color to be darkest. And finally, use your brush to draw the color out into the rest of the section.
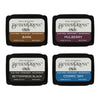
- Now repeat in different colors until all of the flowers have been colored. The colors I used are:
- Red 209
- Cerise 375
- Pale Pink 220
- Amber 195
- Canary 166
- Apple 210
- Lime Green 071
- Olive Green 281
- Curry 297
- Violet Blue 688
- Cinnamon 199
- For small area such as the centers of the flowers you can apply the marker directly to the cardstock.BetterPress Birthday Card Assembly
Watercolored Floral BetterPress Card Assembly
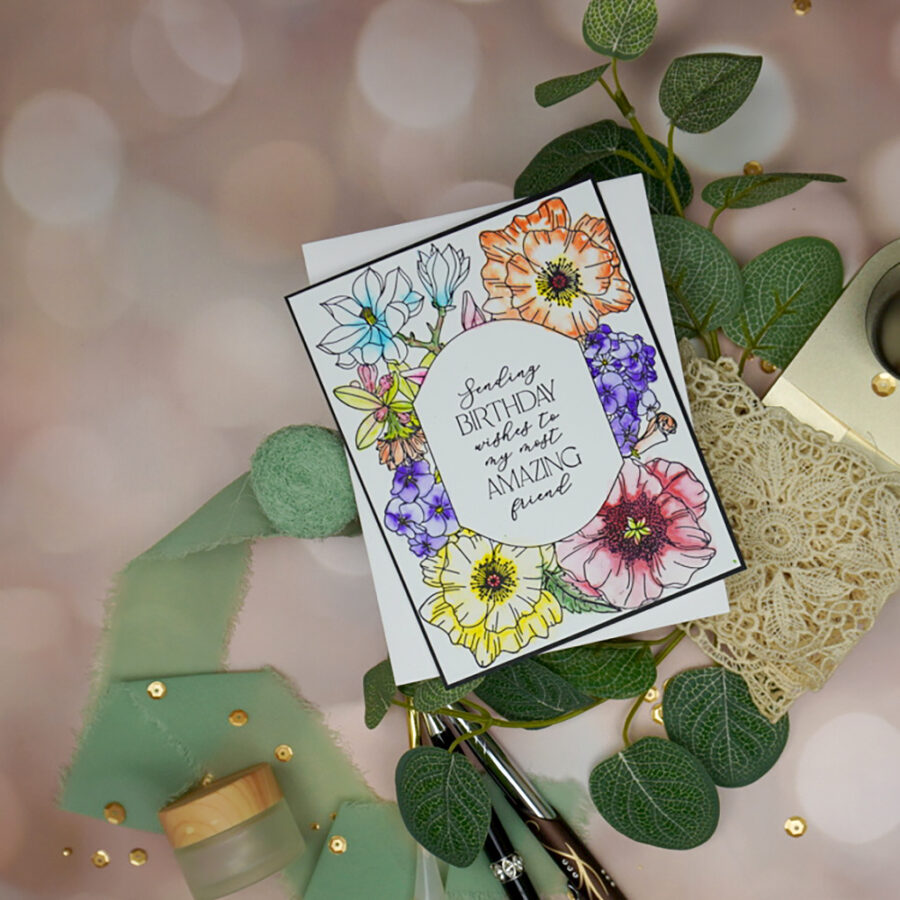
- The floral press plate is quite large. It almost covers the entire surface of an A2 card. You can trim very closely to the image to achieve a framed look like you see in the photo. You end up trimming off about 1/8″ on all four sides.
- Create an A2 card base. You can find help on how to do so HERE.
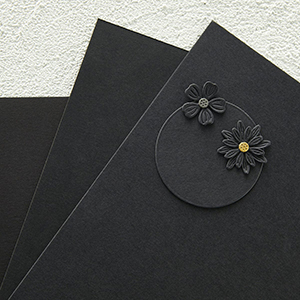
- Trim a piece of black cardstock to A2 size. Following that, attach it to the card base with a tape runner. I've developed a technique to use that will help to get the color panel square with the base. You can access it HERE.
- Attach the colored card panel centered on the black panel using a tape runner.
And that's it, it's not difficult. It just takes a little time to add the color.
Bonus Card
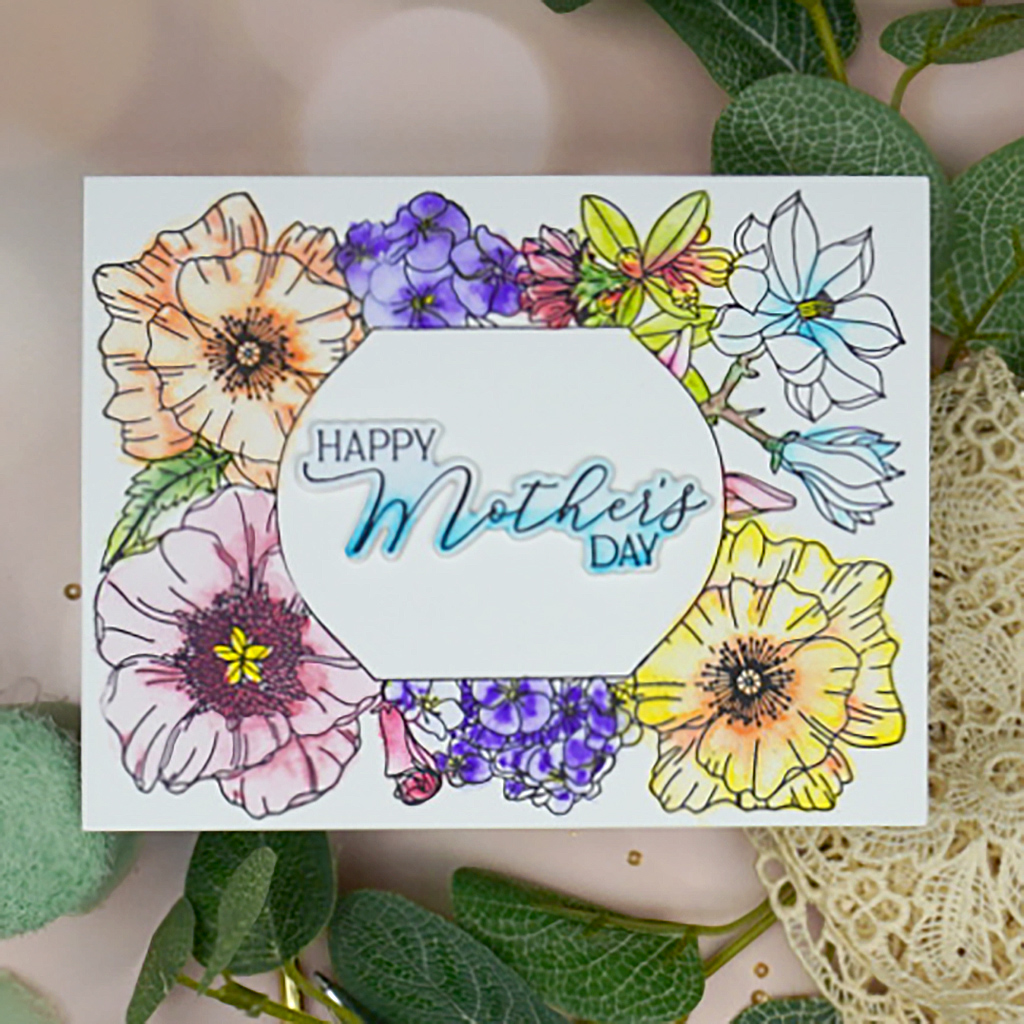
You follow the same steps as the first card. The only difference is that we won't press the sentiment that comes with the Mirrored Arches Booms press plate. Instead, we'll use a Mother's & Father's Day Sentiments press plate to press the sentiments in black ink. Then, we'll die-cut them out with the coordinating die.. Additionally, we'll die-cut three more from white cardstock.
To finish the sentiment, we'll layer up the three white die-cuts with liquid glue. Lastly, we'll glue the pressed sentiment on top and then fasten the sentiment to the center of the card.
Supplies
I use affiliate links. If you use one I may receive a small commission at no extra cost to you. Thank you for your support.