

Do you want to mass-produce greeting cards with layered stencils? That's the way to go when you need to make a lot of cards.
I'm always on the lookout for ways to mass-produce cards. I am because every holiday I make fourteen cards for my family. That's why I thought I'd share something I tried out while making my cards for St. Patrick's Day this year.
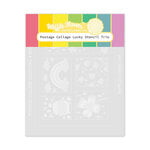
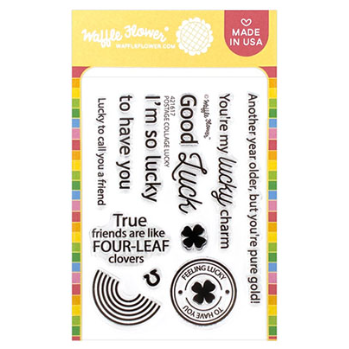
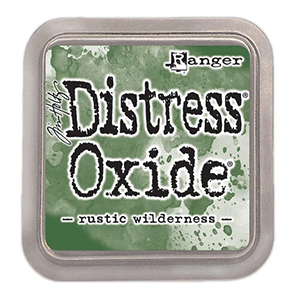
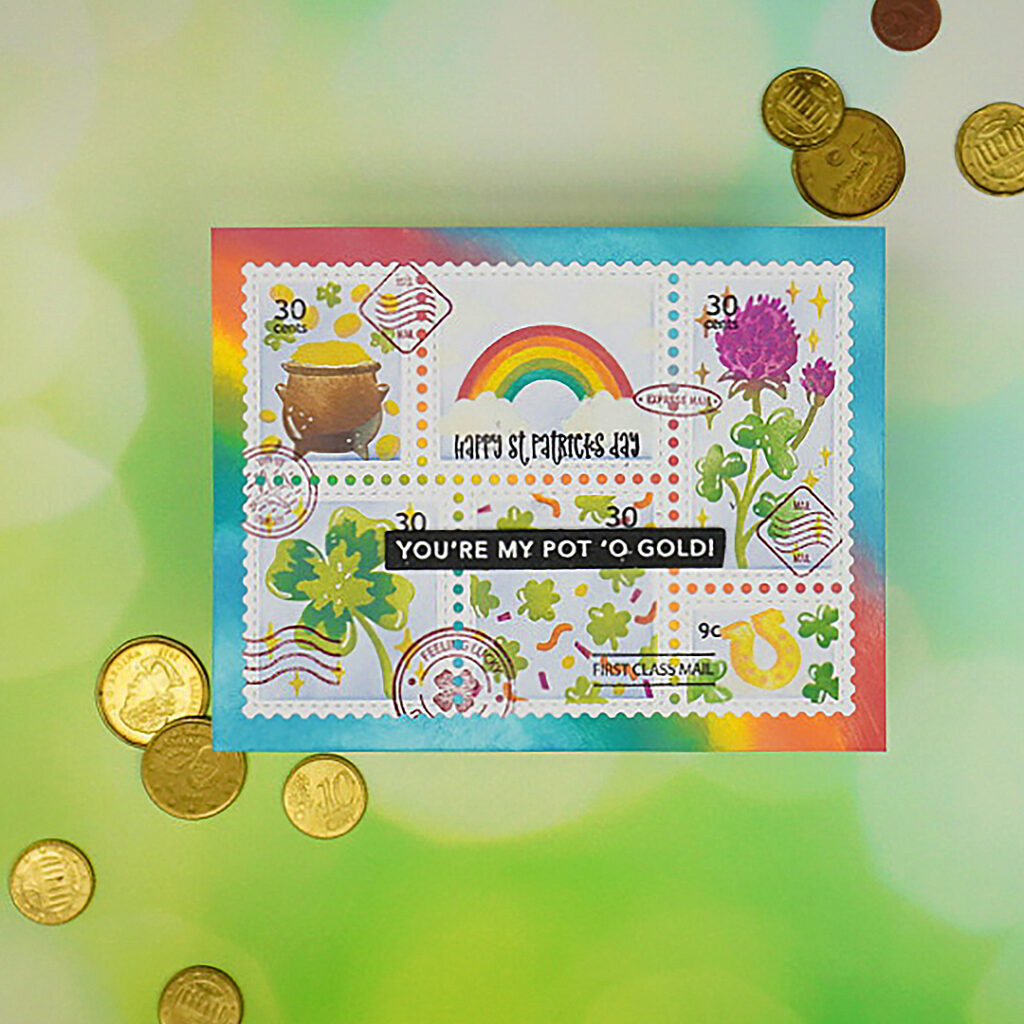
My project features Waffle Flower's Postage Collage Lucky Stamp Set and Postage Collage Lucky Stencil Trio. And the inspiration for it comes from a card designed by Galina Filippenko. Galina has an article on her blog providing the inks that she used for the card. You can access it HERE. There is a full list of supplies at the bottom of this post.
This article contains affiliate links. If you use these links to buy something we may earn a commission. Thank you!
Mass-produce Greeting Cards With Layered Stencils
The first step is the stenciling. When you're stenciling in layers for multiple cards there are a couple of tools that you can use that will help. @KristinaWerner at https://www.kwernerdesign.com/blog/ uses a different sticky mat for every card that you want to make.
Tools
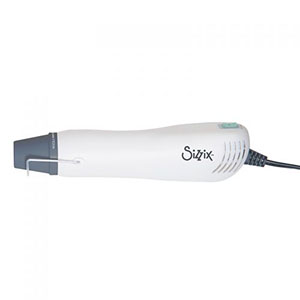
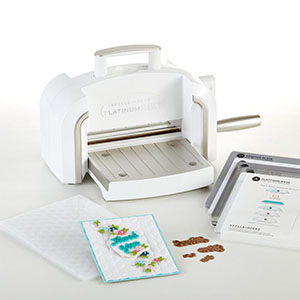
But, for our project we're going to use Sizzix's Stencil and Stamp Tool. It has a mechanism called a Stencil Adapter. The adapter allows you to align each layer of your stencil set perfectly on your project. And, you pick up Universal Stencil Converters to use it with layered stencil sets from any company.
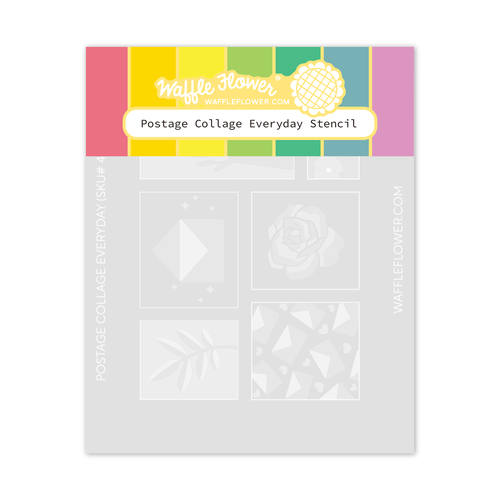
Before we get started go ahead and attach a converter to each of the stencils in the Postage Collage Coloring Stencil Set and the Postage Collage Lucky Trio Stencil Set. Make sure that they are all aligned with each other.
Mass-produce Greeting Cards with Layered Stencils Technique
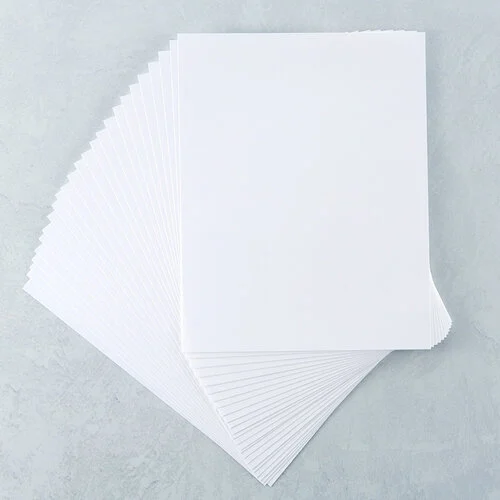
Our card will be A2 size (4 1/4″ x 5 1/2″) and we need an A2 card panel for each card that we are making. We're going to start my setting up the first one just like you would if you're only making one card. Place a card panel on top of the Sticky Grid Sheet on the base of the tool to keep it in position. I like to place it right in the center of the base. However, you will need to adjust it based on where the card base should be when the stencil adapter is on the base and a stencil is in place.
Place another card panel right on top of the first. As you do, make sure that all edges are aligned. Attach a piece of low-tack tape along the right hand edge of the card panel. The tape will act as a hinge. Attach two more card panels the same way. Lift the left side of the top card panel and carefully turn it to the right keeping the right edges in line with the panel below it. Burnish the “hinge” with your finger. Fold the card back to the left and repeat with the next two card panels. You've basically created three “pages” that you will flip back and fourth to stencil on.
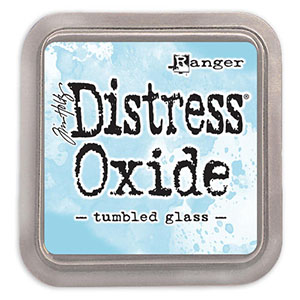
Now, place the first stencil (the one that has 6 rectangle/square stamp shapes) from the Postage Collage Coloring Stencil set on the stencil adapter over the top card panel. After that, use your blue blending brush to blend Tumbled Glass ink through the stencil.
Remove the stencil, turn the top card panel to the right, and replace the stencil. Following that, blend through the stencil like we did for the first one. Repeat with the other two card panels.
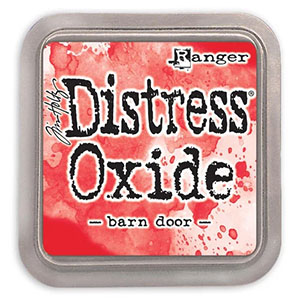
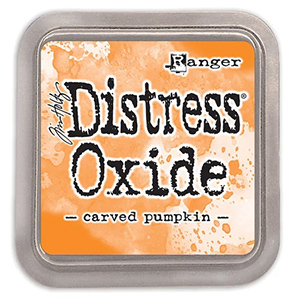
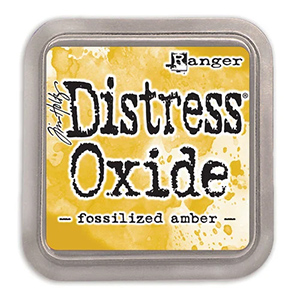
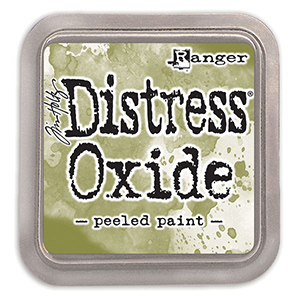
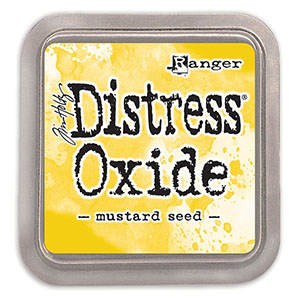
Using the colors that Galina specifies on her website blend over the three stencil layers of the Postage Collage Lucky Trio Stencil Set.
TIPS:
- Any more than three or four panels and the tape loosens.
- Use low tack tape to mask of areas where the stencil is tight
- Clean your stencils with a cloth between ink colors
I filmed while using my mass-produced greeting cards with layered stencils technique. You can check out the reel HERE.
Card Assembly
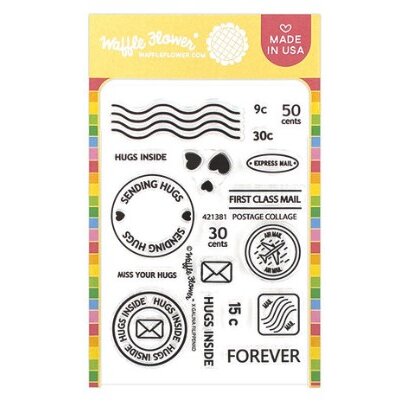
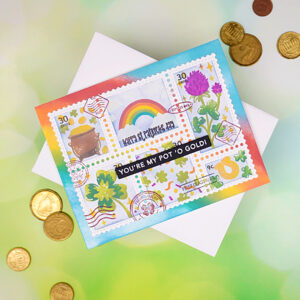
We're using two of the Postage Collage Stamp sets for this card, Postage Collage Stamp Set and Postage Collage Lucky Stamp Set.
TIP: It is quicker and easier to use acrylic stamping blocks to stamp these tiny images onto your panels than to use a stamp positioning tool.
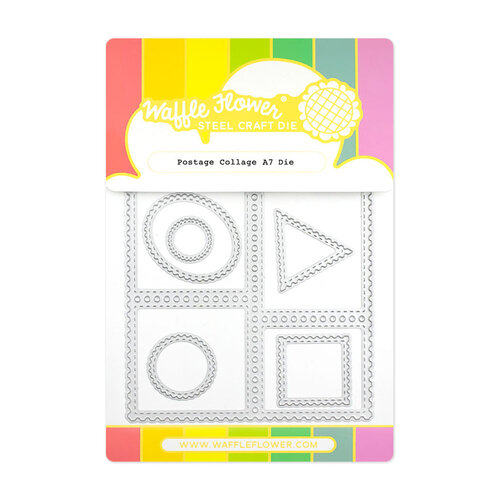
Ink blend a rainbow that stretches from the upper left corner to toe lower right corner of a white A2 size card panel in the horizontal position. Attach the rainbow panel to a white card base with a tape runner. Now, you can die cut the stenciled panels with the Postage Collage Die. Once that is done, attach the panel centered on the card base using liquid glue.
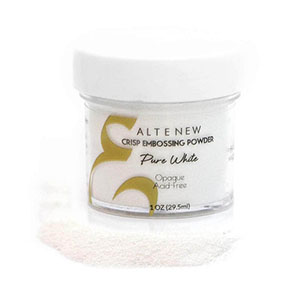
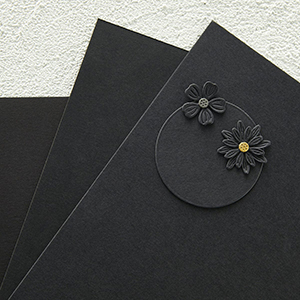
For the sentiment, we're going to heat emboss Mini-Strips – St. Patrick's Day from Taylored Expressions in white on black cardstock. For instructions on how to heat emboss you can find a tutorial HERE. Trim the sentiment with the coordinating die, Mini-Strips Die. To finish the card, attach the sentiment with 1/4″ foam tape.
Supply List