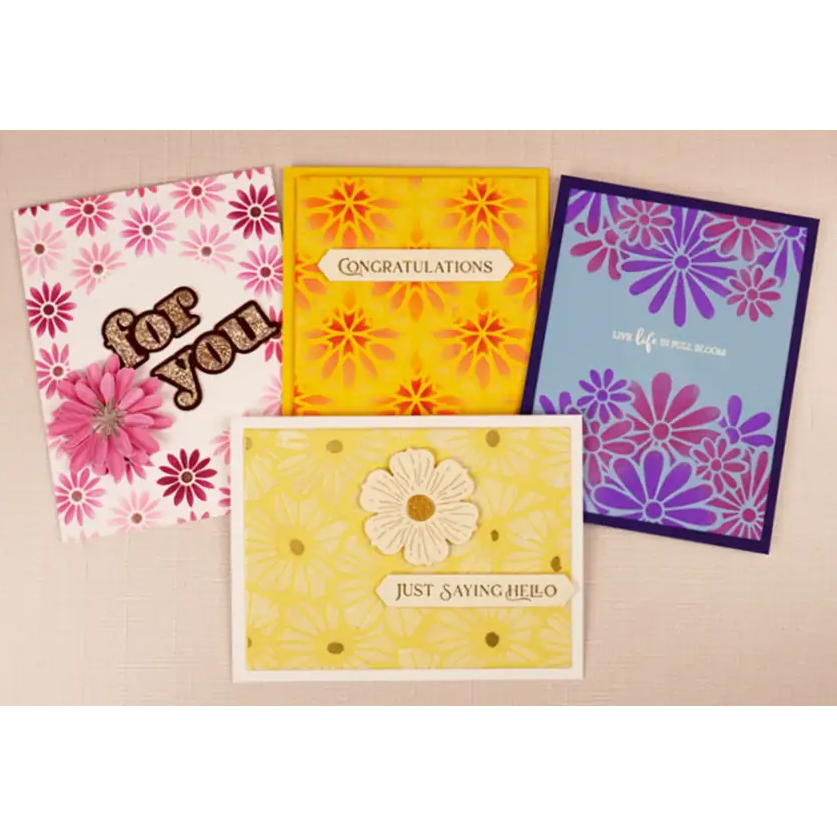
Learn how to make these 4 jaw-dropping cards using Spellbinders February 2024 Stencil of the Month, and get the full supply list too.
This stencil set, Spring Stencil Backgrounds, is so awesome! For example, it has four stencils in it and we're using all four of the stencils in our projects today. I love to use unconventional techniques while making cards. And today's cards are no exception. For example, we'll be heat embossing with our stencils for our first and last cards.
Jaw-Dropping Hello Card
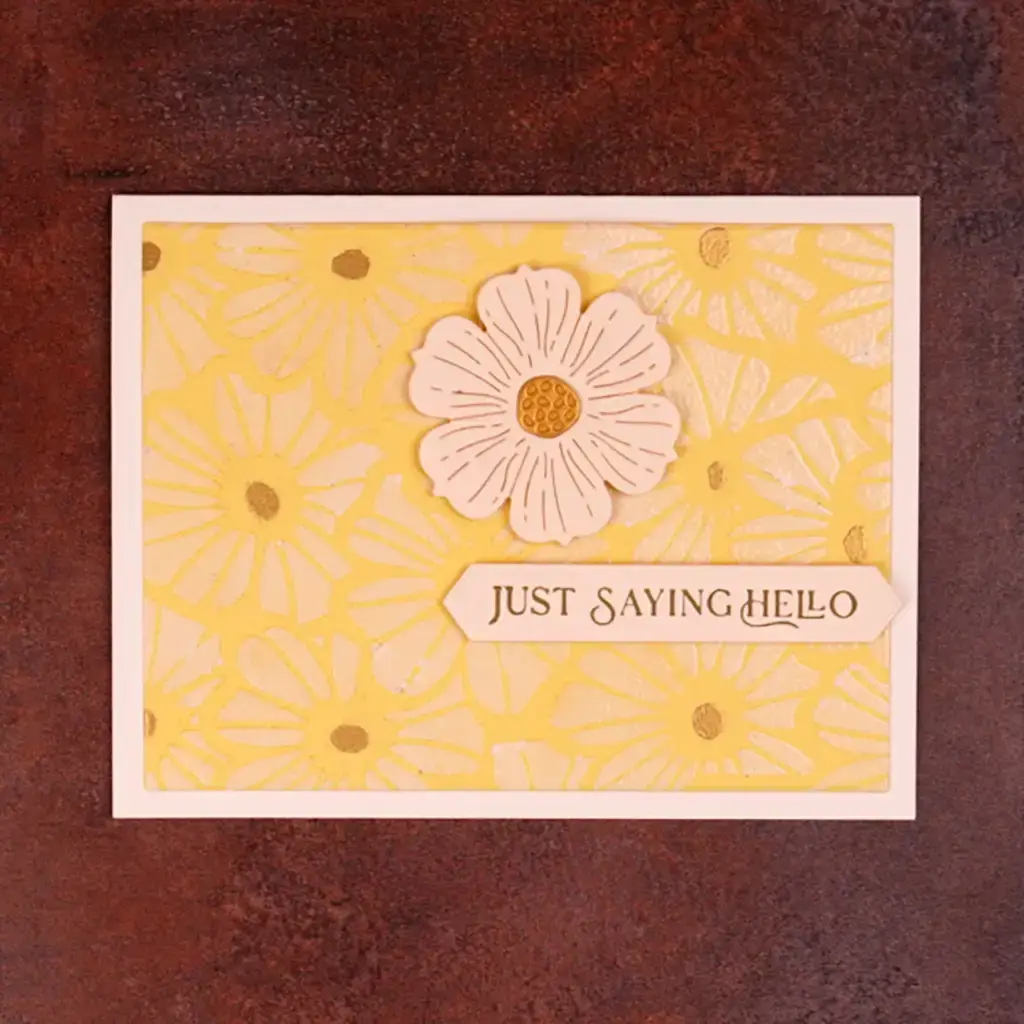
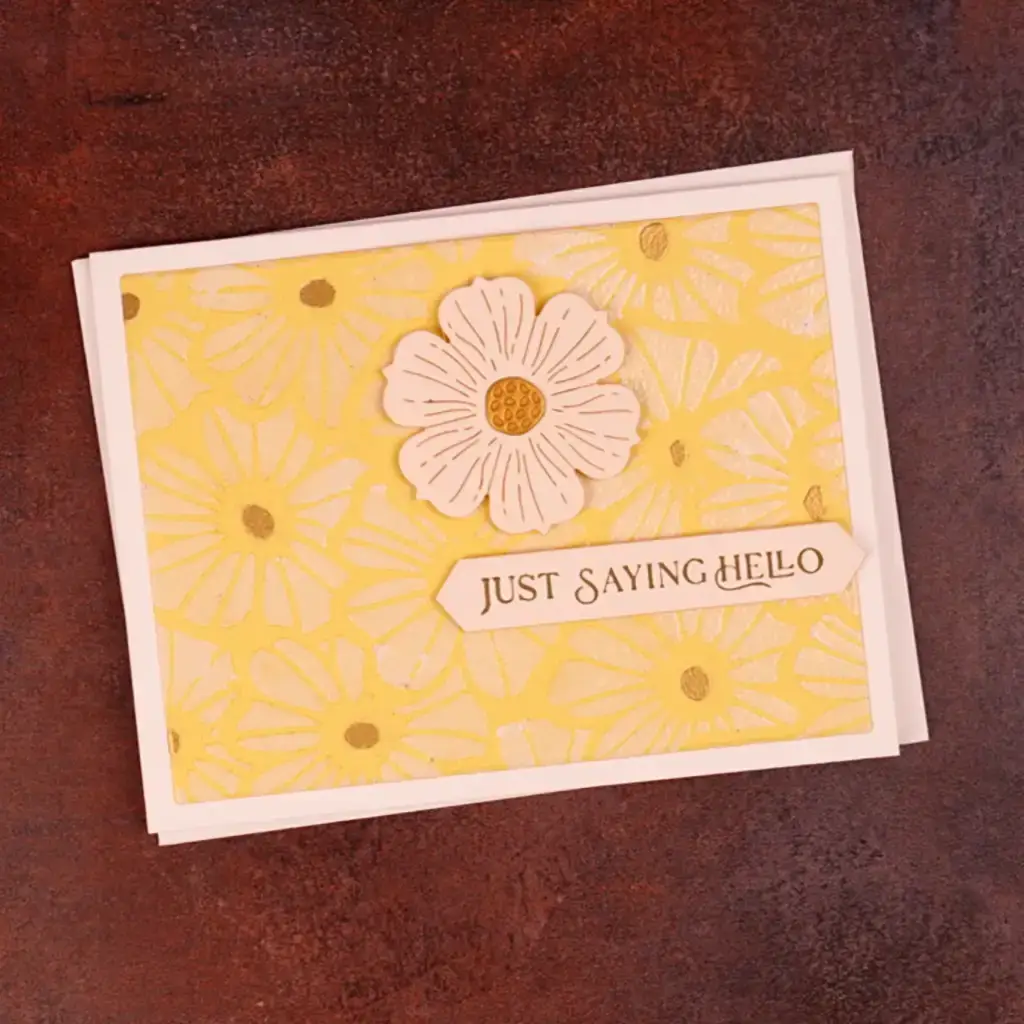
In addition to the heat-embossed background, we're going to use a die-cut flower to accent the pretty flowers created with the stencil.
Steps for making the Hello Card
- Tape the stencil to a A2 (4 1/4″ x 5 1/2″) size pale yellow card panel
- Blend
white pigment ink through the stencil onto the card panel avoiding the flower centers - After that, remove the stencil from the card panel
- Sprinkle clear embossing powder over the ink, let it sit for a second, and pour it off
- Heat the powder with a
heat tool until it is smooth and melted - Replace the stencil over the card panel and use a small detail blending brush to add rose gold pigment ink to each of the flower centers
- Heat emboss the flower centers following the same steps as above
- Once the card panel is cool, trim it to 3 7/8″ x 5 1/8″ (alternatively you can use a rectangle die to trim the panel)
- Pop up the card panel on a white A2 card base with a
foam sheet - Die-cut a large flower from Alabaster cardstock and the centers from
brushed gold - Fasten the flower pieces together with
liquid glue - Pop the flower up on the card front over one of the embossed flowers with
foam squares - Letterpress, hot foil, or stamp your sentiment onto a piece of Alabaster cardstock, trim it, and pop it up with foam squares (I had this sentiment in my stash, it's made using XXXXX)
Bloom Card
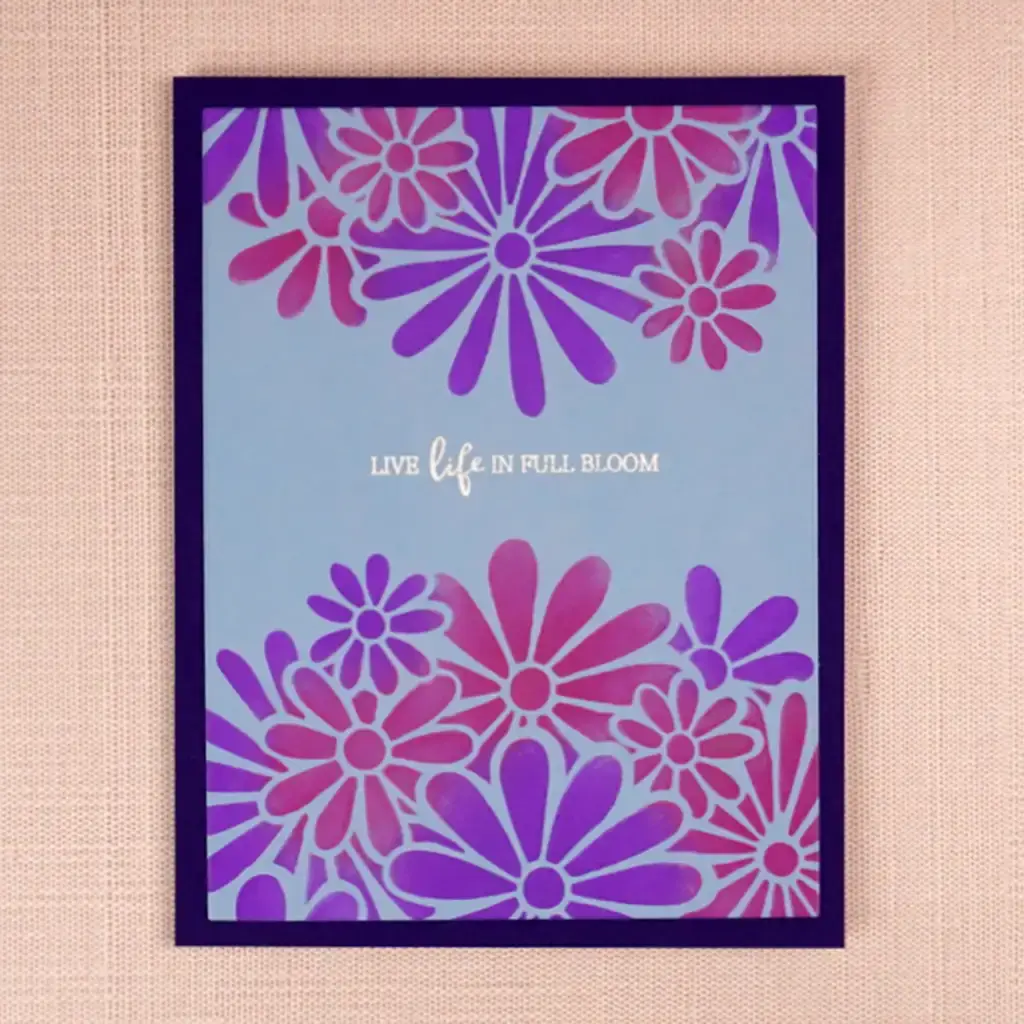
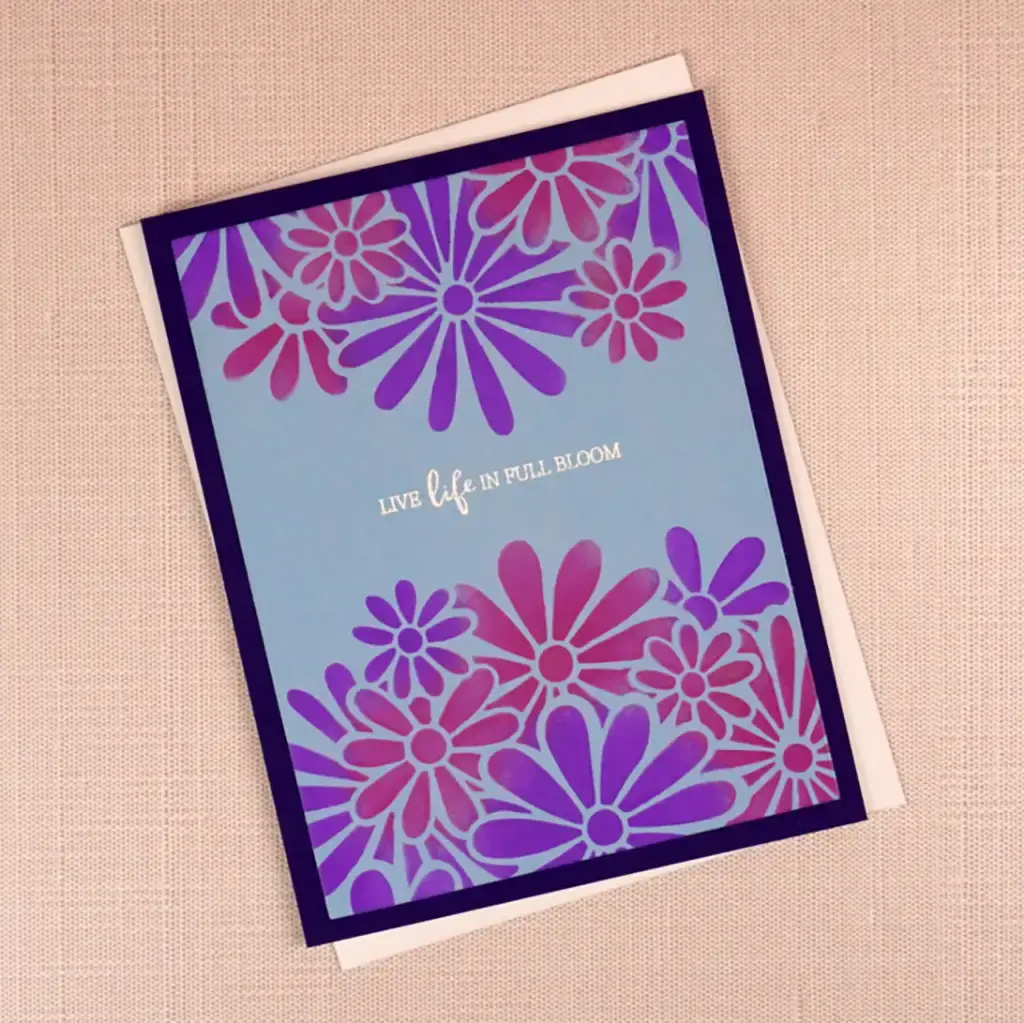
This bright design reminds me of the 70's. It's a quick and simple card that you can make in minutes.
Steps for making the Bloom Card:
- Attach the stencil to a blue A2 size card panel and blend purple and pink Distress Oxide ink randomly over it.
- Using watermark ink, stamp the sentiment onto the card panel. Then, heat emboss it with white embossing powder (using a stamp positioning tool helps with this step).
- Attach a dark purple A2 card panel to a white A2 card panel with a tape runner
- Trim the card panel to 3 7/8″ x 5 1/8″. And then, fasten it centered on the card front with your tape runner
Jaw-Dropping Congratulations


This card is so pretty! The design reminds me of stained glass. And we'll use one of my favorite color combinations to create a lovely design.
Steps For Making the Congratulations Card
- Tape the stencil to a bright yellow A2 card panel
- Beginning with light yellow ink and a small blending brush blend around the outside edge of each “floral circle”. You will be coloring the little triangles in each section to make a light yellow partial ring.
- Next, we'll use a small blending brush and light orange to blend the outer petals.
- The final blending is to blend the centers with red ink
- Trim the card panel to 3 7/8″ x 5 1/8″ (or use a rectangle die)
Jaw-Dropping “For You” Card
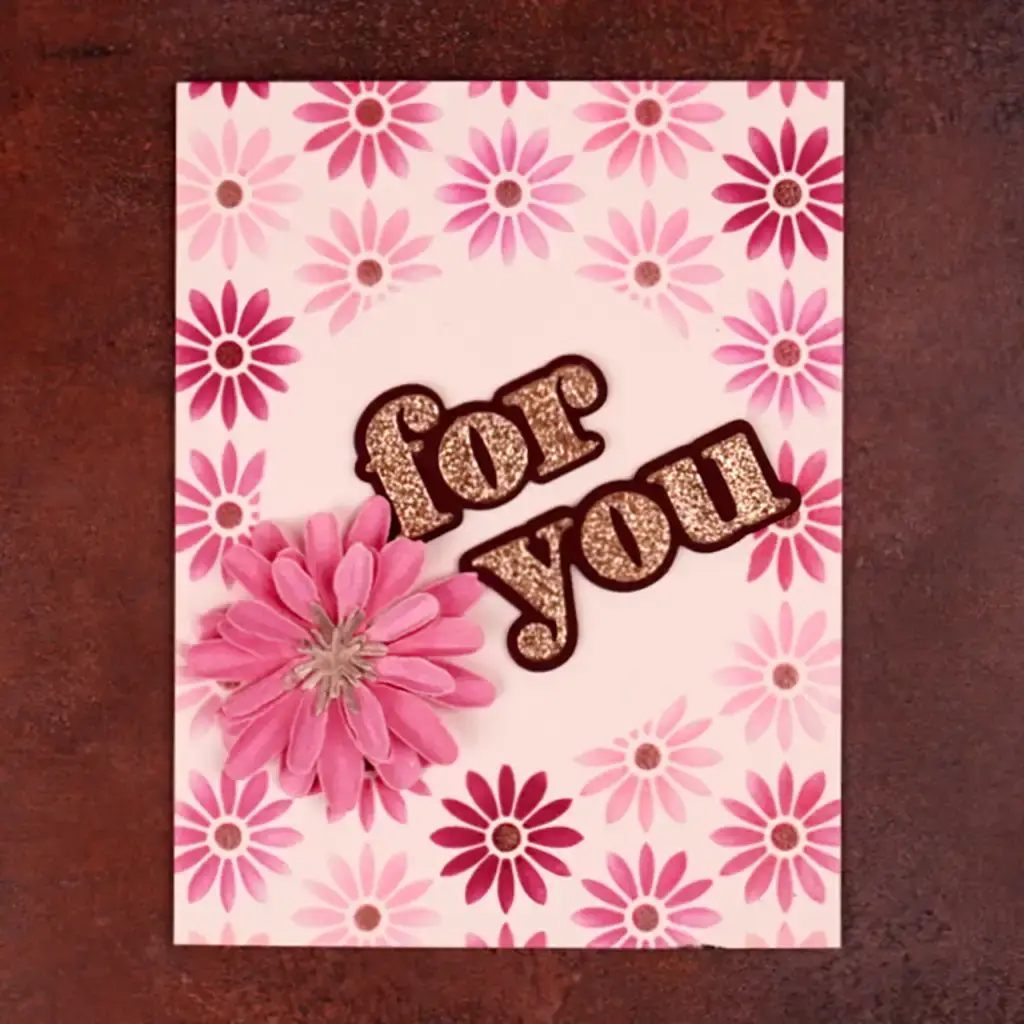
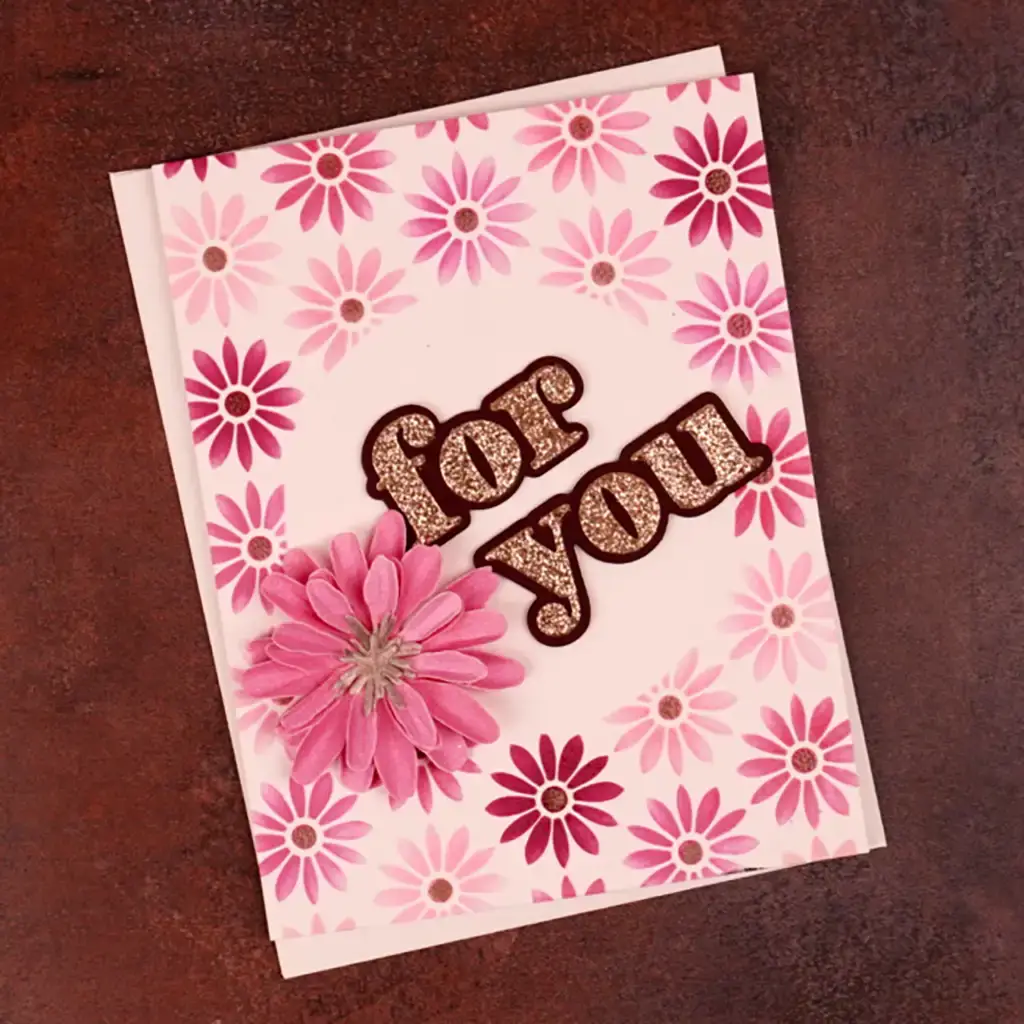
The beauty of this card speaks for itself. A gorgeous stenciled background sets the tone. And then, a 3D flower and sentiments that match make it a special card.
Steps For Making the For You Card
Background
- Tape the stencil to an white A2 size card panel
- Afterwards, tape the circle mask that comes with the stencil set into the circle cut out.
- Use a small blending brush to blend the flowers. To do so, we'll begin with the lightest pink blend 3-5 of the flowers. After that, use the same brush to blend 3-5 of the flowers using the medium pink. And then blend the rest of the flowers with the dark pink.
- Before you remove the stencil, blend in the centers of all the flowers with rose gold pigment ink.
- Now you can remove the stencil and heat emboss the centers with clear embossing powder.
Flower
- Blend medium pink. ink on both sides of a card panel of specialty cardstock.
- After that, blend rose gold pigment ink. on both sides of a small piece of specialty cardstock.
- When the ink has dried, die-cut two sets of the zinnia flower pieces from the pink cardstock and one set of the flower centers from the rose gold.
- Before you begin working on the flower, I recommend that you watch Susan Tierney-Cockburn's video (see below) for instructions on how to make the flower
Sentiment
- Die cut the sentiments from champagne glitter cardstock. The die that I used is retired, but Serenade Sentiments is a nice substitute.
- Die-cut four of the shadows and then layer them together with
liquid glue - Fasten the sentiment on top with liquid glue too
Assembly
- Fasten the stenciled card panel to a white A2
card base with a tape runner. - Arrange the sentiments and flower where you want them to be
- Then, using the arrangement for guidance, attach the sentiments with
liquid glue - Use Kids Choice Glue! to add the flower in place
How About More Card Ideas Using Stencils?
It's amazing how you can make such lovely cards with stencils. Here are a couple more ideas for you:
