

I have 3 darling Monster Birthday Cards to share with you in this article. And, there are step-by-step instructions if you want to make them too.
Featured Products: Monster Birthday Collection
Spellbinders Paper Arts just released the Monster Birthday collection. And, it's whimsical, playful, and fun and makes the most adorable cards. My cards feature the following three die sets from the collection.
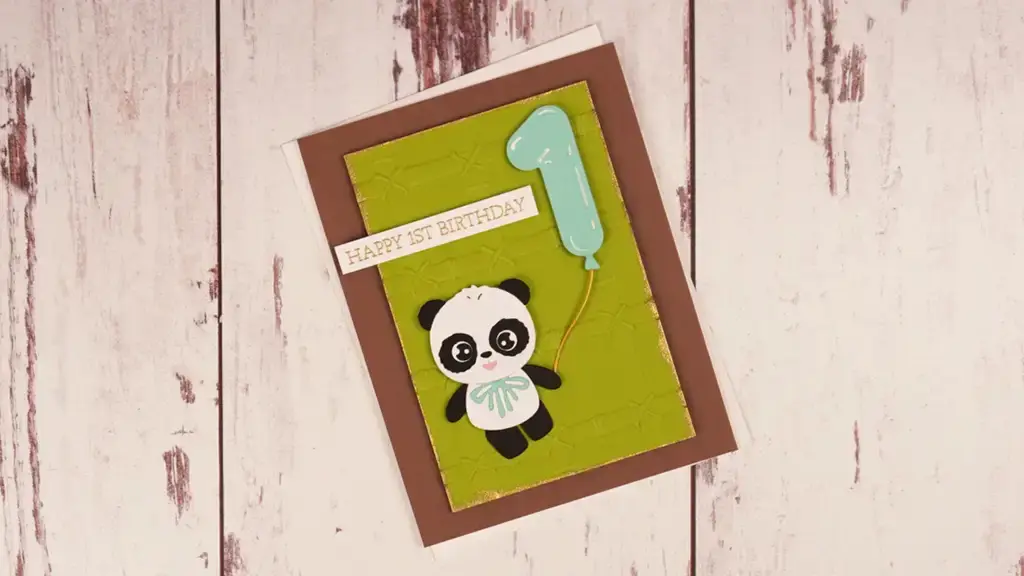
Dancin' Birthday Panda

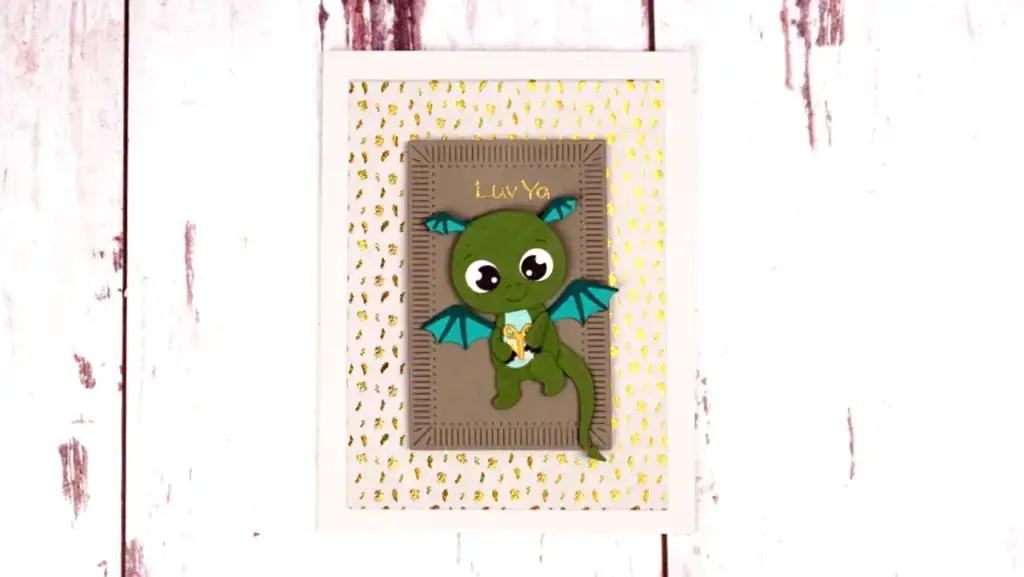
Dancin' Birthday Dragon

Birthday Balloons

Instructions For Making the Monster Birthday Cards
Die-cutting Monster Birthday Cards
The first step for all three cards is to do the die-cutting as follows:
Panda
- Panda head, body, and whites of eyes – Snowdrift
- Arms, legs, ears, eye rings, nose, eyes – Onyx
- Balloon & bow – Waterfall
- Balloon string – Brushed Gold
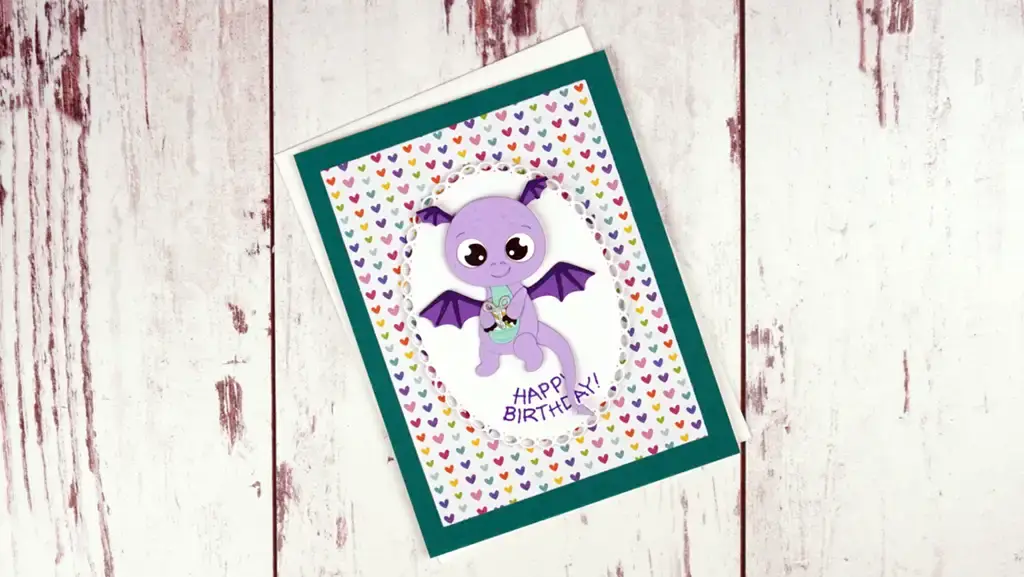
Purple Dragon
- Dragon head & body – Purple Mist
- Wings – Lilac Blossom
- Wing ribs – Royal Amethyst
- Claws, & eyes – Onyx
- Whites of eyes – Snowdrift
- Belly – Waterfall
- Present – Printed Paper
- Bow – Brushed Silver
- Decorative Oval (the die I used is retired but the Postage Edge Oval is a good substitute- Snowdrift
Green Dragon
- Dragon head & body – Fern
- Wings – Teal Topaz
- Wing ribs – Blue Spruce
- Claws, & eyes – Onyx
- Whites of eyes – Snowdrift
- Belly – Waterfall
- Present – Patterned Paper
- Bow – Brushed Gold
Monster Birthday Cards Assembly
The assembly of the panda and the dragons is the same.
We'll use liquid glue to fasten all of the body parts together. All three of the monsters “dance” with a moving body, so you don't want to glue the body to the head. Additionally, you can use the markings made by the dies and the photos to help find the right locations for all of the different elements.
Monster Birthday Cards Backgrounds
The second step for each of the cards is to create the background.
Panda Background
Emboss a piece of rainforest cardstock with the Bamboo Trellis embossing folder. Then, we'll trim it down. For example, I used my paper trimmer and cut an even amount around the embossed design. However, you can trim it however you want to. Next, rub the edge of the embossed panel on your watermark ink pad and then dip it in gold embossing powder. Finally, heat it with your heat tool on high until the powder is smooth and melted.
While we have our heat embossing supplies out we'll go ahead and create the sentiment too. But first, you need to brush a piece of white cardstock with anti-static powder. After that you need t, stamp the sentiment on the cardstock with watermark ink. Then, sprinkle it with the embossing powder, pour it off, and heat it.
Fasten an A2 size brown card panel to a white A2 card base with a tape runner. Then, pop the embossed panel up with a foam sheet centered on the card front. Following that, we'll add foam squares to the back of the panda's head, the balloon, and the sentiment.
Purple Dragon Background
To create the background for the purple dragon, trim or die-cut a piece of lagoon cardstock to 3 5/8″ x 4 7/8″. Following that, fasten it centered on a white A2 card base with a tape runner.
Stamp “happy birthday” at the bottom of the oval with purple ink. After that, pop it with a foam sheet or foam squares centered on the card front.
Green Dragon Background
To create the background for the green dragon, trim or die-cut a piece of patterned paper to 3 5/8″ x 4 7/8″. Following that, fasten it centered on a white A2 card base with a tape runner.
Brush the fluted rectangle with anti-static powder. Then, stamp “luv ya” at the top of the fluted rectangle with watermark ink. Sprinkle gold embossing powder over the sentiment and then pour it off. Finally, heat the embossing powder until it is smooth and melted.
Once the sentiment cools off, pop the rectangle up with a foam sheet or foam squares centered on the card front.
Putting the Monsters Birthday Cards Together
Hold the body behind the head and move it around until you're satisfied with where you want it to be. Hold them together with your fingers and turn them around so that they are facing your worksurface. And then carefully lower them to the worksurface without letting them slip apart. When you're satisfied it is ok, place a foam circle in the middle of the ring in the body and fasten it to the back of the head. After that you can remove the backing paper off of all of the foam and fasten the panda's head to the card front. Make sure that you keep the ring on the body around the foam circle as you fasten it to the card front.
Finishing the Panda Card
Decide where you want the balloon to be located and glue the string to it and behind the panda's paw. And lastly remove the remaining backing paper from the balloon and sentiment and fasten them to the card front.
Monster Birthday Cards Supply List
I use affiliate links. If you use them I may receive a small commission at no extra cost to you. Thank you for your support.

Dancin Panda Die Set

Dancin' Dragon Die Set

Botanical Patterned Paper - Sizzix

Rainbow Love Patterned Paper - My Favorite Things

Fluted Rectangle Dies - Spellbinders

Bamboo Trellis Embossing Folder - Spellbinders

Double-sided Adhesive Foam Rounds 3mm

Hugs Sentiments Stamp Set - Stampendous

Plum Crazy Ink - LDRS

Latte Cardstock
Spellbinders Onyx Cardstock

Scrapbook.com Foam Sheet

Waterfall Cardstock

Rainforest Cardstock
Glue Press
Reverse Tweezers
Teflon Bone Folder

Snowdrift Cardstock

Brushed Gold Cardstock - Spellbinders
Versamark Watermark Ink
Spellbinders Gold Embossing Powder
110lb Solar White
Bearly Art Glue
Tape Runner - Spellbinders
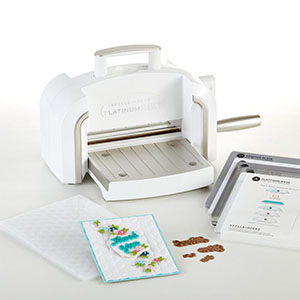
Platinum 6 Die-cutting Machine
Sizzix Dual Speed Heat Tool
Altenew Scoring Board
And that's it. It's easy to see that you can get carried away making such cute cards. I'd love to see what yours looks like!
Looking For More Fun Birthday Cards
You might be interested in these: