What do I mean by a special sympathy card? Well, sometimes you need a little extra something to let someone know how special they are or were.
For some reason, it seems that this time of year brings the need for sympathy cards more often. At least it has for us this year. And the same is true as we continue to age.
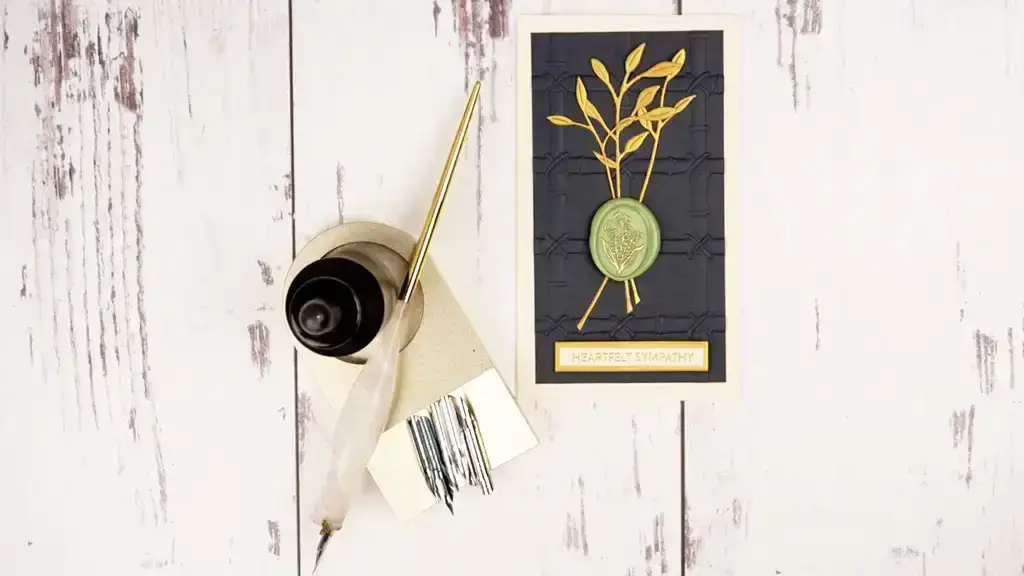
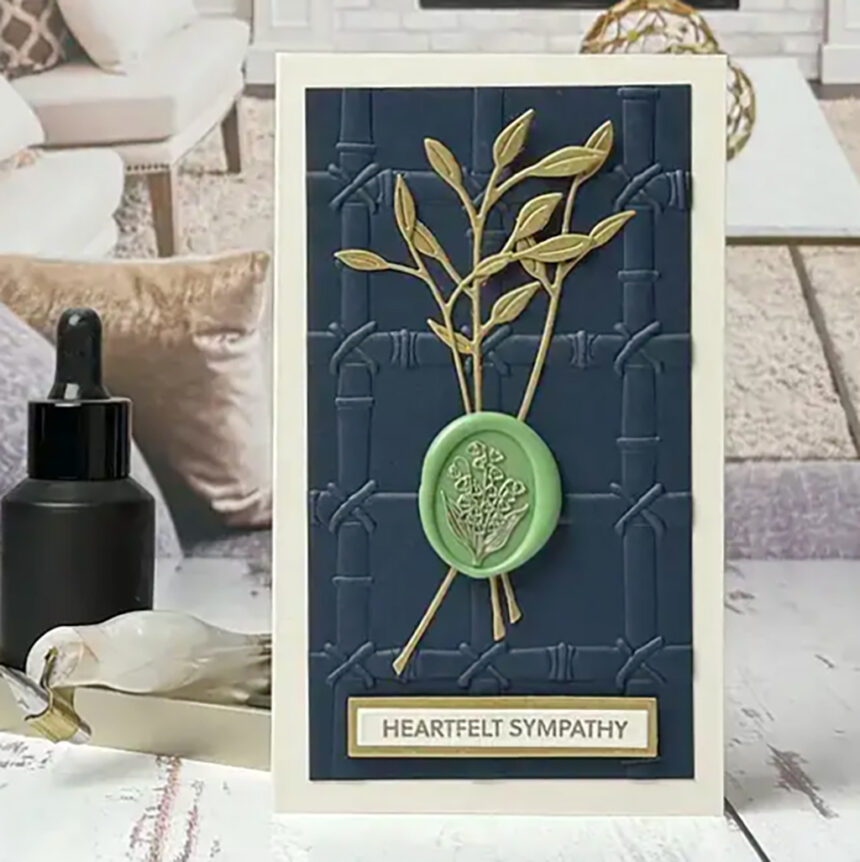
So, I'm sharing how to make a special sympathy card that features the “Lily of the Valley” wax seal stamp. This is Spellbinders wax seal of the month kit, one of several monthly crafting subscriptions that they offer.
The way it works is that very talented, crafty people create projects with some, or all of the monthly kits. And they share what they have made on their blogs and on social media for the first five days of each month. This is to introduce you to the kits and to give you ideas of what you make with them. Then, you can register for the monthly clubs that you're interested infrom the 6th to the 27th of each month. That is, if you haven't already. You can learn more about it at Spellbinders.
How To Make This Special Sympathy Card

Making The Special Sympathy Card Wax Seal
To begin with, we're going to make the wax seal. You'll need a wax furnace and spoon, a silicone mat, wax beads, your wax seal stamp, and a gold marker. I created a video showing how to make a wax seal. You can watch it here:
Once the wax seal is cool, carefully use the gold marker to bring focus to the pretty Lily of the valley design. It takes some practice. I find that this is easier if you just use the tip with tiny little dabs onto the seal.
Sentiment, Embossing and Die-cutting
Because we're using gold accents on the card, we're going to heat emboss the sentiment with gold embossing powder on cream cardstock (alabaster). I used dies to trim around the sentiment and to cut a piece of Brushed Gold cardstock a little bigger. However, you can easily do so with scissors or paper trimmer.
Next, we'll die-cut the three dies from Sealed Leaf Sprigs from Brushed Gold cardstock. Finally, the last thing we need to prepare is the background. To do so, you'll want to dry emboss a piece of dark blue cardstock, I used Indigo, with the Bamboo Trellis embossing folder. After that, trim down the panel so that the design is centered and measures 3″ x 5 1/2″.
Special Sympathy Card Assembly
Make a mini-slimline card base by trimming a piece of heavy-weight white cardstock to 6″ x 7″. And then score it halfway (at 3 1/2″) along the long side. Your card base should measure 3 1/2″ x 6″. Next, we'll trim a piece of Alabaster cardstock to 3 1/2″ x 6″. And then, we'll fasten it to the card base with a tape runner.
Now that we have our card base set, we'll center the embossed panel on the card base. Because the surface is embossed, we'll use double-sided adhesive to make sure it stays on. You can use the photo to help figure out what your arrangement will look like. When you are happy with it, attach the sprigs to the card front with liquid glue.
Now you can attach the wax seal. I like to use adhesive circles that are made especially for this purpose. Finally, the last thing to do is layer up with sentiment using liquid glue. And then, we'll pop it up with foam squares.
Final Words
Making sympathy cards isn't the most fun thing to do. But somehow it is one of the most meaningful. I hope that you've learned a tip or two from making this one with me. If you're looking for more sympathy card ideas you will find a nice one in 5 TIPS ON HOW TO IMPROVE YOUR LAYERED STAMPING TECHNIQUES.


