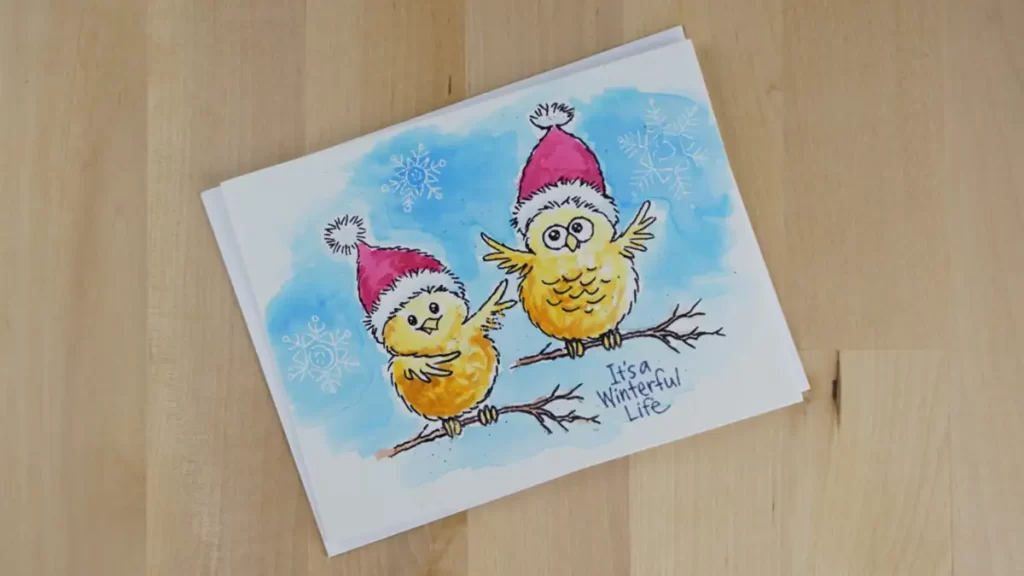
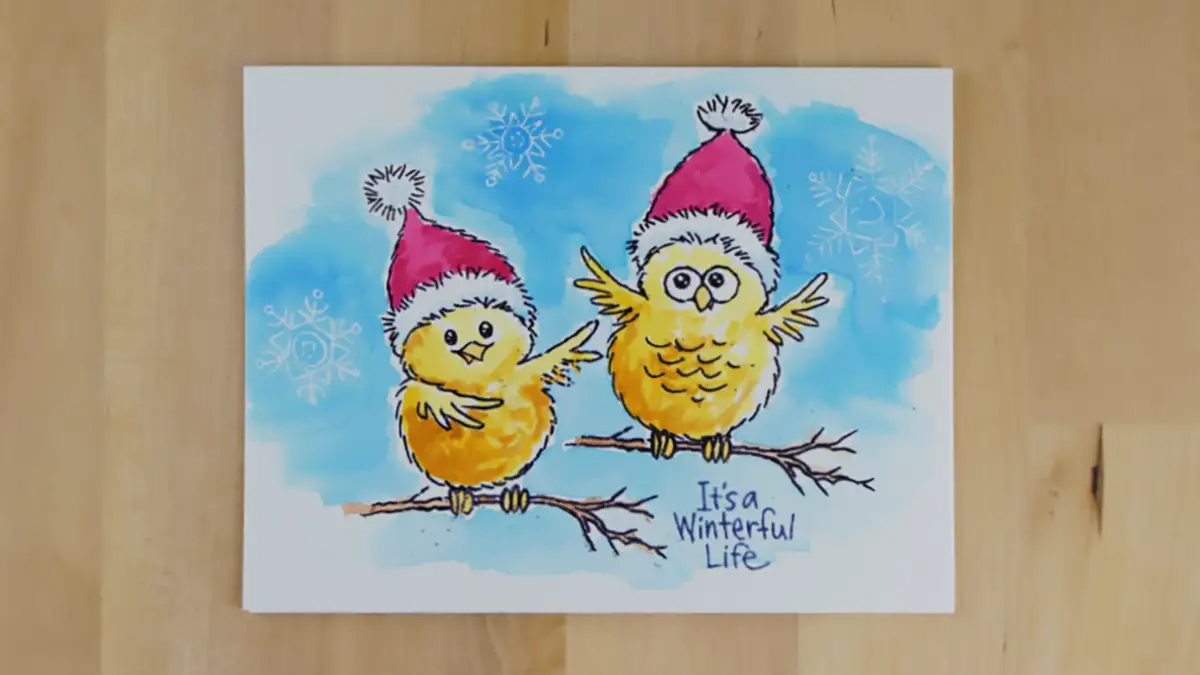
Cute snowbirds make a darling Christmas or winter card. Learn how to make this card with step-by-step instructions.

We're using the Stampendous FransFormer Snow Birds Clear Stamp Set from Spellbinders for this cute card that we will watercolor. This set is really awesome because all the pieces in it are flexible like a rubber band when pressed into a desired design or position on an acrylic block. They're designed to give you the ability to adjust the images to make them longer for slimline cards or shorter or narrower for cards or tags.
And, the stamps for the faces, feathers, and “legs” are separate from the bodies so you can customize each little bird that you create.
Stamping The Cute Snowbirds
To begin our card we're going to stamp the images onto an A2 size (4 1/4″ x 5 1/2″) piece of watercolor cardstock. I like to use a stamp positioning tool to do this. I use a grip mat in it to hold the cardstock in place. As a result, I can stamp as many times as I need to to get a good solid image.
I suggest that you stamp the branch first. That way you can build your birds from there. And, it doesn't hurt to arrange the stamps on your card panel to ensure that you have good placement before you start stamping.
If you look closely at the photo you will notice that the branch on the left is bent slightly. This is because it creates more space for the other bird and his branch. Take note of any stamps that overlap. Like I said, I like to stamp the branches first and then stamp the birds. As a result, you can get the birds snug down on the branches. And, make sure that you use waterproof ink to do your stamping.
Next, we'll go ahead and heat emboss three snowflakes around the birds with sparkly white embossing powder.
Watercoloring the Cute Snowbirds
Now that all our images are on the cardstock you can begin to watercolor. You can use any kind of ink or watercolor paint. You only need four colors: red, yellow, blue, and brown. And, if you don't have brown you can make it by mixing the other three colors.
Begin by painting your first layer of yellow on the birds, red on the hats, and brown on the branches. When that is dry, mix a little of the brown with the yellow to create a darker yellow and paint in some shading on the birds, their beaks, and claws. You can add another layer of red to shade the hats.
And then for the background, I like to wet the cardstock first and then add in the pigment to give it a pretty fluid look. Don't forget to watercolor over the snowflakes to make sure that they show up. The last thing to do with our blue is to dilute the blue a lot and then use it to add some shading to the fluffy white rims and balls on the hats.
Sentiment and Assembly
You want to make sure that your card panel is completely dry before you do anything else. I like to use a heat tool made especially for watercolor painting to dry my projects.
Stamp your sentiment with your favorite ink color and then attach the card panel to a white A2 card base. And, I like to use double-sided adhesive with watercolor panels to help flatten some of the warping.
Looking For More Fun Christmas Card Ideas?
Check out 8 Cards! Did You Miss Christmas In July?


