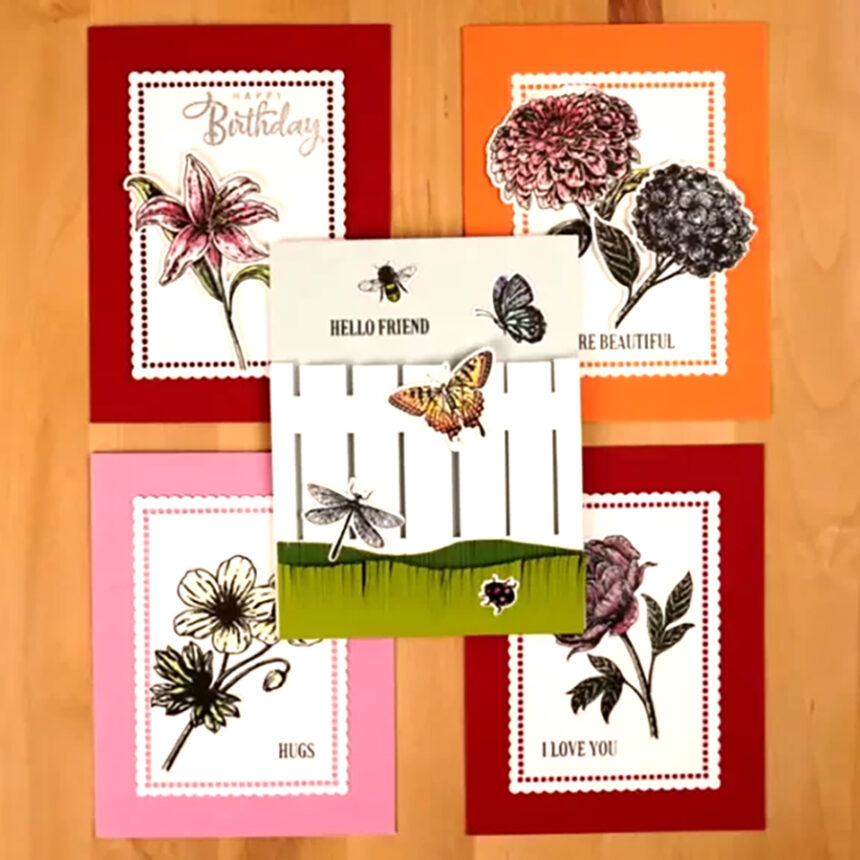
I share 10 greeting cards that I made using Beautiful Blooms in this article! And, one has a surprise element in it.
I am so excited to introduce Simon Hurley's Beautiful Blooms, the new release from Spellbinders Paper Arts. It's a huge stamp set that is filled with five different big, detailed flowers. Additionally, there are several butterflies, a bee, a dragonfly, and even a ladybug. The set is also packed with eight sentiment stamps so you're getting a lot with this set. And then there is also a coordinating die set.
I had so much fun with this set and I am excited to share my projects with you.
My original plan was to make just a couple of cards by arranging the flowers on the front. So I stamped everything but the sentiments on white cardstock with black ink. After that, I watercolored them with some of Simon's inks (I list what I used below).
Then I wondered what they would look like if I were to heat emboss them. So, I heat-embossed another set with black embossing powder. And, I watercolored them as well.
A Change In Plans
My plan completely changed when I began to arrange all the flowers. Each image is so beautiful! I just couldn't bear the thought of covering anything up. And in addition, I wanted to use all of them. So, I decided to make a set of cards with a separate notecard that showcases each flower.
Card Bases and Backgrounds
I had a bunch of colored A2 size (4 1/4″ x 5 1/2″) card bases in my craft room. They are perfect for making these cards. Next, I'll make a pretty “doily” kind of backer with a scalloped rectangle die and a hemstitch rectangle die that's just a little bit smaller. It works best if you die-cut the scalloped rectangle first and then add the hemstitching. Repeat eight times.
Card Assembly
Attach the doilies centered on the card bases with a tape runner.
Lastly, attach the flowers, bees, butterflies, and bugs with liquid glue. And, if you want to you can pop some of them up with foam squares.
I should probably mention that I use affiliate links. What that means is that if you purchase after clicking on them I may get a small commission at no extra cost to you. Thank you!
Beautiful Blooms Rose Cards
I thought it would be fun for you to see the difference between what the stamped and heat-embossed images look like. Here is what I end up with:
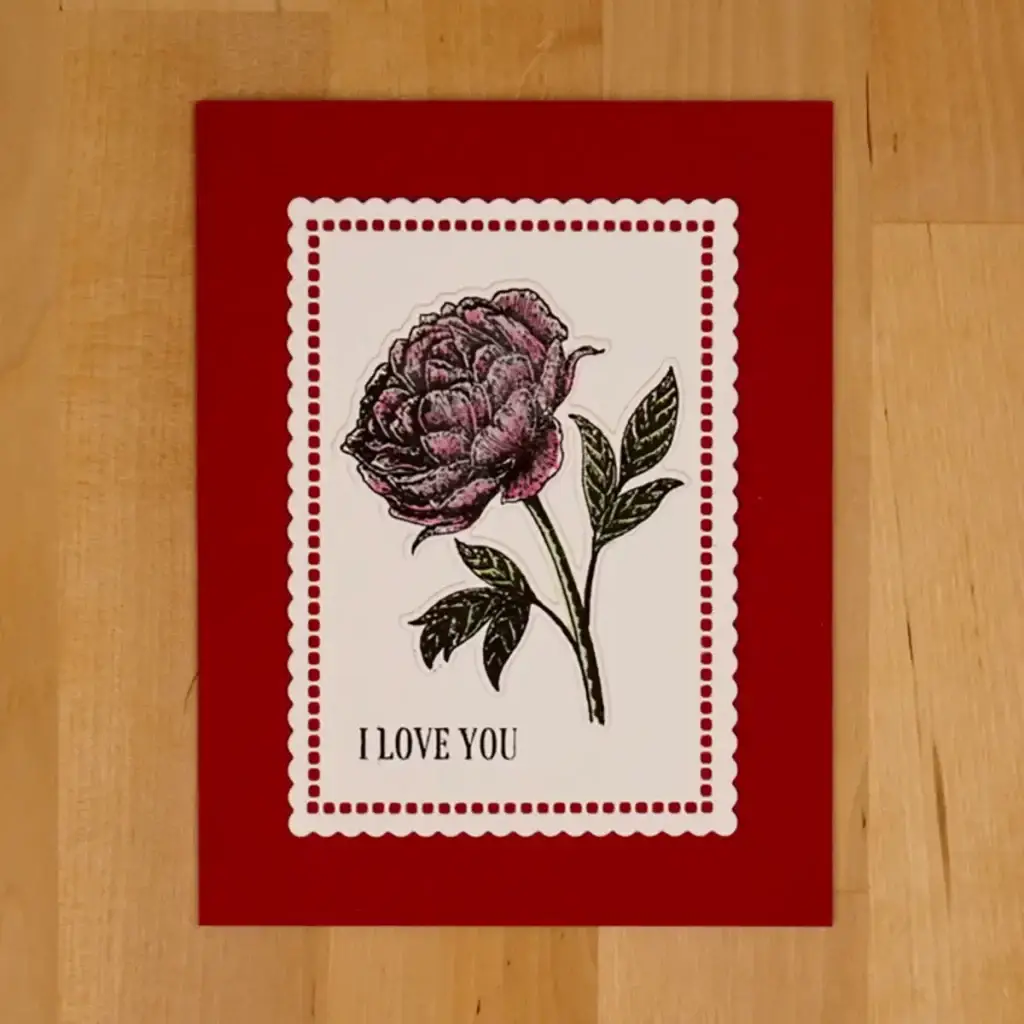
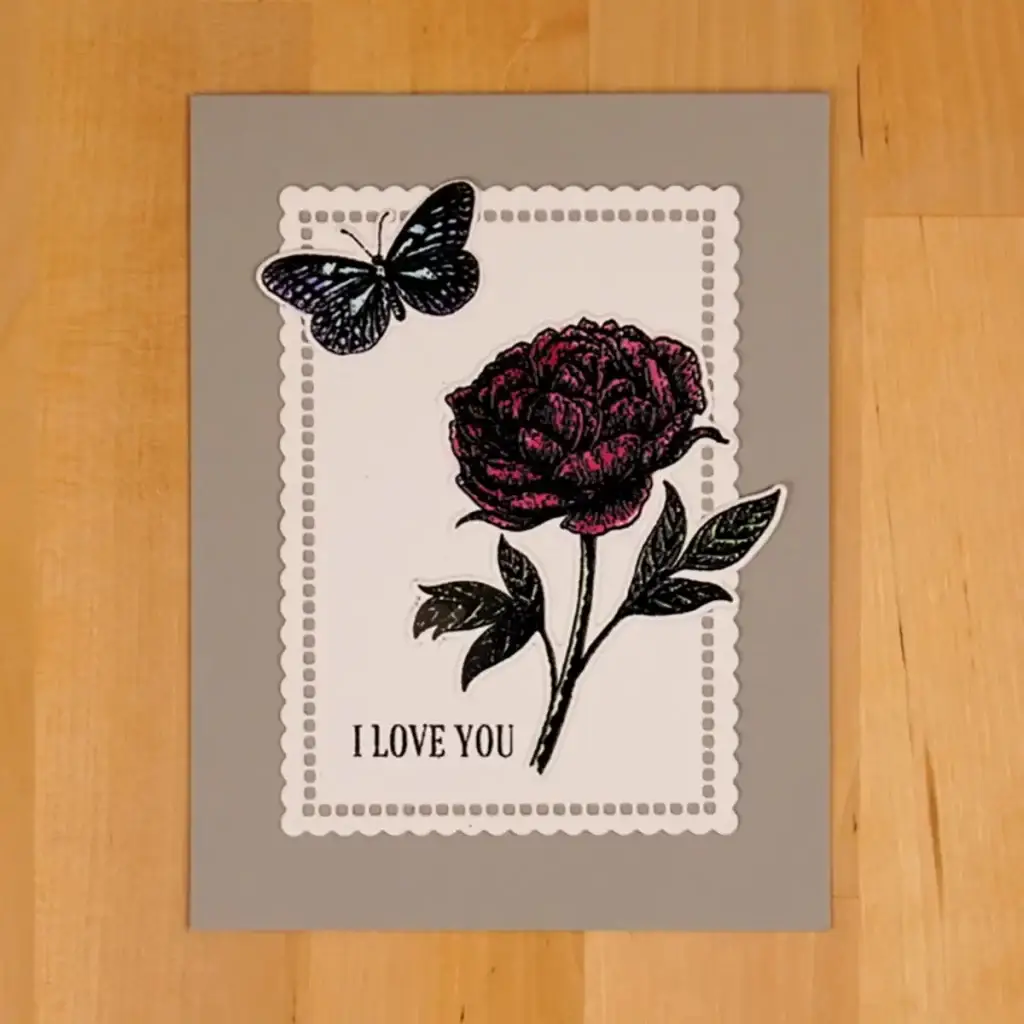
Simon Hurley Inks Used for Both:
- Flowers: Piggyback, Rosey Cheeks
- Greenery: Later Gator, Fake Plant
- Butterfly: Clear Skies, No Diving, Crown Me!
Beautiful Blooms Impatiens Cards
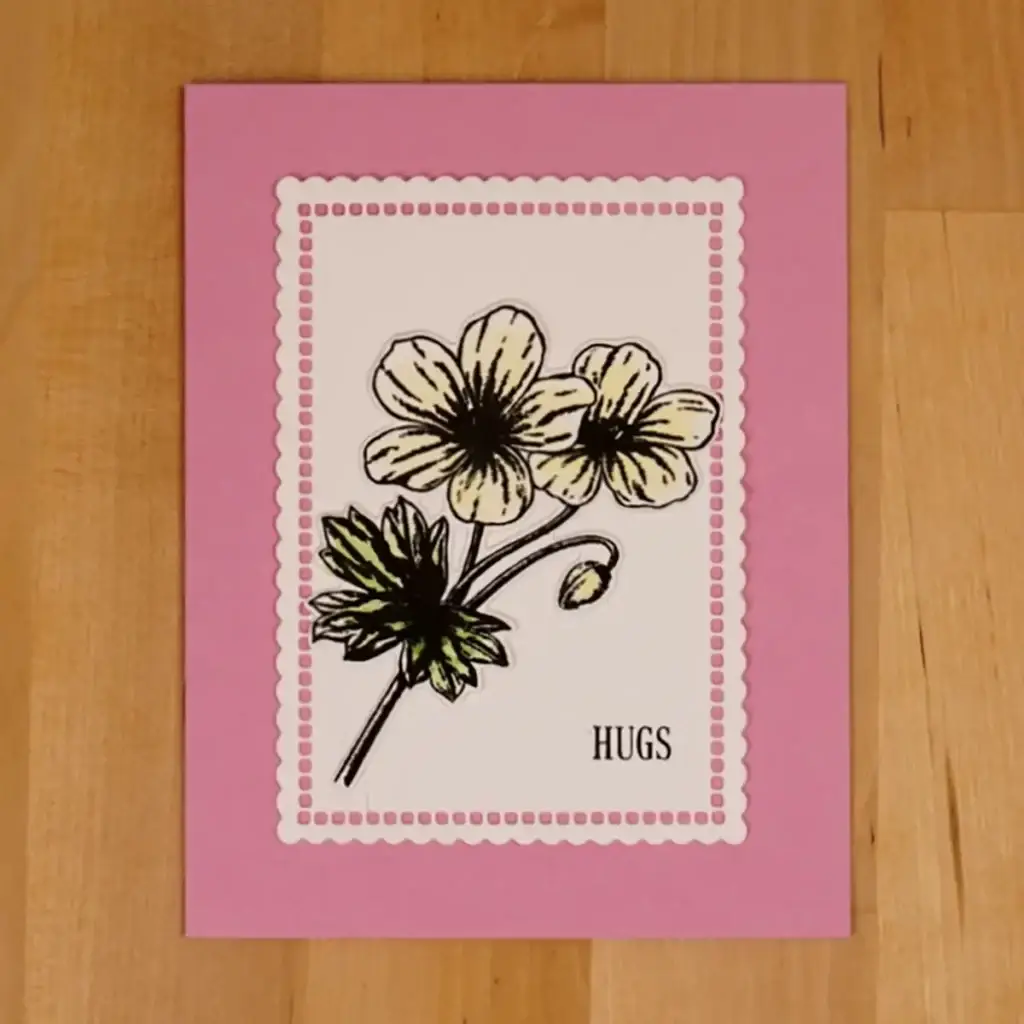
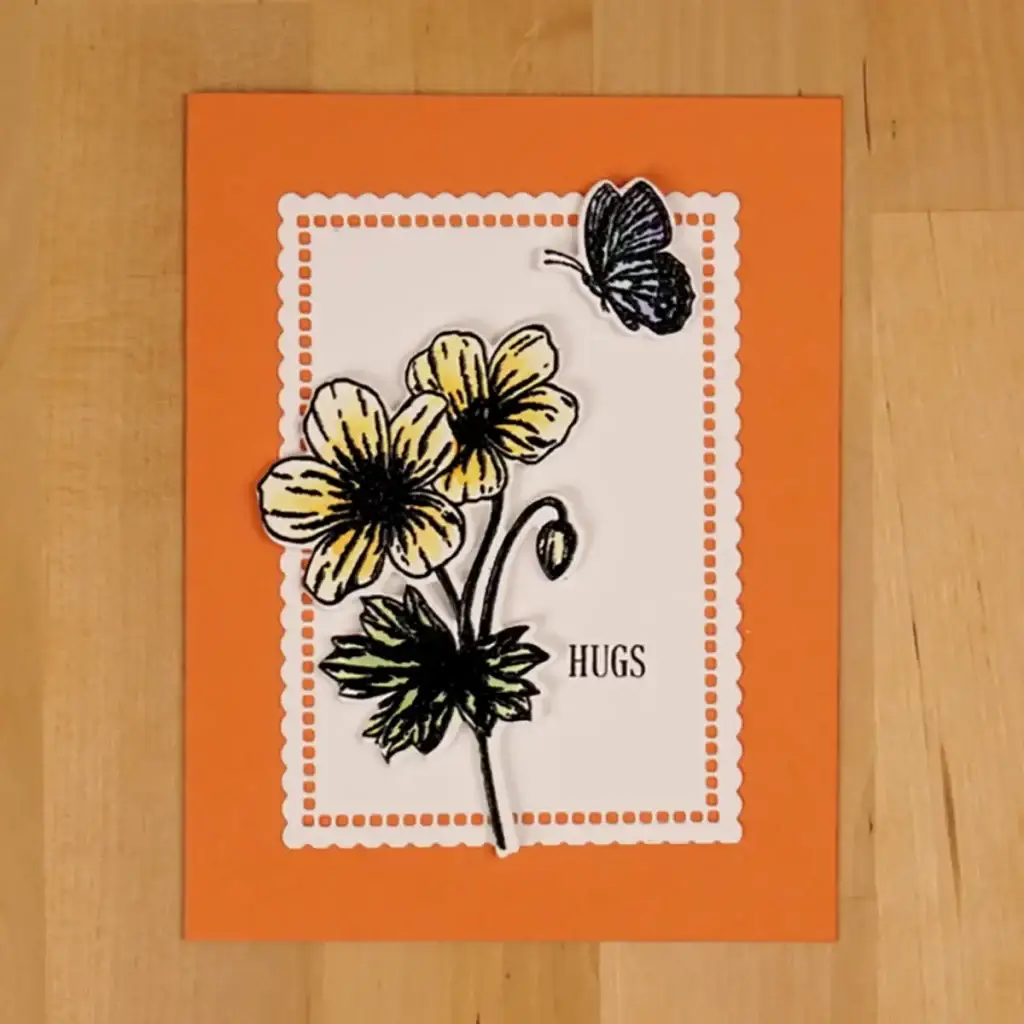
Simon Hurley Inks Used for Both:
- Flowers: Shooting Star, Guppy
- Greenery: Overzealous, Later Gator
- Butterfly: Clear Skies, No Diving, Crown Me!
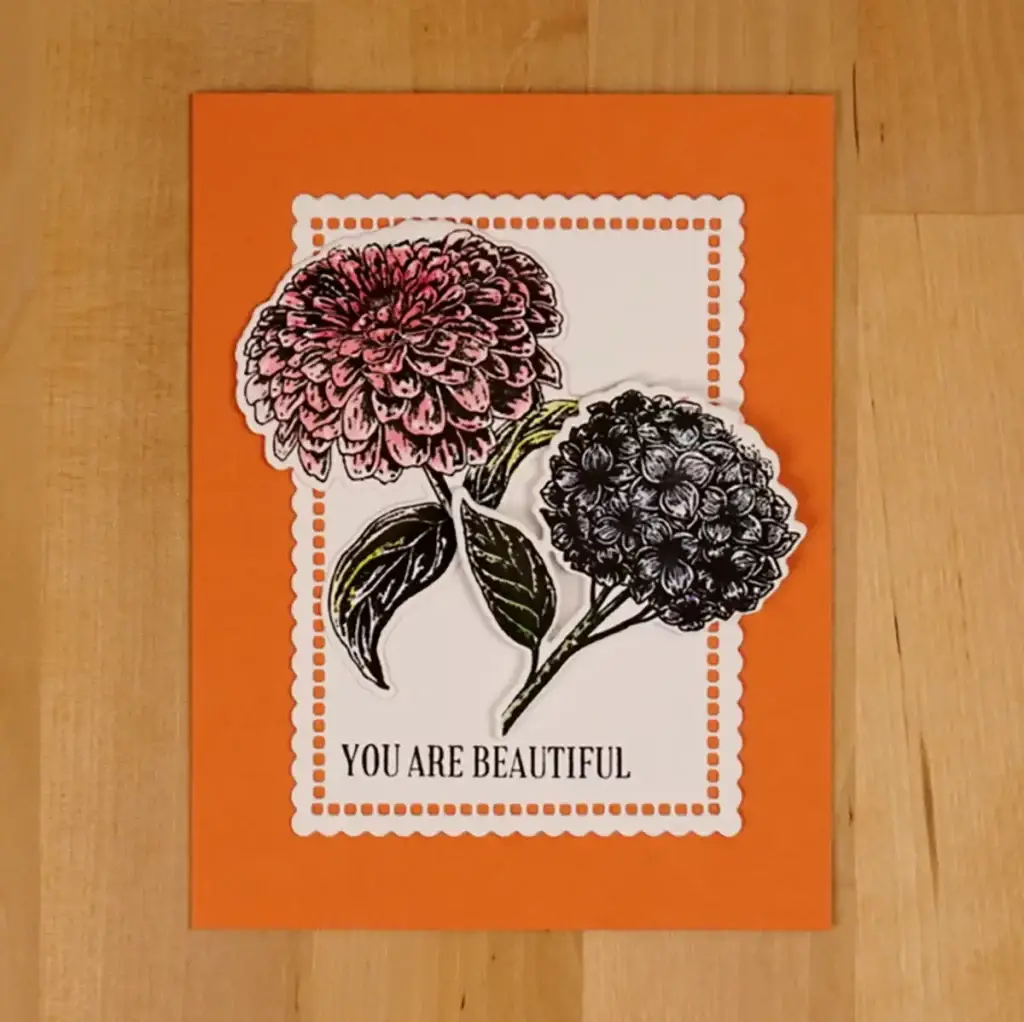
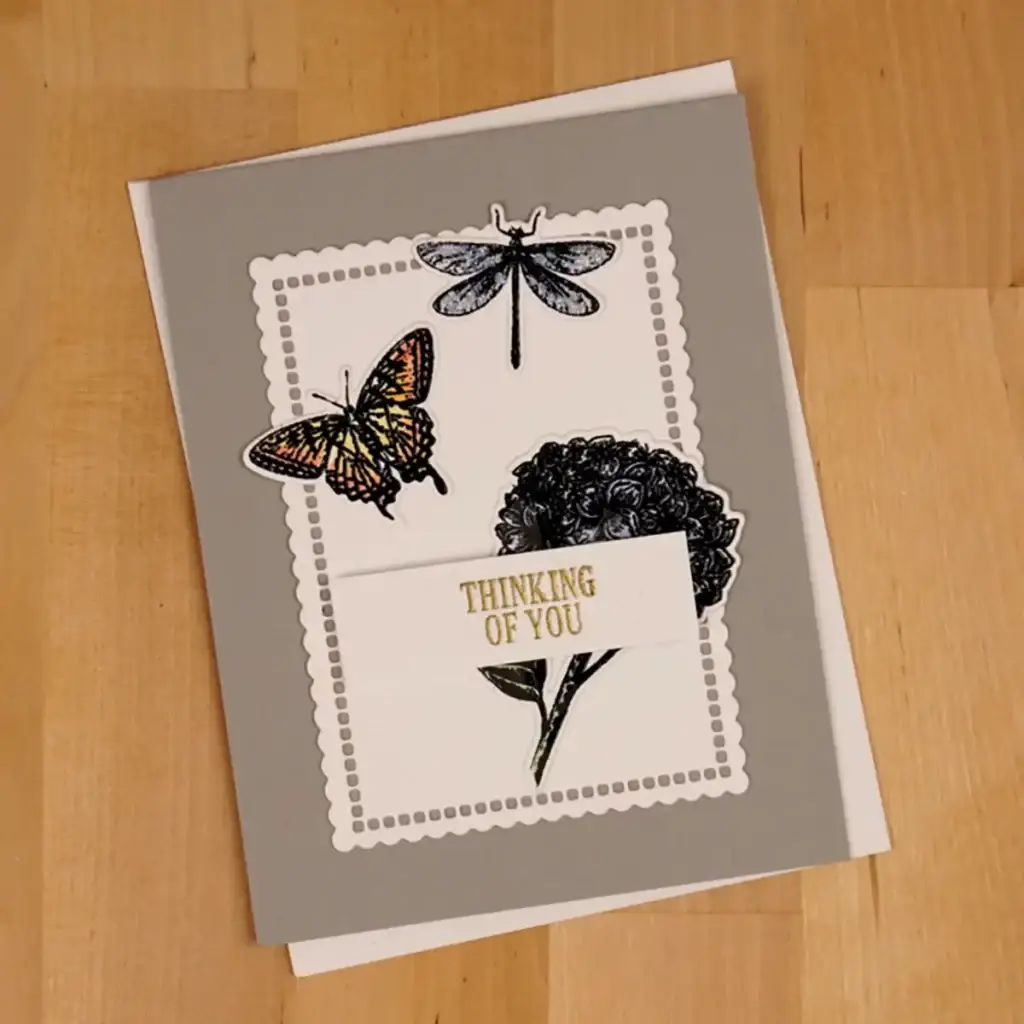
Dahlia and Hibiscus Cards
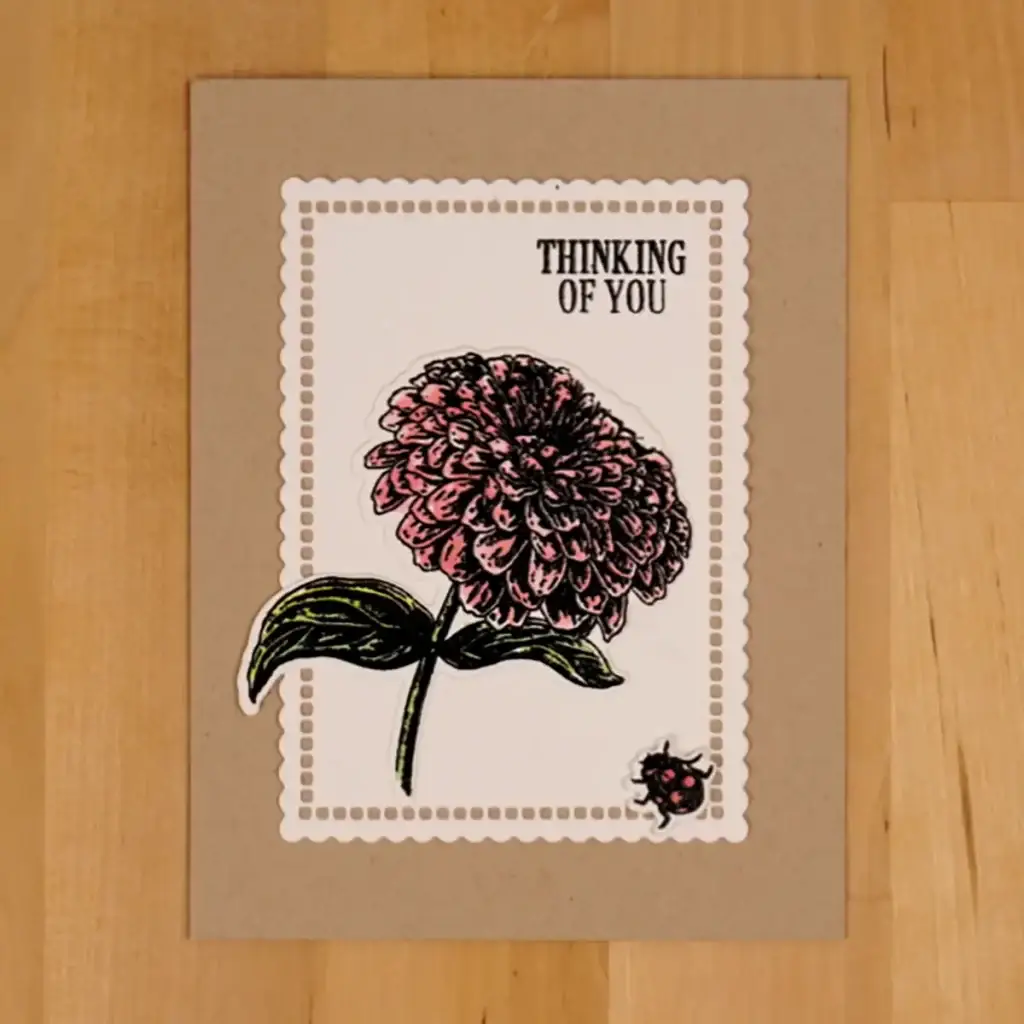
Supplies Used for Both:
- Flowers: Piggyback, Rosey Cheeks, Guppy, No Diving (I mixed Rosey Cheeks & Guppy for the Heat Embossed Dahlia)
- Greenery: Overzealous, Later Gator, Fake Plant
- Butterflies: Clear Skies, No Diving, Crown Me!, Shooting Star, Guppy, Roar!
- Ladybug: Love Struck, Ranger Glossy Accents
- Dragonfly: Clear Skies, glitter, glue pen
- Sentiment: Spellbinders Gold Embossing Powder
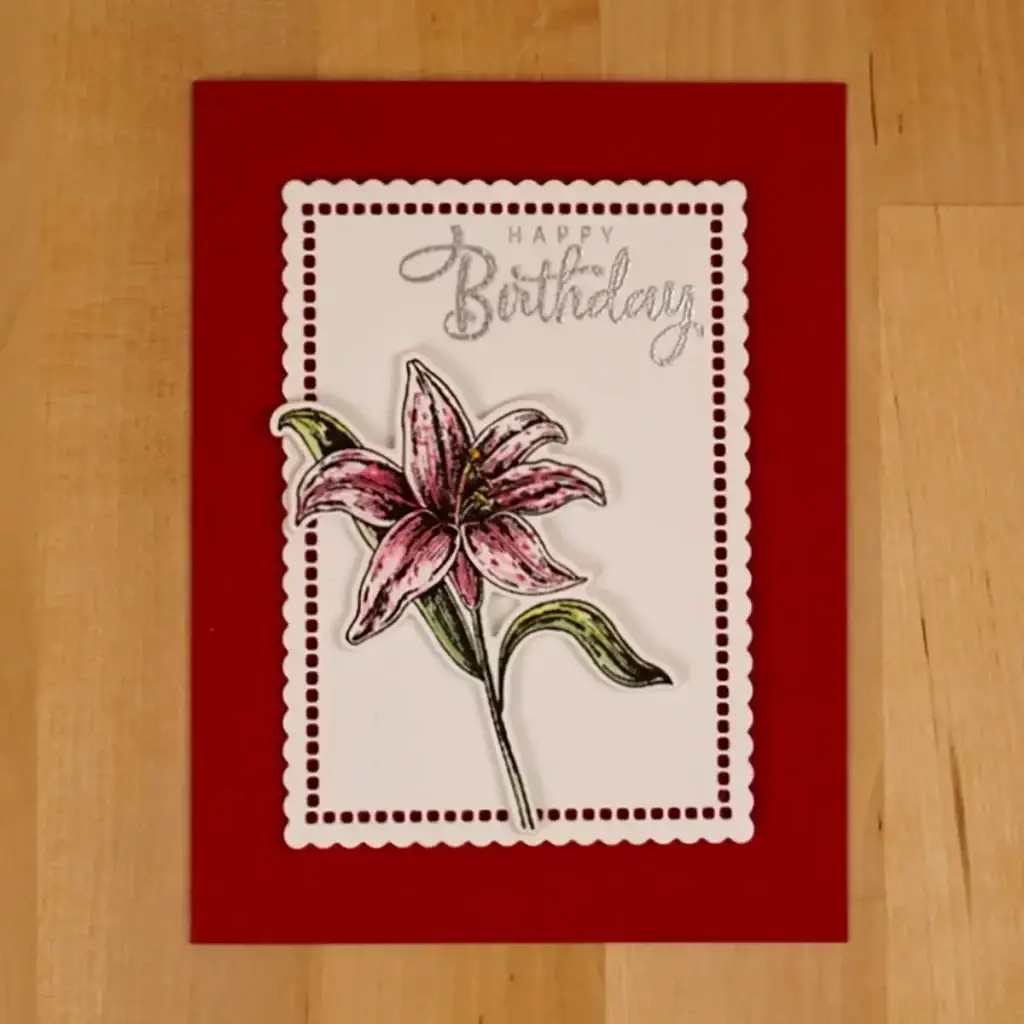
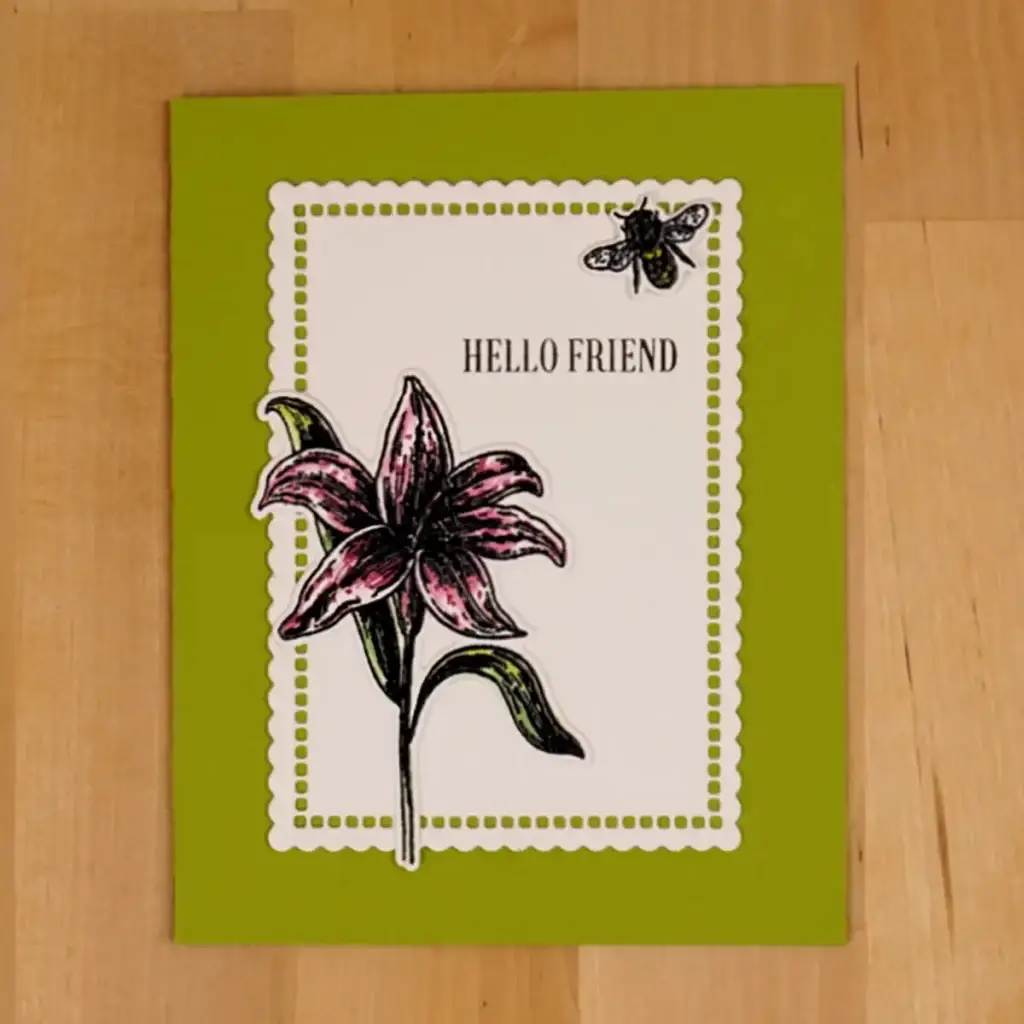
Beautiful Blooms Iris Cards
Simon Hurley Inks Used for Both:
- Flowers: Game Over
- Greenery: Overzealous, Later Gator
- Bee: Shooting Star, Clear Skies, glitter, glue pen
- Sentiment: silver embossing powder
Beautiful Blooms Surprise Card
What do you do with leftovers? Why, you make a card with them! Sometimes this is the best kind of card to make because you end up being extra creative.

Surprise Card Assembly
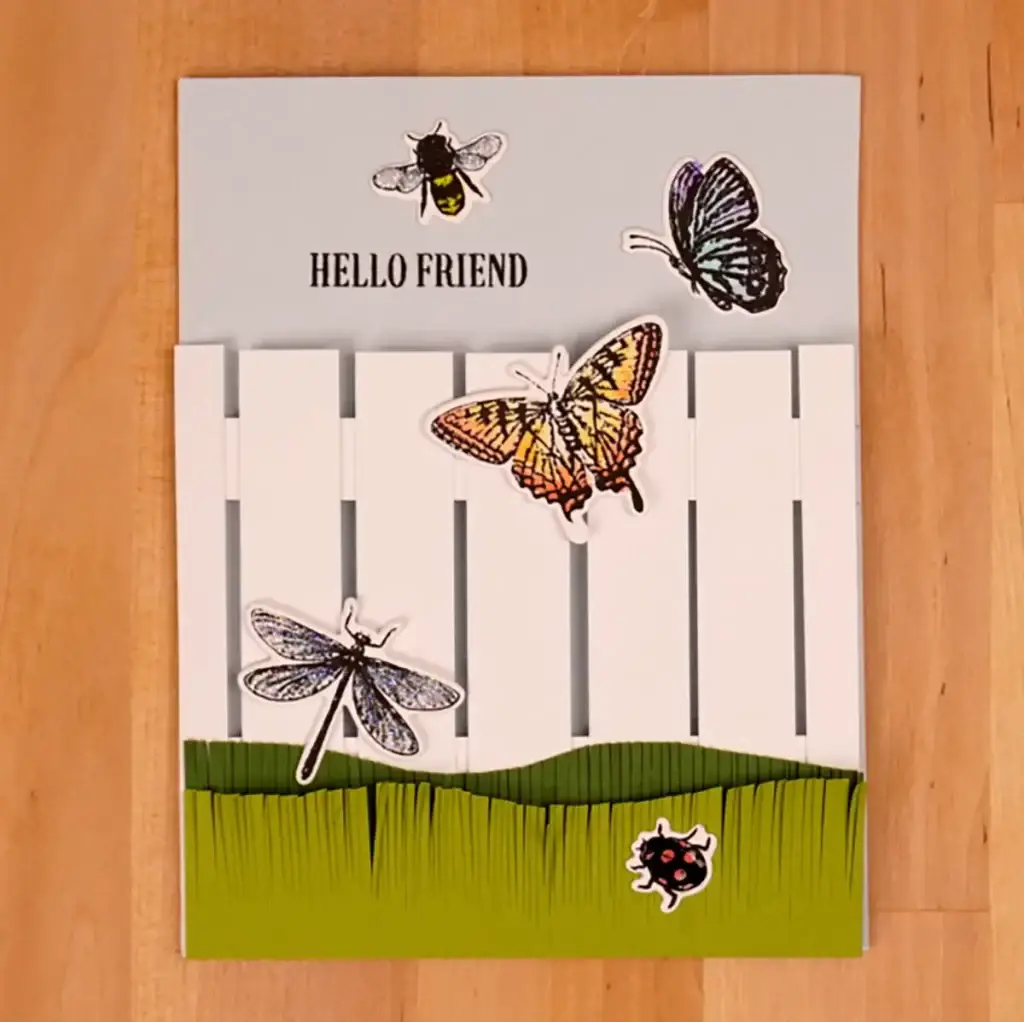
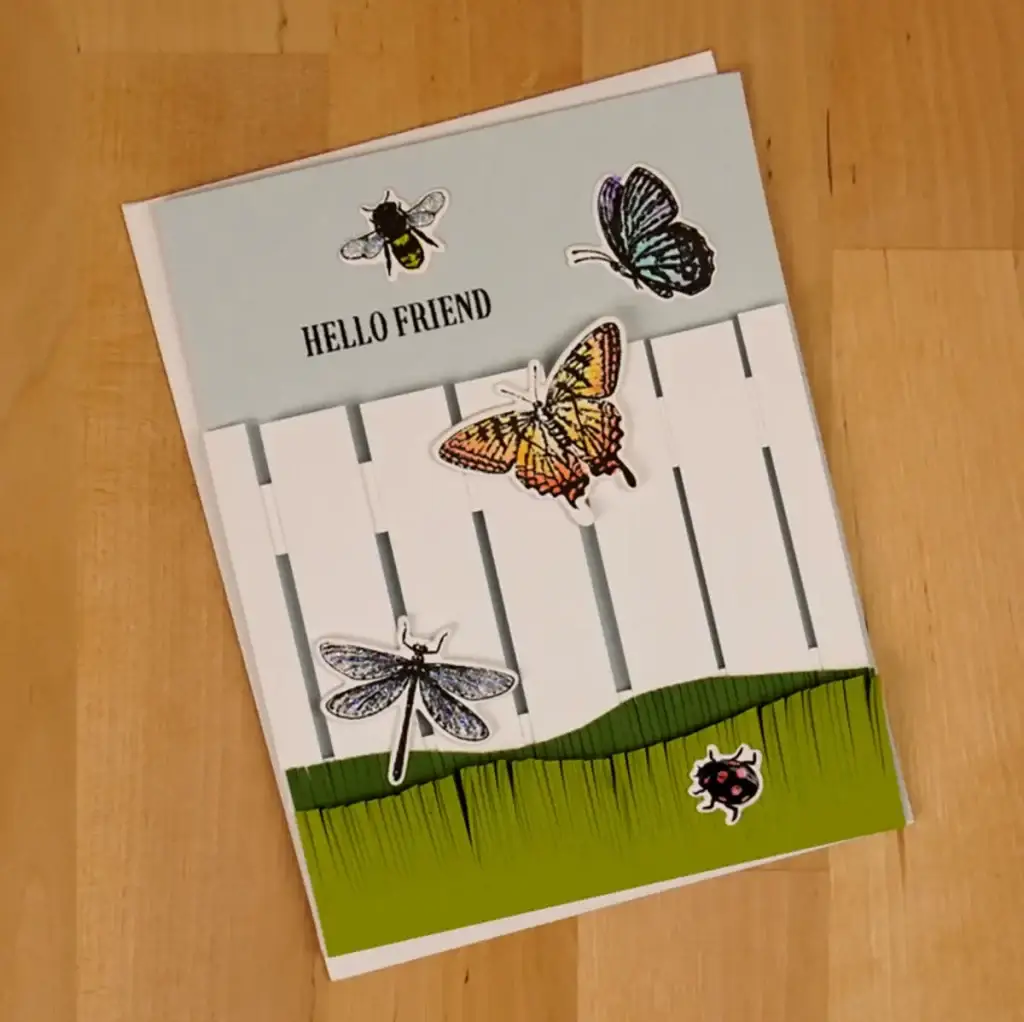
To make it we'll use the @TeriDuncan version of a technique that @BibiCameron came up with called trellis card front. We use it to make a white fence for the card front. And we'll use two tones of green cardstock to cut strips (4 1/4″ x ~1″). Then we'll cut along one of the long edges of each to create kind of a hilly look. You want to make one a tiny bit wider than the other. After that, we'll snip along that curvy edge to create blades of grass.
Fasten the grass along the bottom of the fence with liquid glue. This will make up the bottom of the card front. After that, we'll cut a 1/2″ x 3 3/4″ strip of white cardstock and score it down the middle length-wise. Use liquid glue to attach the fence to the front of our folded strip. Following that, add glue on the inside of the folded piece. And then, attach it to the back side of a light blue A2 size piece of cardstock. HINT: make sure that the bottom and right sides of the fence are aligned with the bottom and right sides of the blue card panel.
Surprise Card Decoration
Now that we have our fancy card base created, we can adorn it with all of our beautiful critters. Arrange them as you like. To create dimension glue a couple of them directly to the blue “sky” above the fence and the ladybug on the grass. And then, pop up the ones that are on the fence with foam squares.
We have two elements to create a surprise, a sentiment and a beautiful butterfly. All you need to do is make sure that they are both placed behind the elements of the fence. As a result, you can only see them once the card is open. Once you've decided where you want them, go ahead and stamp the sentiments. And then add the butterfly on the inside.
Surprise Card Supplies
- Fence: White cardstock – Simon Hurley Create Stark White
- Sky: Blue cardstock – Spellbinders Glacier
- Grass: Light green cardstock – Rainforest; Medium green cardstock – Fern
- Bee: Shooting Star, Clear Skies, glitter, glue pen
- Butterflies: Clear Skies, No Diving, Crown Me!, Shooting Star, Guppy, Roar!
- Dragonfly: Clear Skies, glitter, glue pen
- Ladybug: Love Struck, Ranger Glossy Accents
- Sentiments: Altenew Obsidian
- I use affiliate links. If you purchase after clicking on a link I may receive a small commission at no extra cost to you. Thank you for your support.
Looking For More Fun Floral Card Ideas?
There are some fun cards in HOW TO USE FLORAL REFLECTIONS ON CARDS
