

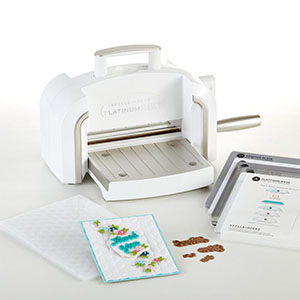
Versatility isn't the first word that comes to mind when considering BetterPress. But they are now with Registration Place & Press Plates. Learn how.
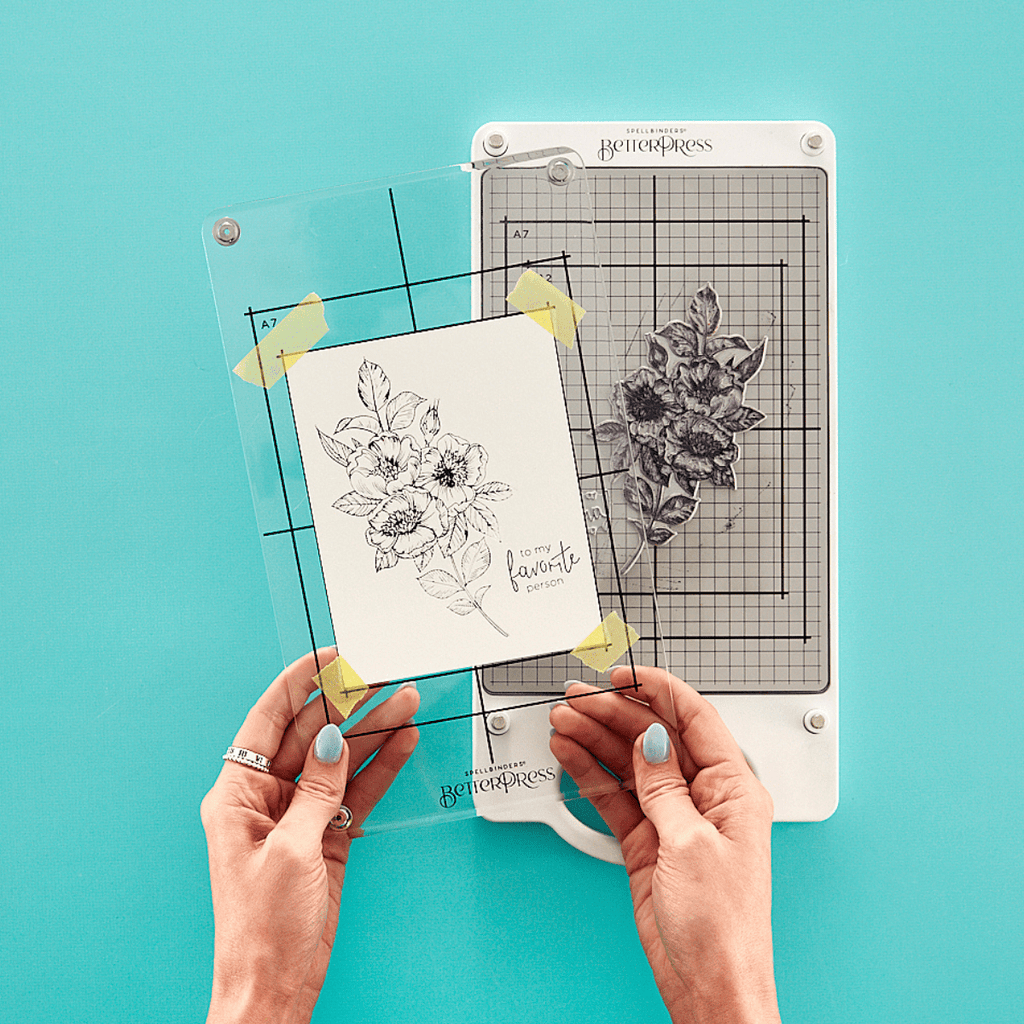
You can enter a whole new world of BetterPress Letterpress cards by creating multi-colored BetterPress designs with Spellbinders new Place & Press Registration Collection. They come with a template that makes it easy to place your plate and ink with different colors.
And look at the results, they are just gorgeous!

And then, I like to take it to the next level. Take a look at what the same cards look like when you add a little more color to them:


The cards made in this article feature two Registration Press Plate sets.
Thank You Blooms Registration Press Plate That Brings Versatility

Blooming Garden Registration Press Plate

These are the steps to take if you want to make the cards along with me.
We're going to follow the basic instructions that Spellbinders provides for BetterPress printing. You can find their video on how to get started by clicking on the Videos tab above. We are also going to use their instructions for registration plate printing. To refer to them just click on the Techniques tab above.
But, before we get started I want to mention that I use afilliate links in this article. So, if you buy something after clicking on one of the links I may receive a small commission at no extra cost to you. Thank you for supporting my blog!
We'll be using porcelain cotton cardstock for all four of our projects. So, you can go ahead and trim four pieces to A2 size (4 1/4″ x 5 1/2″) and then tape one of them to the plastic top of of your BetterPress System.
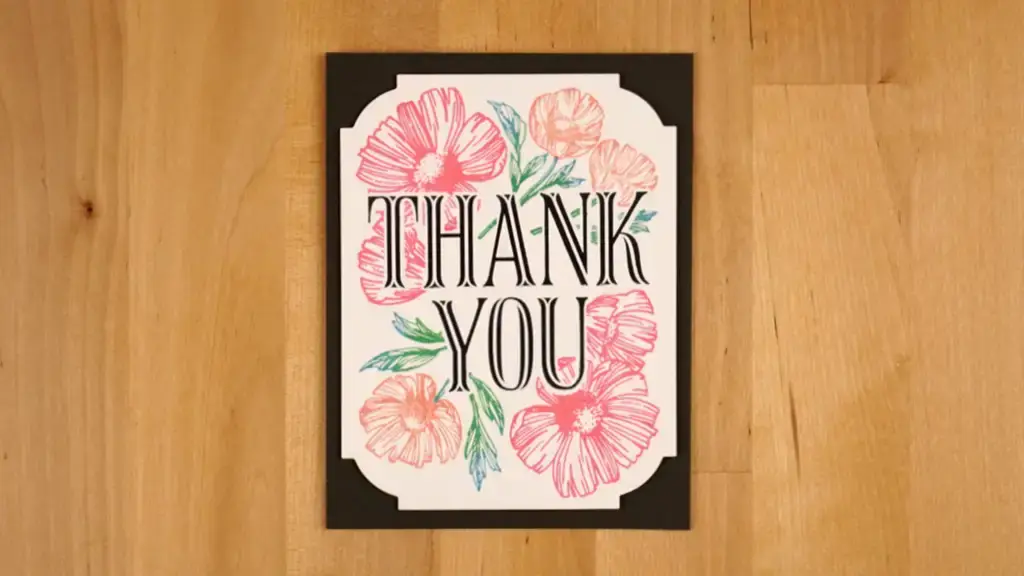
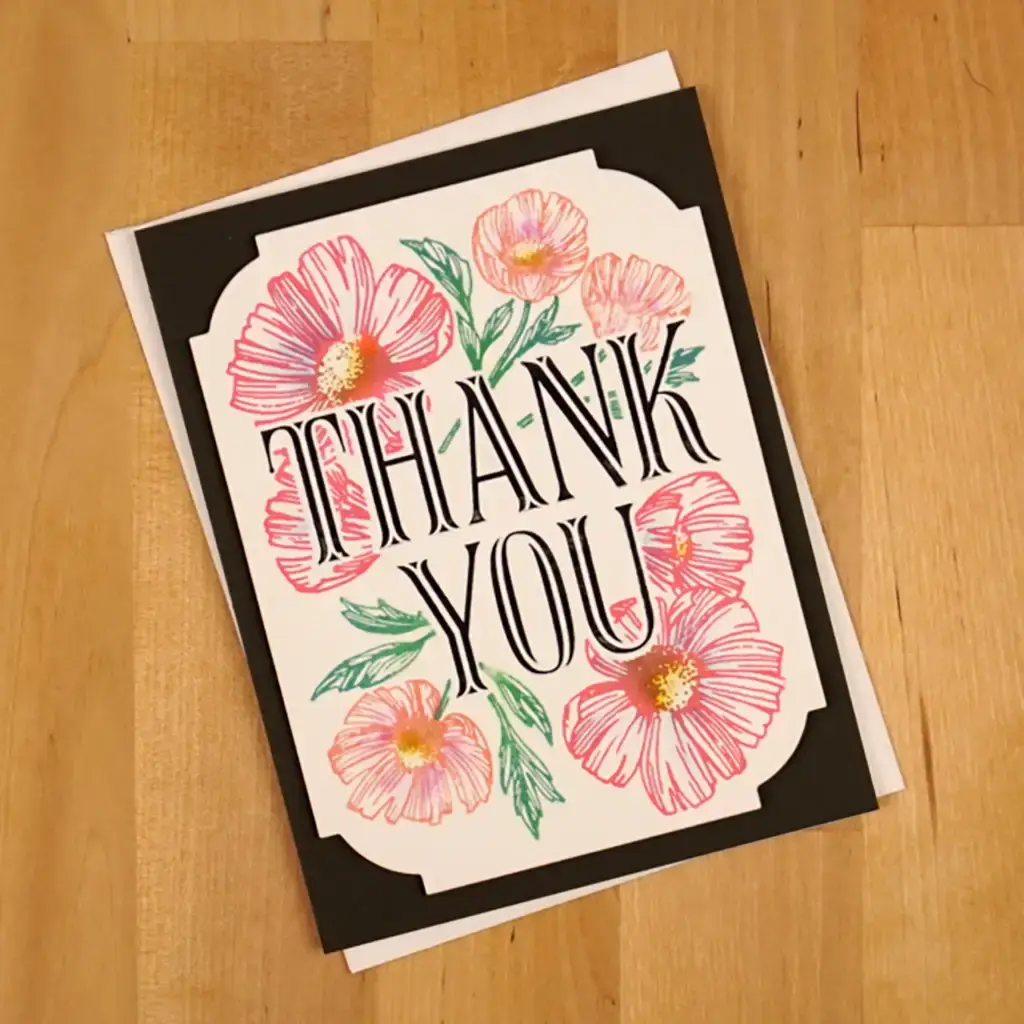
Versatility With Thank You Blooms Cards
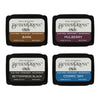
Next, we'll place the “Thank You” from the Thank You Blooms Registration Plates where it belongs according to the template. Next, we'll ink up the plate with black ink and press it. HINT: Black BetterPress ink can be found in the Regal Tones set.
Use the same technique as follows:
- Press Azalea ink with the two largest floral plates
- Press Apricot ink with the two smaller floral plates
- For the greenery, use your blue blending brush and add Cosmic Sky ink to the tips of the leaves. Follow that by adding Leaf ink at the base of the stems. As a result, this will give you a two tone effect.
The pressing for this card is complete.
To finish the card, we'll make a white A2 side-folding card base (see the Techniques tab). Next, we'll trim a piece of graphite cardstock to A2 size and fasten it to the front of the card base with a tape runner. After that, we'll use a pretty notched corner die to trim the pressed card panel. And finally, we'll pop up the pressed panel with foam squares.
To make the colored card, make it exactly like we did the first one. And then, very carefully add in shading with colors that you wouldn't ordinarily use to do shading with. For example, I used a blue to shade the Azalea colored flowers and bright pink on the ones printed with Apricot ink.
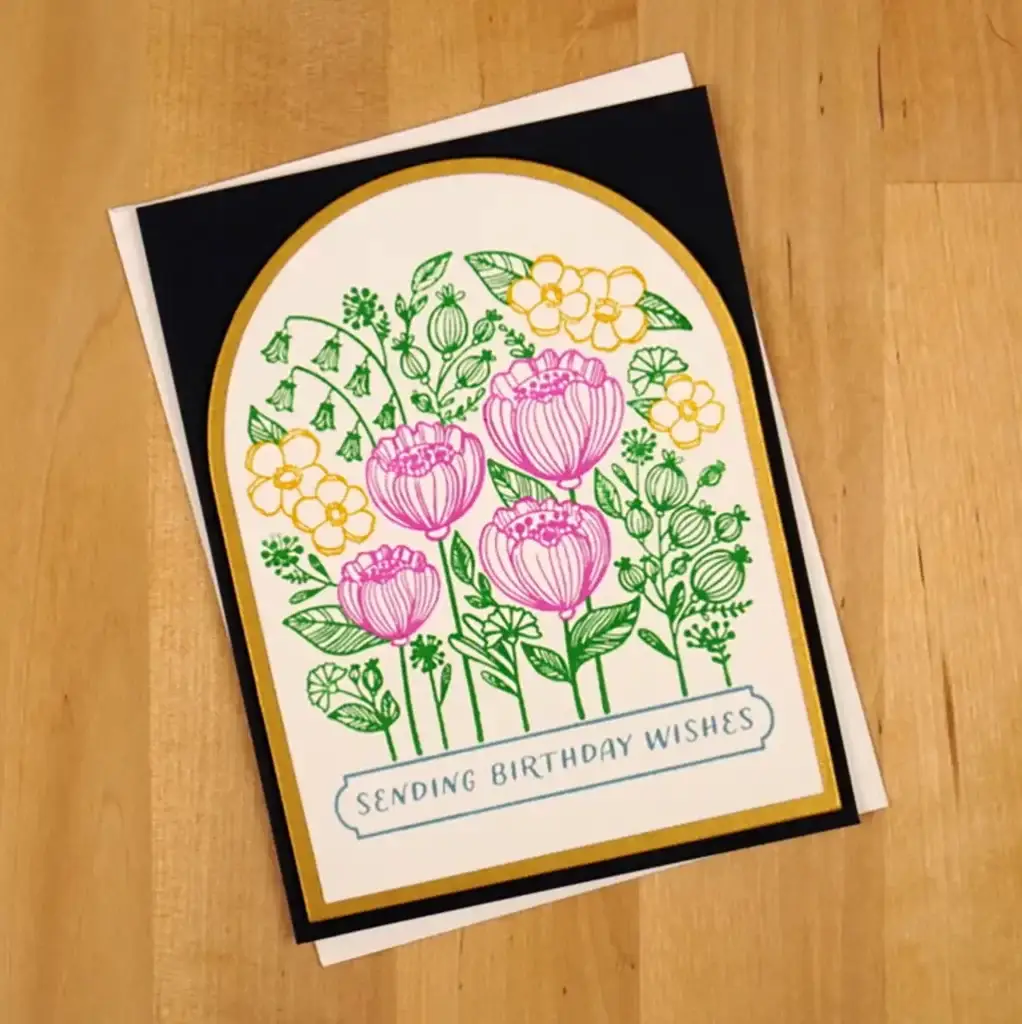
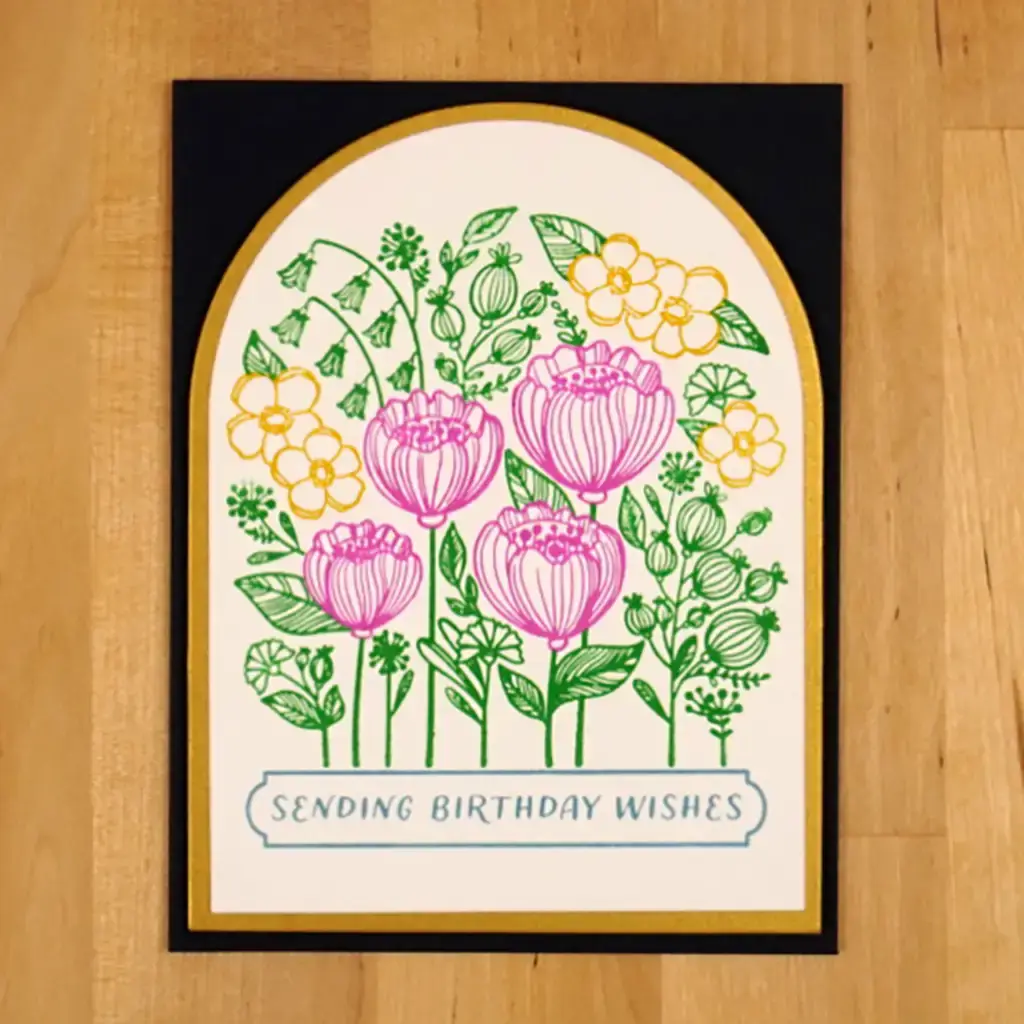
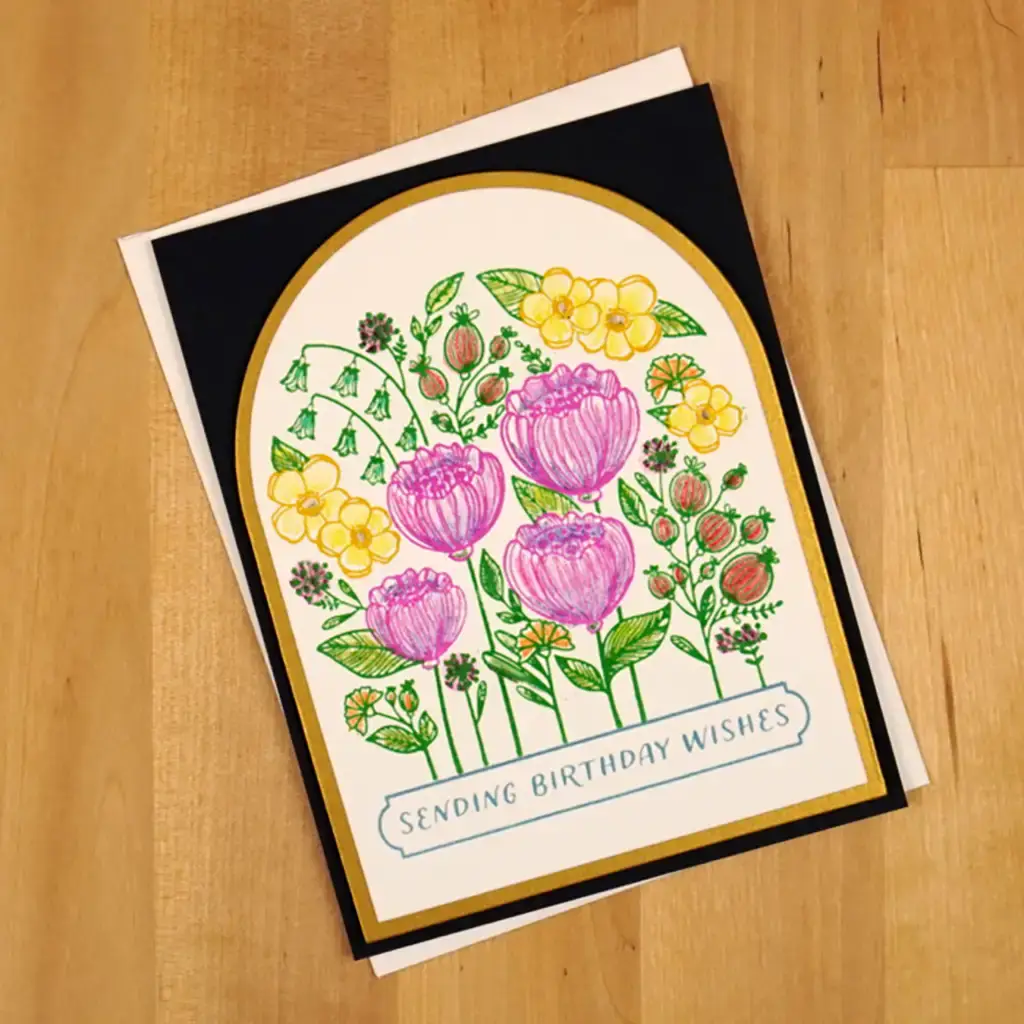
Veratility With Blooming Garden Cards
We're going to follow the exact same process for the next set of cards. But for this one we'll be using the Blooming Garden Press Plate Set.
And, we'll use Wild Berry ink for the big upturned flowers, Saffron ink for the medium sized ones, Leaf ink for everything else but the sentiment. And, finally we'll use Coastal ink for the framed message.
We're going to use an Indigo card panel for the color accent. And then, we'll use an arch die that is just slightly larger than our pressed image to die-cut it. And then we”ll use the next size up with brushed gold cardstock. Next, we'll fasten the pressed card panel to the brushed gold panel with a tape runner. And then, we'll pop it up centered on the card front using foam squares.
Supplies
I use affiliate links. If you use one I make receive a small commission at no extra cost to you. Thank you for your support!


Techniques To Use To Bring More Versatility To Your LetterPress Projects
Registration Plate Printing, per Spellbinders
- Tape template to magnetic platform and place first plate in position following guide, ink with first color, wipe off excess ink on template, press
- Leave template and card panel in place and remove first plate, add second plate(s) to position marked on guide, ink with second color and press
- Repeat with additional plates and ink colors as needed, without removing template or card panel
- Remove card panel after last color and adhere to card base
How To Make An A2 Size Side-Folding Card Base
- Score a half sheet of heavy-weight cardstock at 4 1/4″ along the long side of the cardstock. For example, place your cardstock in a landscape position on your scoring board. HINT: Don't push it right up against the top. You do this so that your score will be from the top to the bottom. Next, use a bone folder and score your cardstock at 4 1/4″.
- Place one of the long sides on your work surface and carefully pull the two short sides together, bending back from the score.
BetterPress Versatility Review
Well, after using the registration products to make four cards I am very impressed that we can make BetterPress products even more beautiful than before.
Are You Looking For More Card Inspiration?
Here are three gorgeous cards created with another new collection that you can use year round. Check out INTRODUCING EVERY OCCASION FLORAL BETTERPRESS!
Click here to change this text