The new Hibiscus Motif stamp and die set from Altenew is here! And, oh boy is it awesome! Come along and make 2 cards using it with me.
Altenew's October 2023 release is here and it is really awesome. See all of the products in the release over at Altenew HERE.
I played with the new Hibiscus Motif stamps, Stencils, and coordinating dies from the Esthetic Flora Collection and have a couple of cards to share with you..
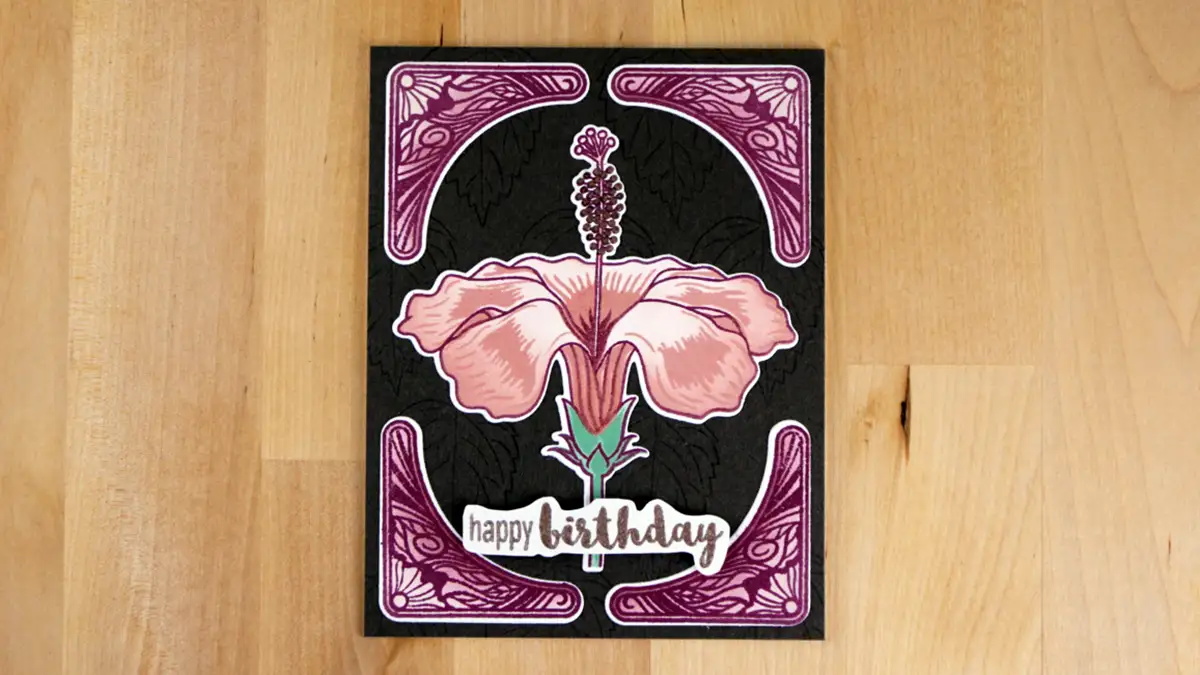
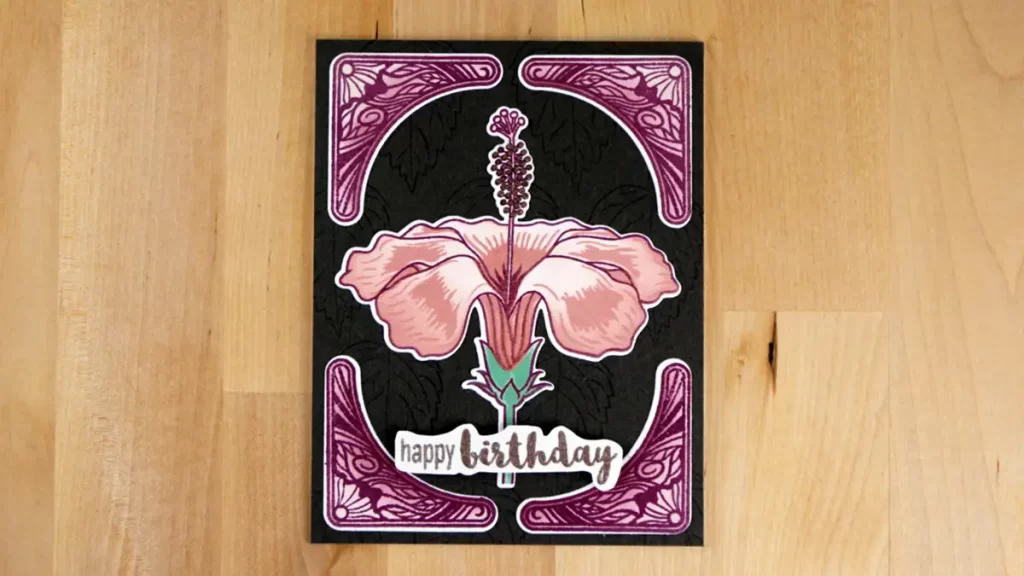
Hibiscus Motif Birthday Card
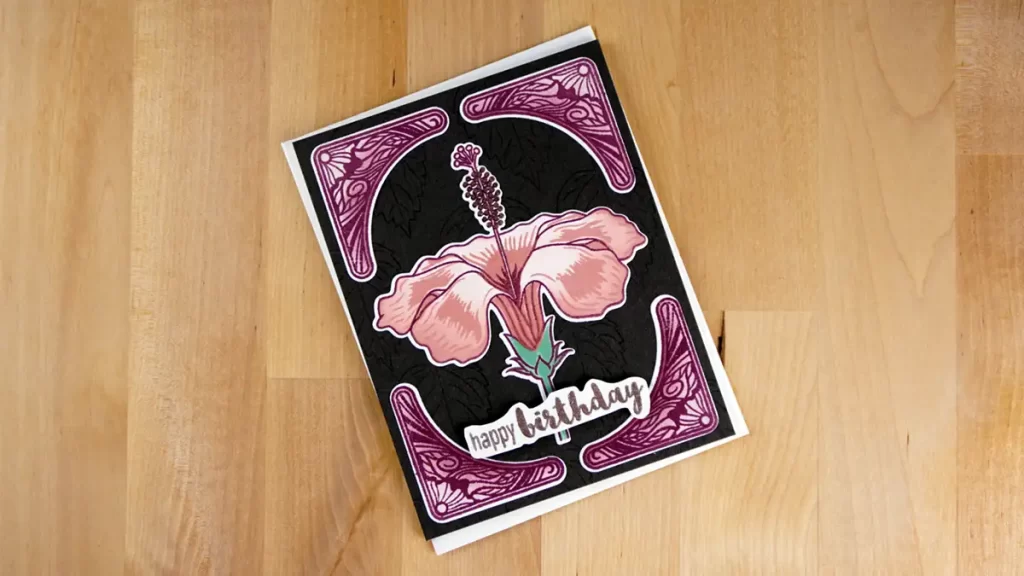
I wanted a unique color combination for my first project. I thought it would be fun to try something new for this card. So, I decided to go with an idea that comes from something I saw from @JennniferMcGuireInk. She recommends using the Color Cube system by @SarahRenaeClark to select colors. If you've never seen this system you ought to check it out.
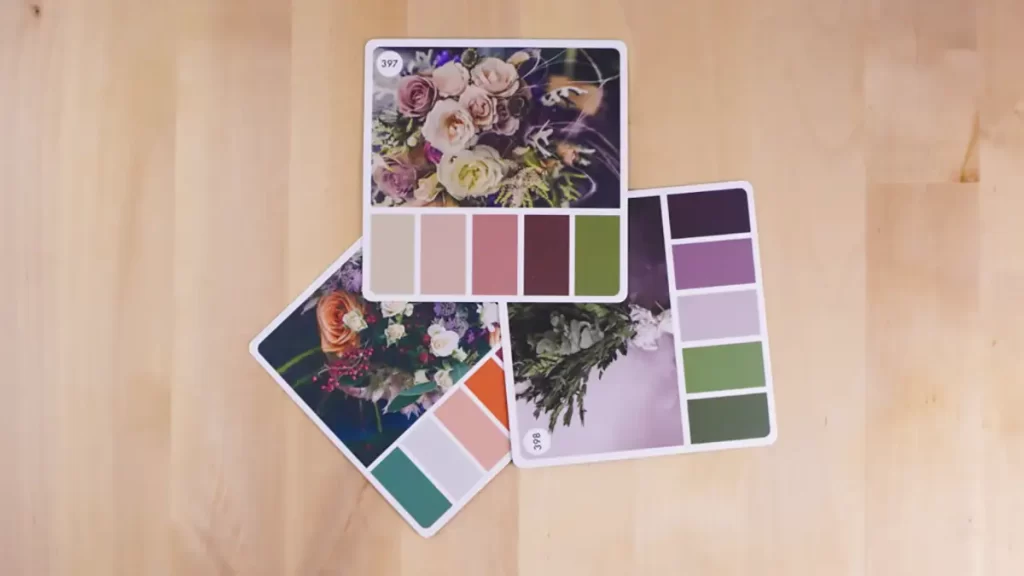
Sarah has created a beautiful catalog using colors. Go to her website at SarahRenaeClark.com to check it out. I believe that the catalog is the basis for the color cubes. She has 500 cards like the ones in the photo below that include beautiful photos and the five main colors in each. The photography is outstanding and it is fun to find inks, cardstock and other materials that work with the card that you chose. #ColorCube #ColorCatalog
There are so many beautiful color combinations that deciding which to go with is difficult. However, I chose card #397 (the top one in the photo) for the color inspiration for my card.
Ink Selection
Now that we have our color combination decided on, we need to find the inks we need that match what is on the card. Altenew's Fresh Dye Inks are fabulous for stamping and blending. They are coming out with more new colors all the time. And that is what I'm using for my project. The inks that match the colors on card #397 and how I use them on my card are:
- Pink Sand – Corner blending on the outside and flower blending.
- Dusty Rose – Flower detail stamping
- Toasted Mauve – Flower outline, corner stamping, and corner blending on the inside
- Redwood – Background
- Eucalyptus – stem
- Rose Gold – stamen and the sentiment
Hibiscus Motif Birthday Card Background
We'll begin by stamping the background on charcoal brown cardstock with the large leaf stamp and Redwood ink. The best way to do this is with a little acrylic block. And you just stamp the leaves in a pattern that you like.
As a result, we will have a nice, subtle monotone background behind our pretty flower.
Stamping and Blending.
The next step is to work on the focal point of our card. We'll begin by doing some stamping. To begin, we'll stamp the flower and all four corners with Toasted Mauve ink. When we're sure the ink is dry we'll blend the first layer of the flower and all four corners with a light peachy pink, Pink Sand.
And for the corners, we'll concentrate on all of the outer edges, also with the light pink ink. To finish off the corners we'll use Toasted Mauve to blend some soft color on the insides of the corners.
And then, we'll use the guide that comes with the stamp set to show us where to stamp the flower details in with Dusty Rose and Toasted Mauve. The flower is really starting to come to life. There are just a couple more steps to finish it.
Again, following the guide we'll use the stencil to blend the stem with Eucalyptus. And, we'll do the second layer of stenciling with the same green ink.
Heat Embossing
There are just a couple more things to stamp, but we're going to heat emboss them to add a little bling. We're going to use Rose Gold pigment ink to stamp color onto the stamen. And then, we'll stamp the happy birthday sentiment onto a piece of white cardstock with the same ink.
Finally, to make them sparkle, we'll heat emboss them with clear embossing powder.
Die-cutting and Assembly
We'll use the coordinating dies to cut out the four corners and the flower. And, we'll fussy cut the sentiment. Then, we'll all that is left is to assemble the card.
We'll begin by adding some glue tape to the back of the background panel and attach it to a white A2 card base. Next, we'll fasten the corners and the flower directly to the card panel with liquid glue. HINT: Using a T-square helps to align the corners evenly. And then it's easier to center the stamen at the top and the stem at the bottom.
Finally, we'll pop up the sentiment with foam tape and we're done.
And that is it for this card. I don't think that I would ever have come up with this color combination on my own. And, I love it! Do you? Please leave a comment letting me know what you think.
Metallic Hibiscus Motif
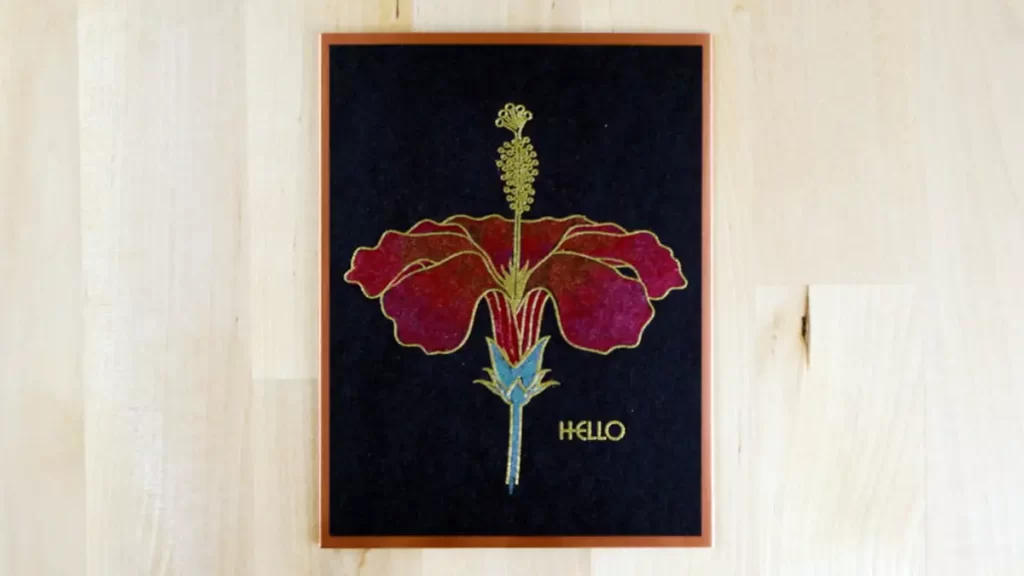
I tried something completely different for my second project. I work with black cardstock and metallic watercolors instead of stamping.
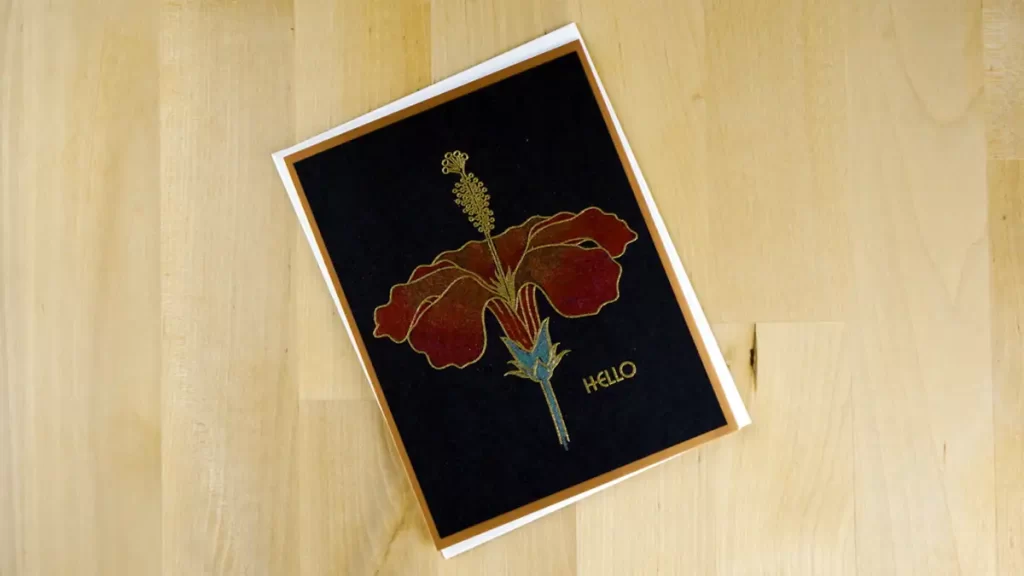
To begin the card we'll go ahead and stamp the flower image and the sentiment with watermark ink onto black cardstock. And of course, we need to use anti-static powder on the cardstock before doing so. After doing that, we'll sprinkle gold embossing powder over the image and pour it off. And then we'll heat it until the lines are smooth and melted. Heat embossing is so magical!
If that wasn't fun enough, now we're going to watercolor with metallic watercolor paints. I always like to put a couple of drops of water in the pans of the colors that I want to use. And then, I like to swirl my paintbrush in the paint after the water has sat on it for a while. Then when it's a good consistency, like tomato soup, I begin to paint.
I blend orange and red metallic paints on the flower petals. And then, I use green for the stem. Now, we have to wait until the paint is dry before going on to the next step.
Assembly
Putting this card together is so simple! First, you attach an A2 (4 1/4″ x 5 1/2″) size piece of brushed copper cardstock to a white card base with glue tape. Then, you center the painted panel on the card front with glue tape too. And that is it, we're done.
This is a simple but elegant card that is quick to make and sure to please anyone who receives it.
Are You Looking For More Floral Card Inspiration?
If you're looking for more card ideas using floral images, check out. How To Make A Birthday Card using BetterPress.
