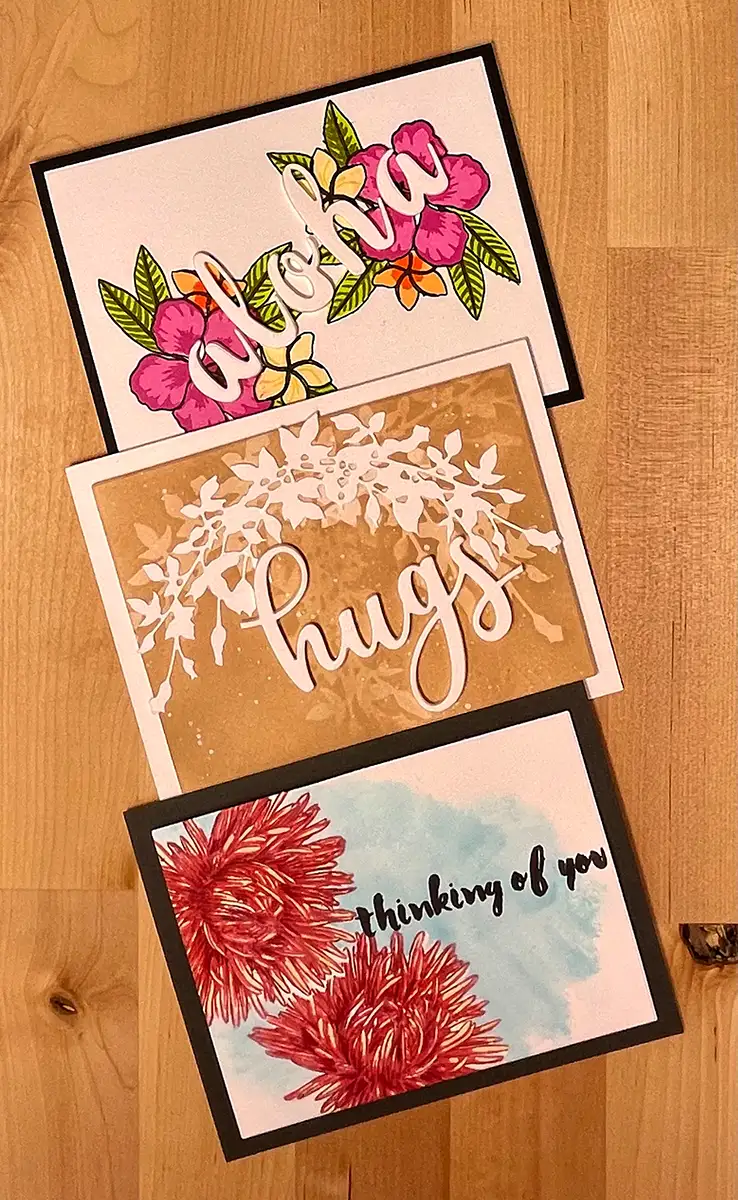
Three masking methods for making cards are shared in this article. Learn how to use stamped masks, die-cut masks, and fluid masks.
Inspiration for this article is Altenew's Masking Unleashed online class.
Aloha
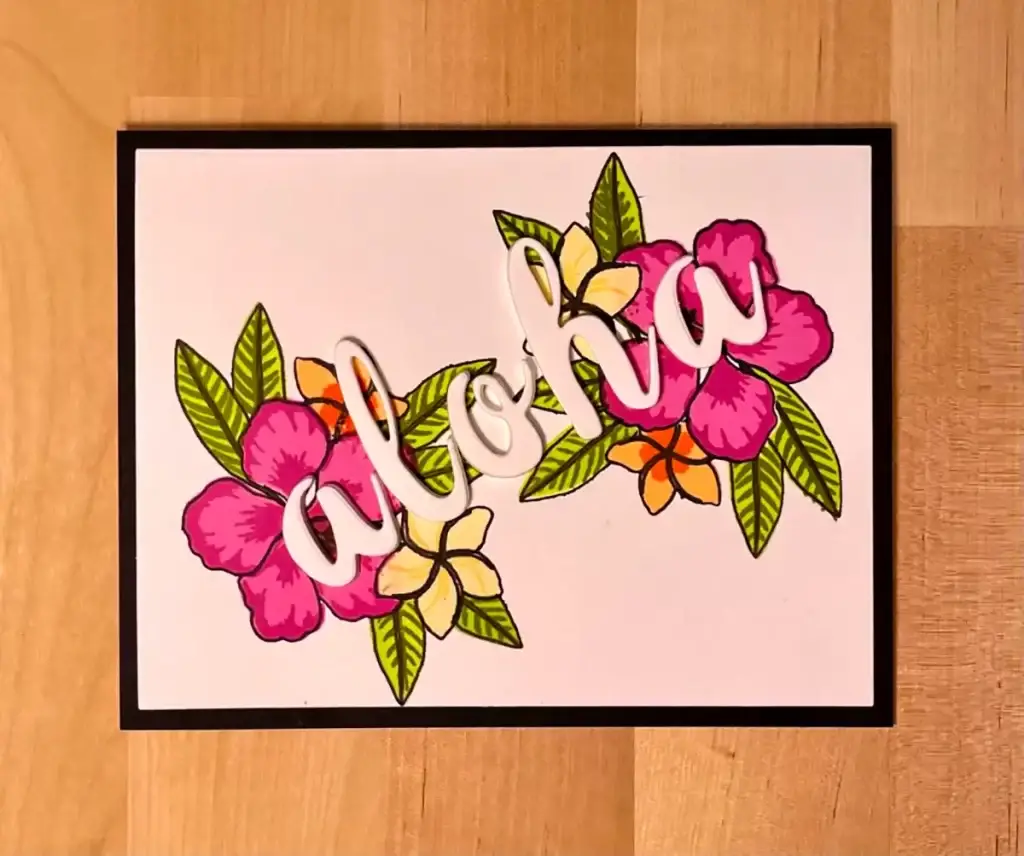
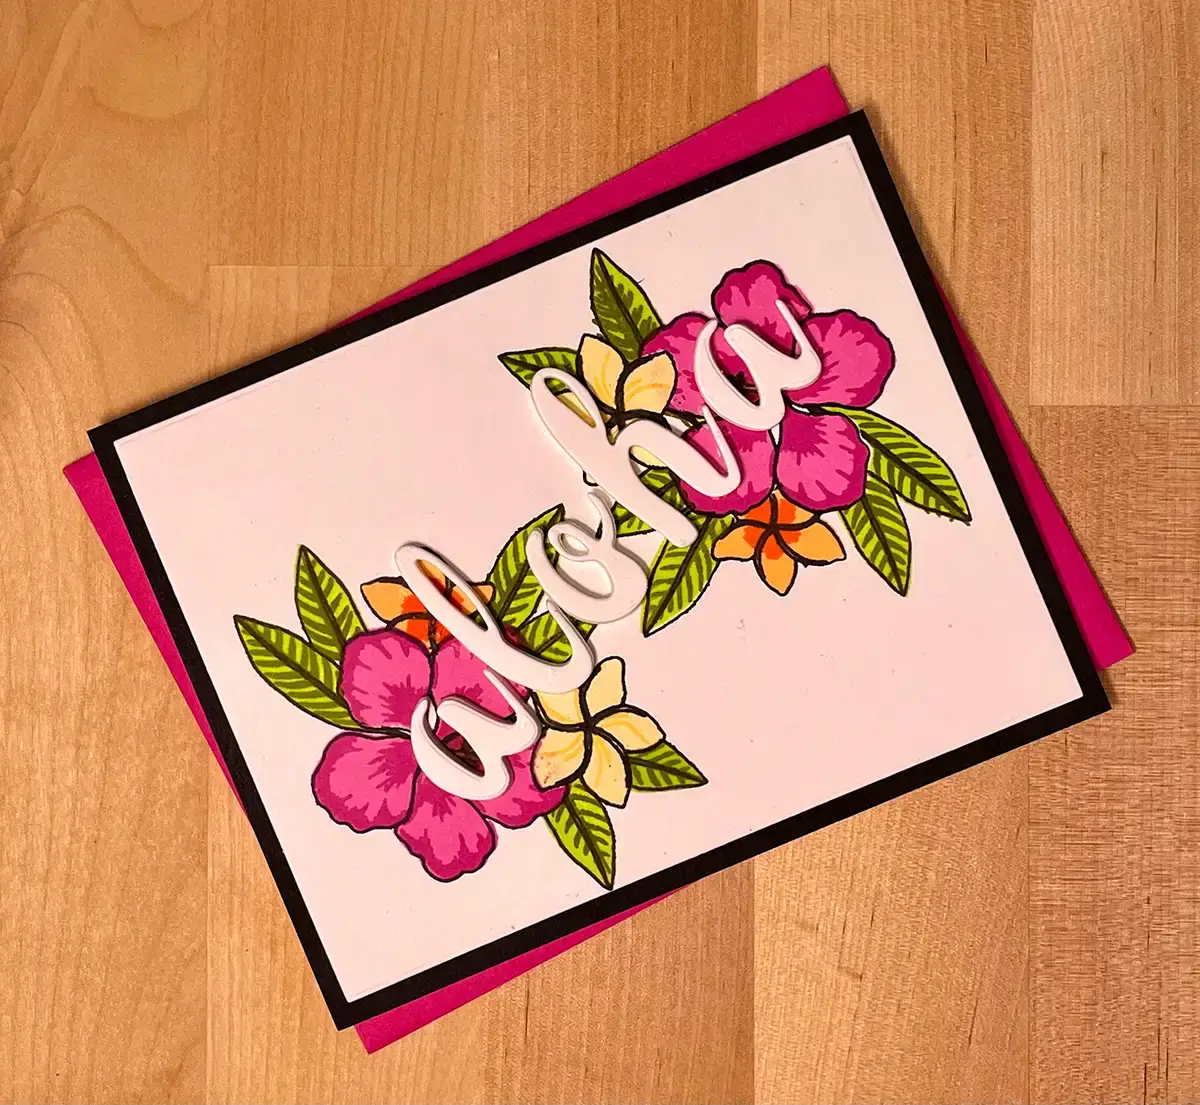
This beautiful Hawaiian card is made using masks created by stamping images and cutting them out along their outlines. We use this method because we don't want the stamped images to overlap on our card.
It is helpful to design what the card will look like and then stamp it onto a scrap piece of cardstock or paper. We'll do this so that we can decide which images we want to appear to be forward as well as the honest that we want to be in the back. This will help us determine the images that we need to mask and when. It's also helpful in setting the stamp locations when using a stamp positioner.
Masking Method
Now we'll stamp the flowers and leaves. We're using a layered stamp set and we'll begin with the flowers that we want to appear in the very front. In other words, the ones that don't appear to have anything else in front of them. We'll stamp all of the layers for those front flowers. Then we'll stamp the outline or largest layer onto masking paper and then cut it out. We'll do this for each of the images that appear to be in the front.
Next, we attach the mask over the front flower. And this will result in protecting the front flower from more stamping. Now we'll stamp the outlines and layers for the flowers and leaves that will appear right behind the front flower. And then we'll use the same masking technique to protect them while stamping the next ones.
And we'll keep masking and stamping until we have all of the flowers and leaves for our card completed.
Sentiments
We're going to create the sentiment by cutting out the letters that spell “aloha” from white cardstock using Altenew's Calligraphy alphabet die set. And then we'll also cut one more from craft foam and use liquid glue to attach it to pop up our sentiment.
Hint: Leave the craft foam all together after you cut out the letters so that the negative pieces will keep the letters from stretching while gluing the cardstock ones to them.
Assembly
Assembly is easy. We attach the black layer to the card base using an adhesive dot runner. Then we trim our card panel to 4″ x 5 1/4″ and then center it on the black layer with dot runner too. Lastly, we'll use liquid glue to add each of the letters across the middle of the flowers.
Aloha Masking Methods Card Supplies
The following list may contain affiliate links. If you purchase something by following a link on this page, I may receive a small commission at no extra cost to you. Thank you for supporting my blog.
- Cardstock: Card base –
Neenah Classic Crest 110lb Solar White, Layer – Gina K Designs Black Onyx; Card Panel – Neenah Classic Crest 80lb Solar White - Stamp: Altenew Totally Tropical
- Die: Altenew Caligraphy Alpha Die; Waffle Flower – A2 Layers
- Ink: Altenew Crisp Inks; Sunkissed, Autumn Blaze, Buttercream, Mango Smoothie, Pinkalicious, Rubellite, Caramel Toffee, Paper Bag, Bamboo, Moss, Jet Black
- Craft Foam
- Adhesives: Bearly Art Glue: Gina K Designs Adhesive Dot Runner
- Masking paper: Gina K Desings Masking Magic
Garland
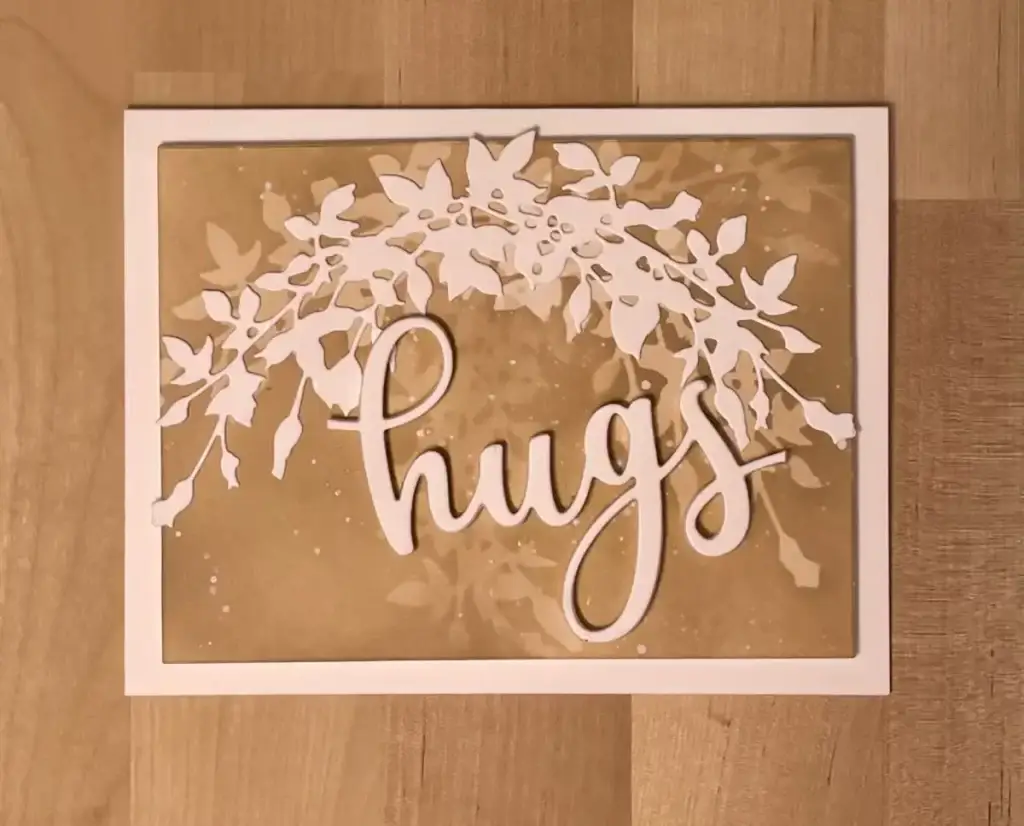
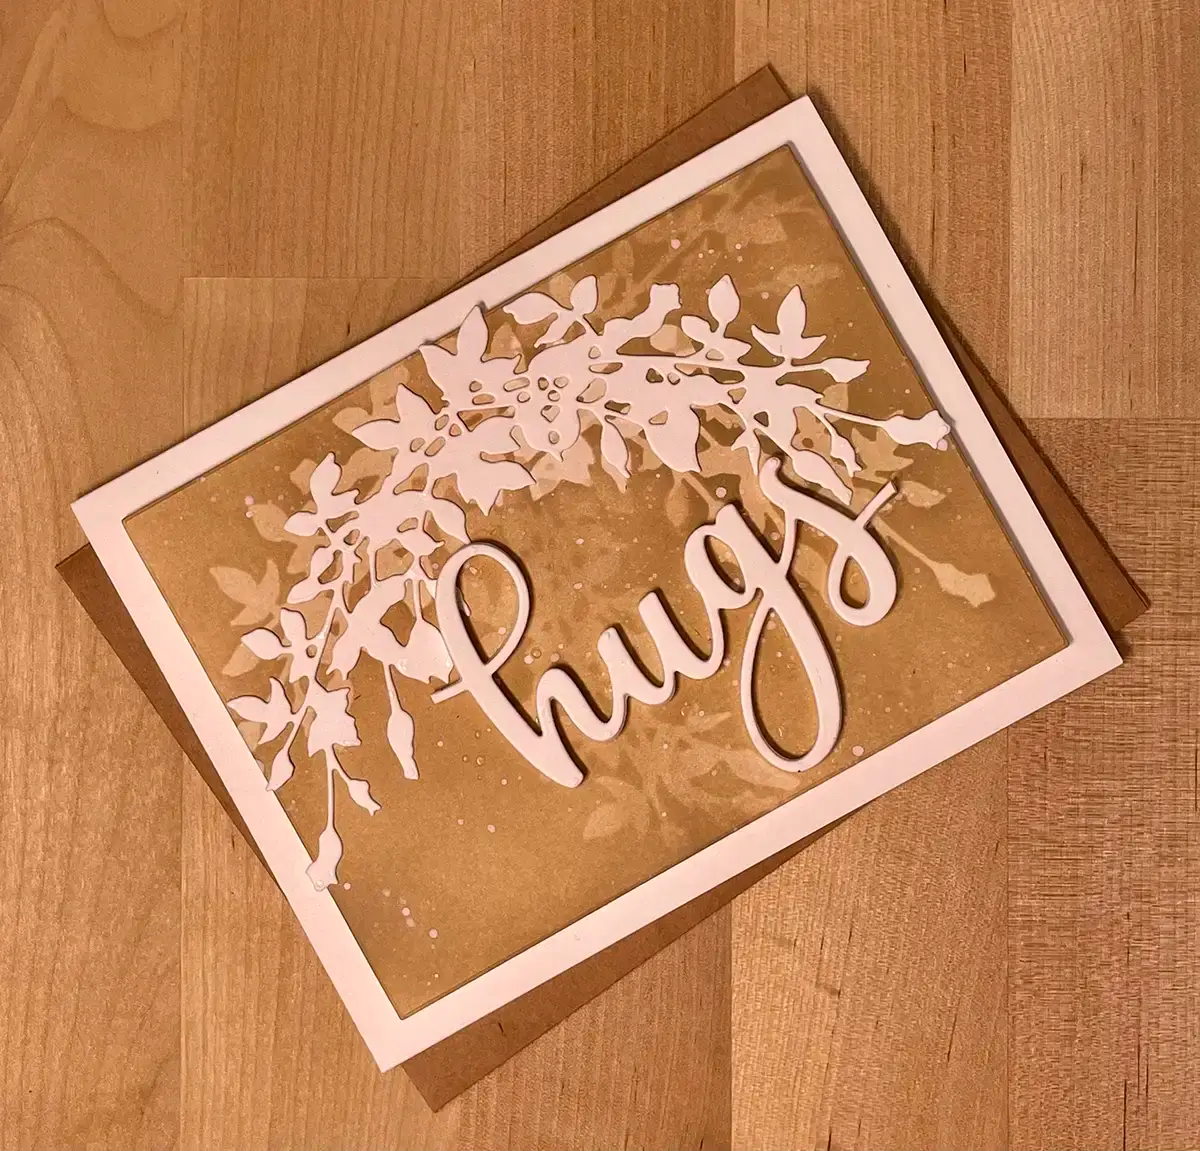
We use die-cut masks to create this beautiful monotone card.
And our first step is to do just that. We'll use our die to cut our image from masking paper. And we'll use the same die one more time to cut the image from white cardstock.
Now, instead of covering up an image, we are creating an image with our mask. So we'll adhere our mask onto a piece of white cardstock and then we'll ink blend over it using the lightest color. We want to let the ink dry for a bit so that the mask will stick to it.
And then we'll remove the mask and move it to another spot and adhere it again. Now we're going to ink blend over the mask as well as the images that we created with our first pass but we'll use the darker ink this time.
Now that we have the ink blending done we need to trim the card panel to 3 3/4″ x 5″ and center it on the card base and use an adhesive dot runner to keep it there. We can also use the dot runner to attach the image that we die-cut once we've arranged it on the card where we want it over the masked images.
The last thing that we have to do is add the sentiment. We'll create it the same way that we did for the first card. But because the die includes a circle we just snip the die-cut at each end of the sentiment. And then once the cardstock sentiment is glued to the one of craft foam, we'll just attach it to the card front using liquid glue.
Die Cut Masking Methods Card Supplies
The following list may contain affiliate links. If you purchase something by following a link on this page, I may receive a small commission at no extra cost to you. Thank you for supporting my blog.
- Cardstock: Card base –
Neenah Classic Crest 110lb Solar White ; card panel – Neenah Classic Crest 80lb Solar White; - Die: Altenew Leafy Garland Die
- Ink: Altenew Crisp Inks Rocky Shore, Sand Dunes, Mocha
- Making Paper: Gina K Designs Masking Magic
- Adhesives:
Bearly Art Glue : Gina K Designs Adhesive Dot Runner
Fluid Masking Methods Aster Card
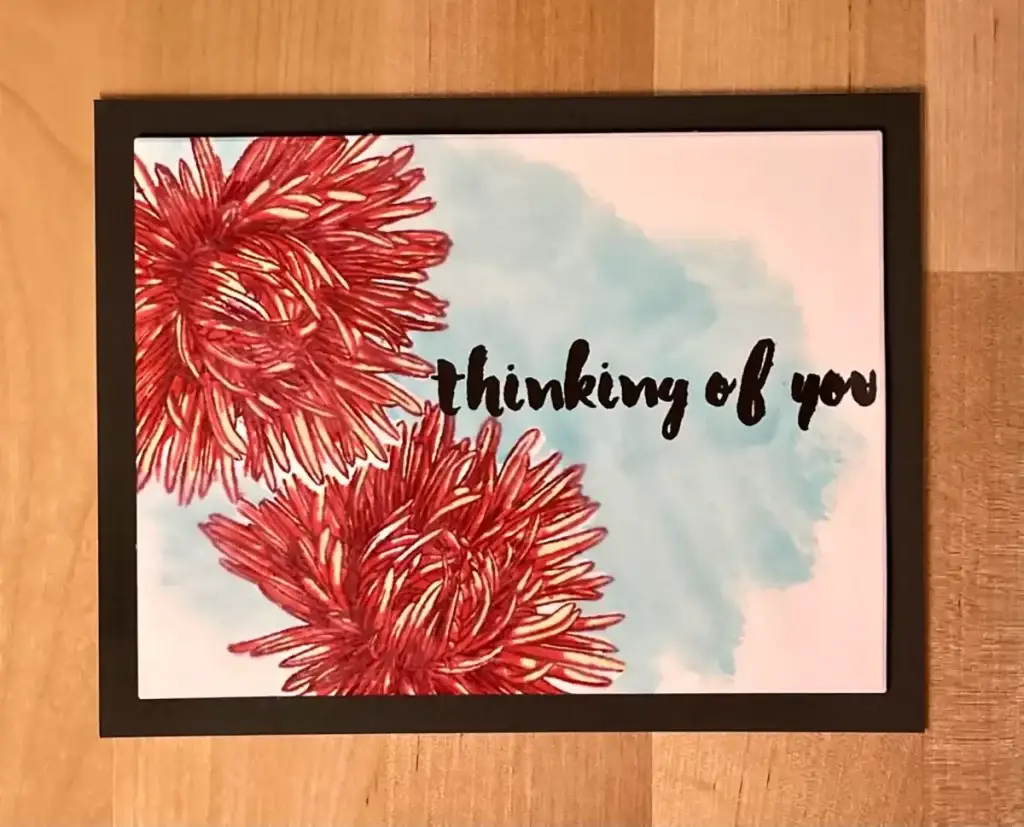
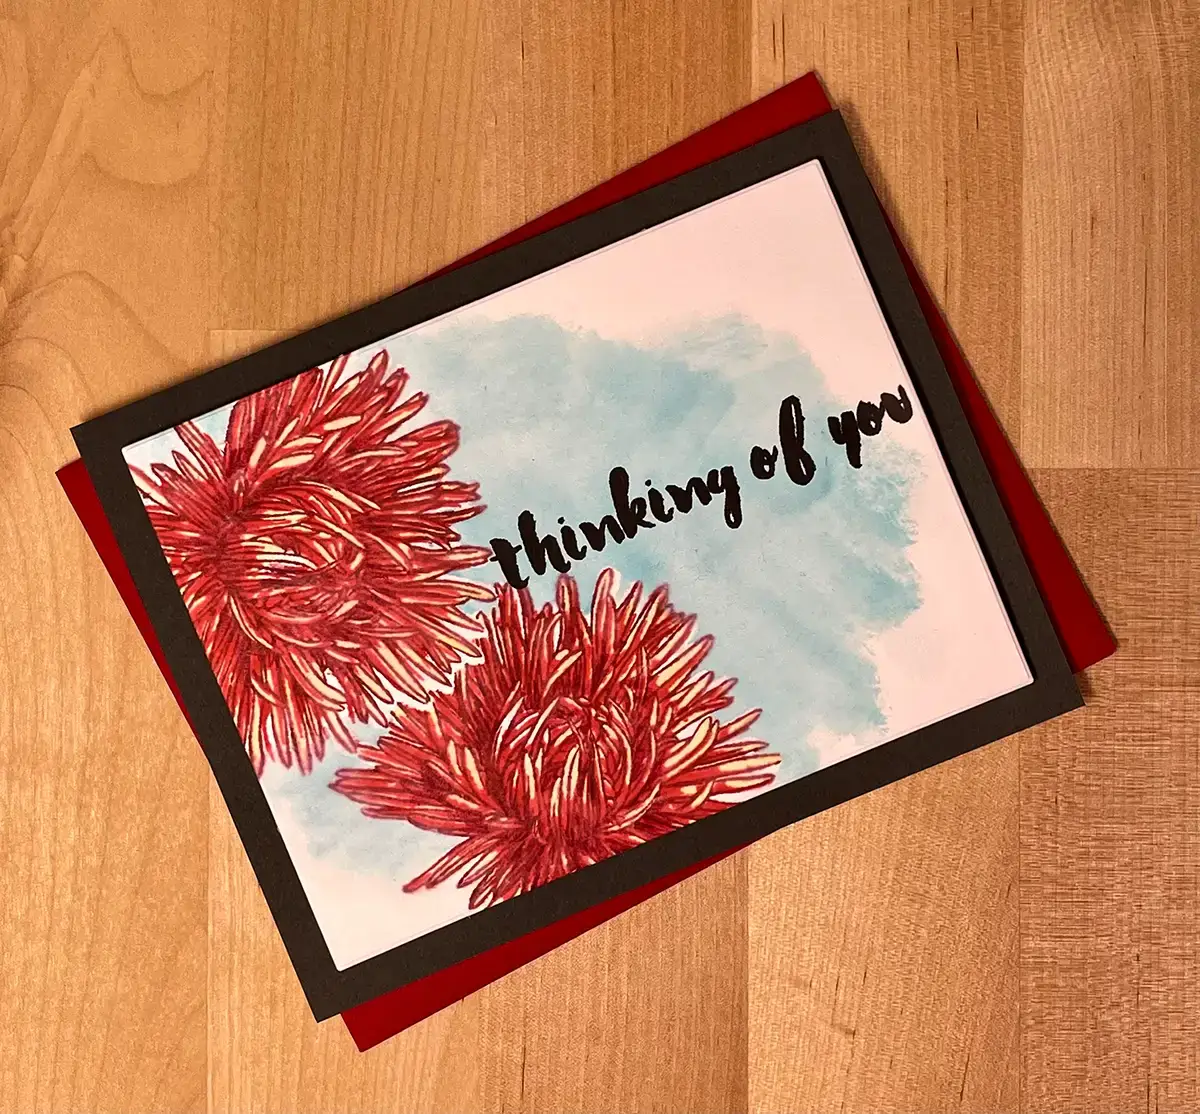
We use two types of masking for this gorgeous card.
We'll use the method described in the first card above to mask off one of our beautiful asters after all layers of the flower have been stamped onto an A2 piece of white watercolor paper. FYI: We used cardstock for the card in the photo and it did not handle the watercolor as well as we would have liked.
Applying Two Masking Methods
Then we create our mask and apply it over our stamped flower and stamp the second one just like we did the first one. Now we set the card panel aside to let the ink dry.
When the card panel is completely dry we'll use a throw-away brush to paint a fluid mask over the stamped flowers. We want to take care to paint over the images and not go outside of the lines with the brush. And now we let it dry completely.
Next, we smooth some of our teal ink onto our work surface. And then, using a big watercolor brush we apply water to our card panel. Now we dry the brush on a paper towel and then pick up some of the ink on the work surface and apply it to our card panel. We keep doing this until the color loosely covers the card panel. Once again we set our card panel aside to dry.
Finishing the Card
When the watercoloring is dry we use a Rubber Cement Pick Up eraser to remove the masking fluid. And then we'll use a colored pencil to add some dimension back to the flowers where the petals meet the center of the flower.
Finally, we stamp our sentiment directly onto the card panel. And then we trim it to 3 3/4″ x 5″. We'll center the card panel on the card base and use a dot runner to attach it.
Two Masking Methods Supplies
The following list may contain affiliate links. If you purchase something by following a link on this page, I may receive a small commission at no extra cost to you. Thank you for supporting my blog.
- Cardstock: Card base –
Neenah Classic Crest 110lb Solar White ; Card Layer – Spellbinders Graphite; Card panel – Neenah Classic Crest 80lb Solar White - Stamp: Altenew Build-A-Flower Aster; Altenew Painted Greetings
- Ink: Altenew Crisp Inks: Ocean Waves, Pure Graphite
- Adhesives: Gina K Designs Adhesive Dot Runner
Struggle with Layered Stamping?
Read 5 Tips on How to Improve Your Layered Stamping Techniques When Cardmaking to help.
