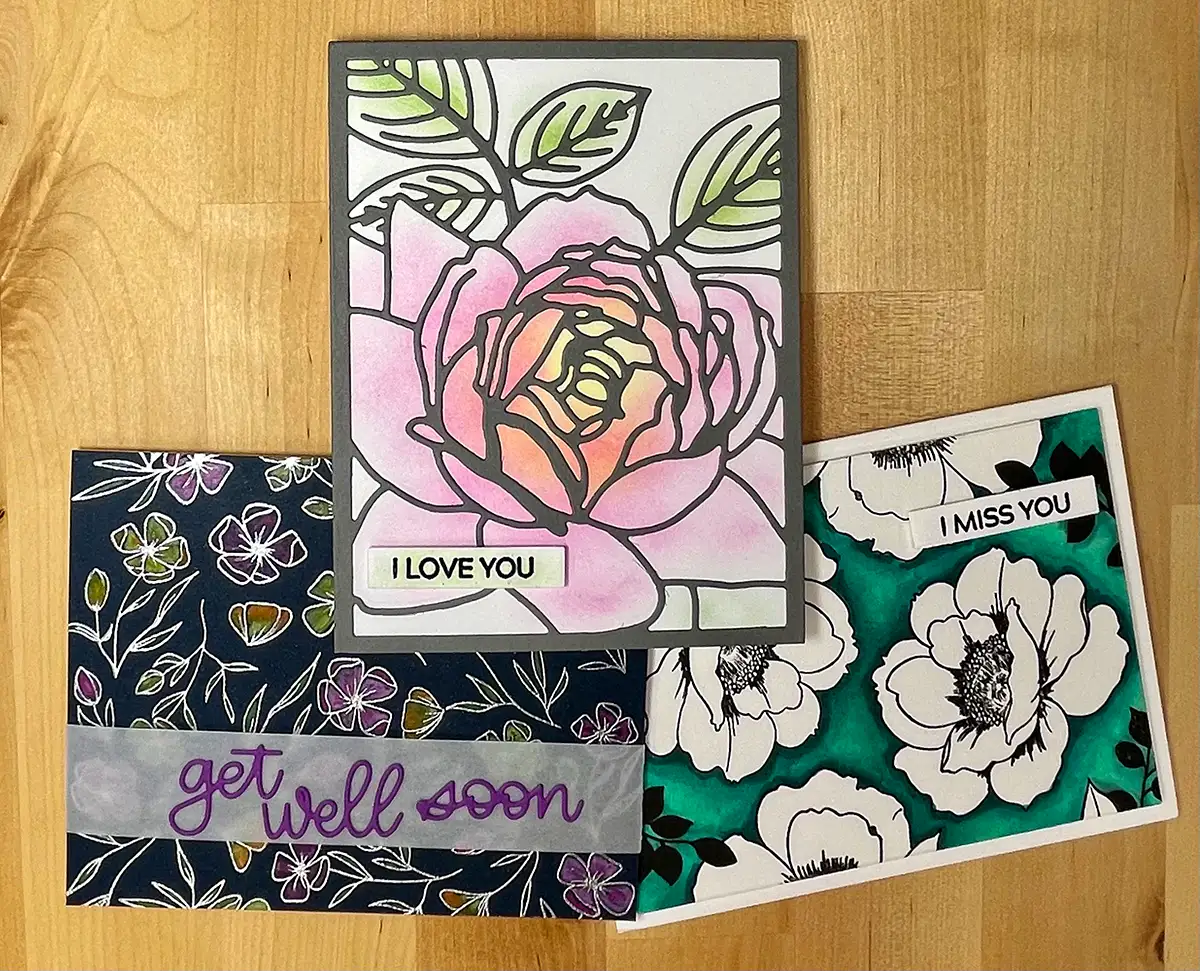
Learn how to make three fantastic floral cards using fun techniques that produce stunning results. Read on for step-by-step instructions.
The inspiration for all three cards comes from Altenew's Progressive Cardmaking Online Class. Something that is nice about this class is that beginner, intermediate, and advanced techniques are provided for each lesson.
Fantastic Floral Die Cut Rose
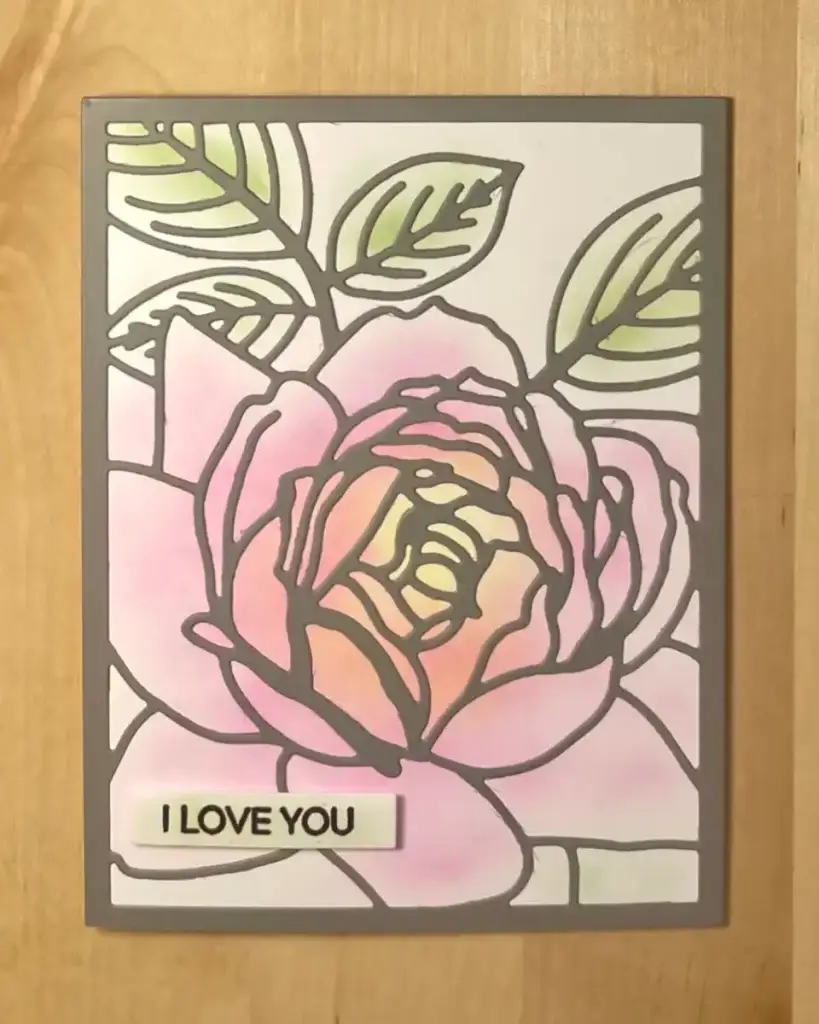
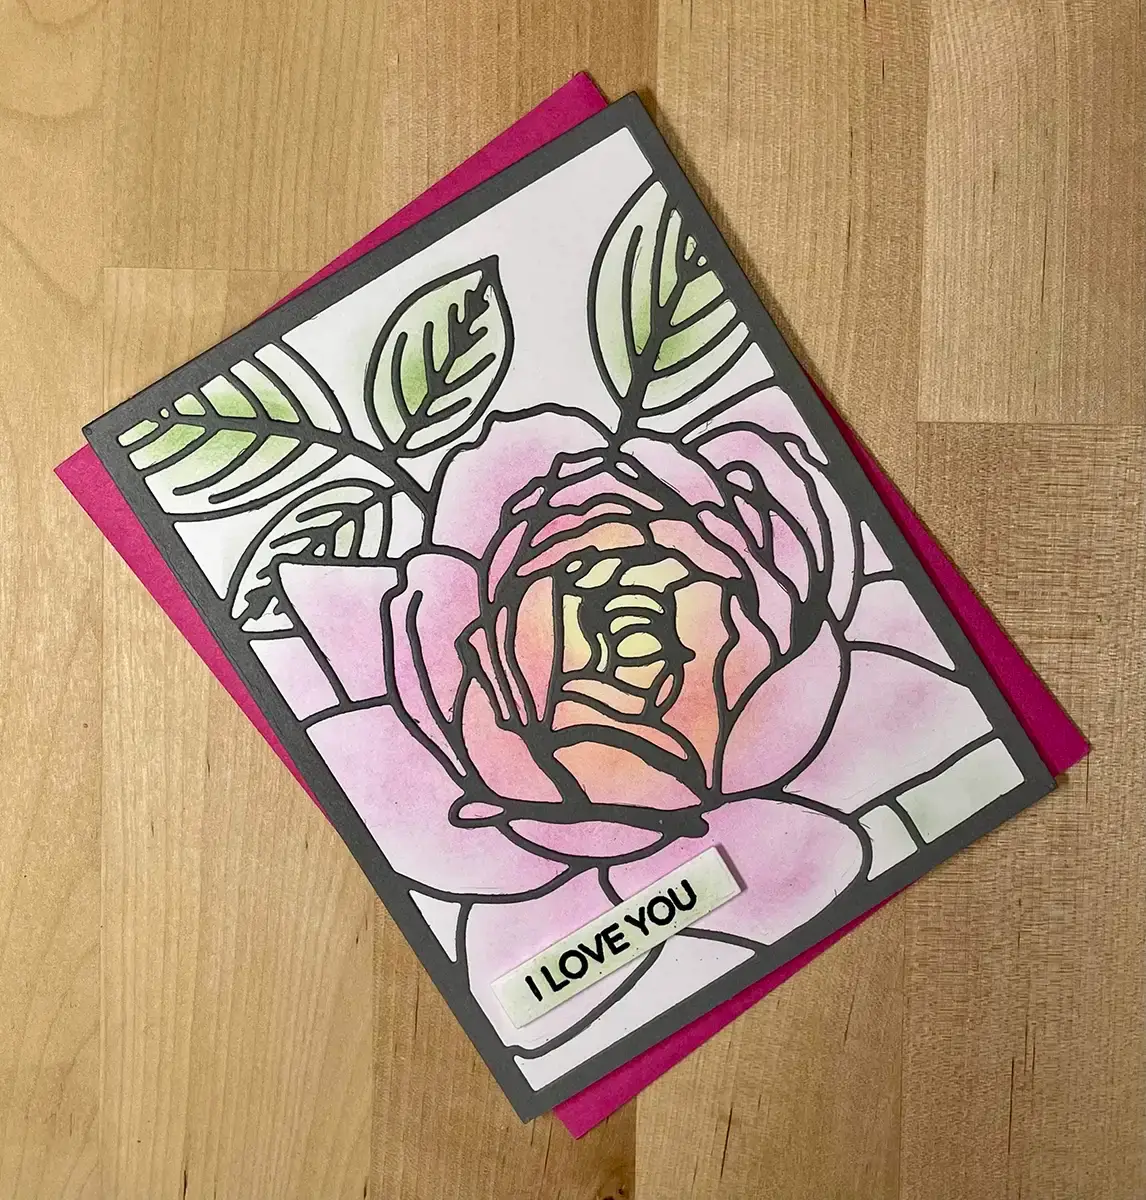
To create the card we'll begin by cutting out the rose using a cover die. We'll use a gray cardstock that will complement the pastel colors of the rose. But before we cut it out we'll add a double-sided adhesive sheet to the back to help us with assembly.
Now we'll lightly trace the outlines of the rose and leaves onto our card panel. We do this because we are going to blend the background on the card panel and we'll use the outlines to guide where we add color.
Ink Blended Background
We're going to color this big beautiful rose to resemble my favorite, the beautiful Peace Rose.
Using a mini blending brush with a light hand and beginning with the buttercream ink we're going to add color to the center of the flower using a circular motion. Next, we'll add pink around the outside edges of the rose.
And then we'll work our way towards the center. We will overlap some of the yellow to create a nice blend that results in a beautiful peachy color. If necessary we will add a little more buttercream to soften the blend.
Now we'll add some light green to the leaves and just a touch of the medium green in the center of each leaf.
Sentiment
We'll heat emboss a simple sentiment onto a scrap of white cardstock using black embossing powder. We'll do this by brushing anti-static powder onto the cardstock and then stamping the sentiment using watermark ink.
Then we'll sprinkle the embossing powder over the ink until the sentiment is covered. And, we'll give the cardstock a good tap to remove any loose powder. Now, using our heat tool, we'll heat up the powder until it's melted, smooth, and shiny.
The sentiment appears to be kind of bland so we'll use the green blending brush to blend a little color over it. As a result, the sentiment really finishes the card beautifully.
Assembly
Assembly is quick and easy. First, we'll attach the card panel to the card base using a dot adhesive runner. Next, we'll remove the backing paper from the double-sided adhesive on the rose and carefully attach it over the background.
To finish it off we'll pop the sentiment up with a little piece of foam tape.
Supplies
The following list may contain affiliate links. If you purchase something by following a link on this page, I may receive a small commission at no extra cost to you. Thank you for supporting my blog.
- Cardstock: Card base – Neenah Classic Crest 110lb Solar White; Card panel – Neenah Classic Crest 80lb Solar White; Accent panel – Gina K Designs Stormy Sky
- Die: Altenew Layered Blossom Cover Die A
- Ink: Altenew Crisp Ink Puffy Heart, Buttercream, Frayed Leaf, Forest Glades
- Adhesives: Altenew Double-sided Adhesive Sheets; Gina K Designs Dot Adhesive Runner
Fantastic Floral Get Well Soon Card
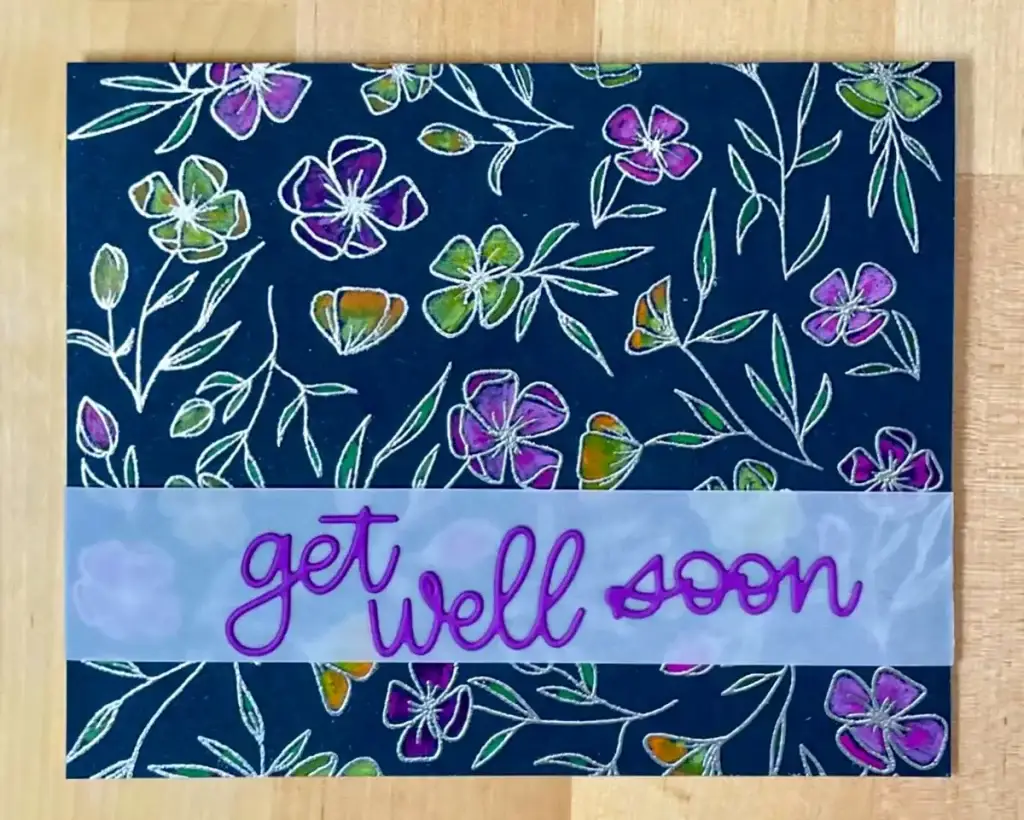
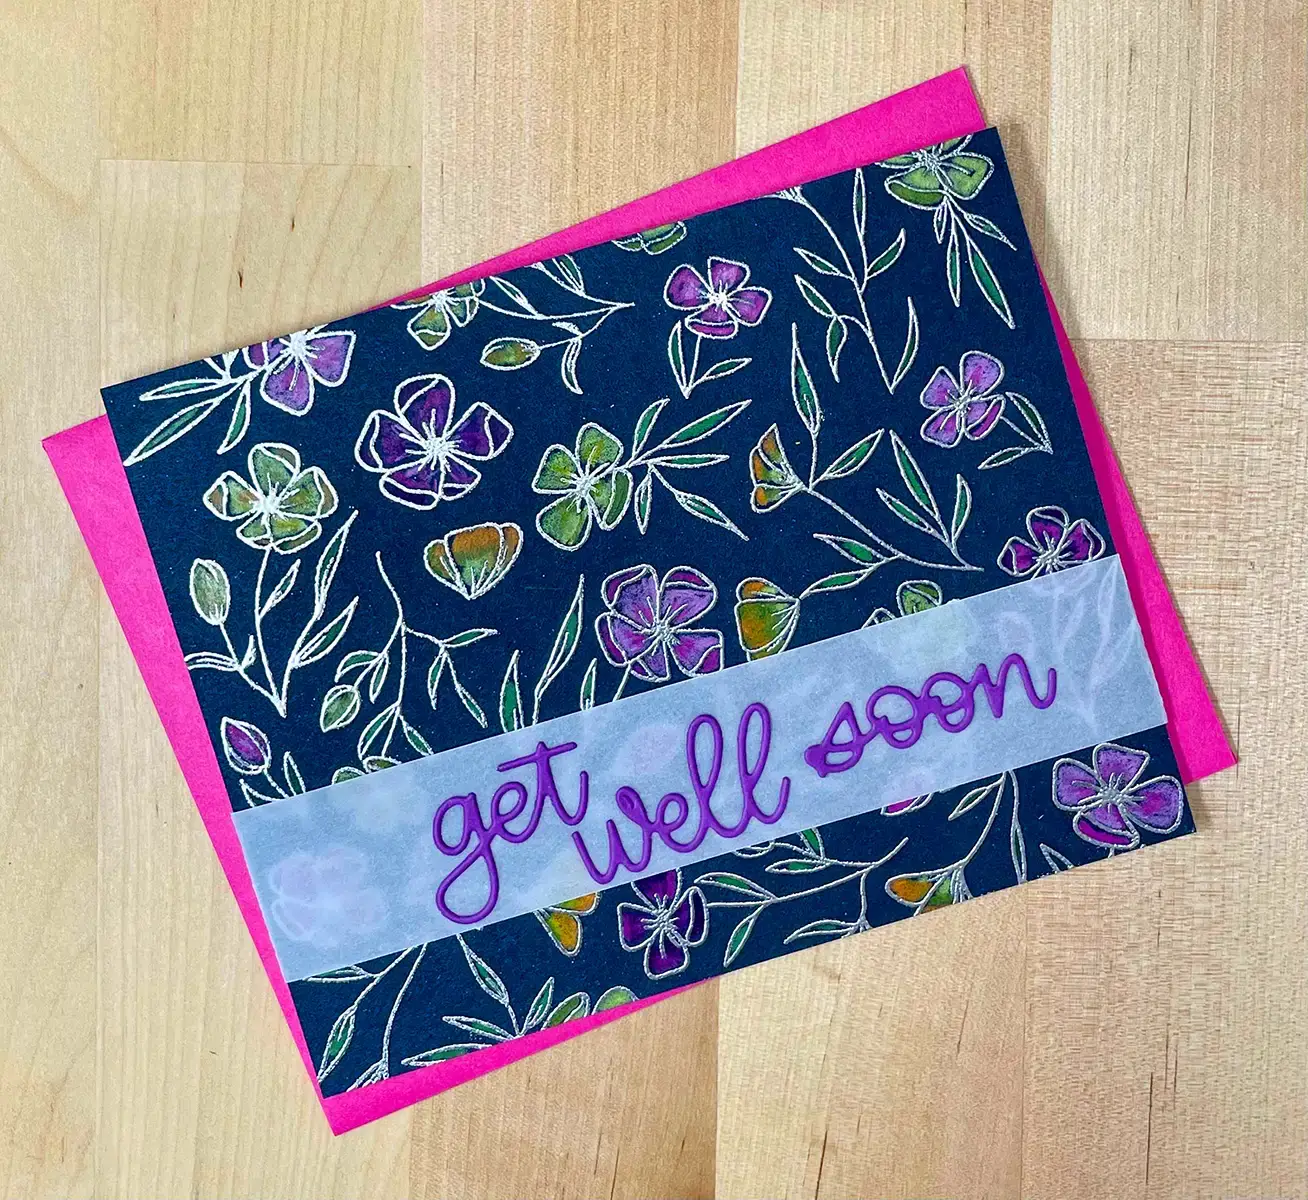
Who wouldn't feel better after receiving a stunning card like this? The silver heat embossed background stamp is so pretty on navy cardstock. And the colors really set it off.
We'll begin this card by stamping the background using a stamp positioner. We do this in case we don't get a good image the first time we stamp. Hint: If we didn't have a stamp positioner we could lay the stamp on its back and then load it with ink. And then we'll carefully lay the card panel over the top of the stamp and rub over it with our hands.
Coloring the Fantastic Floral Get Well Card
Next, we'll color in the flowers using colored pencils. Hint: Even though the flowers are small, you can use a light and a dark tone of each color to create some interest and dimension to the flowers. To do this we'll use the dark tone where there would be shadows in the flower. For example: at the center of the flower, and under the petals that are turned up.
To keep from covering up the pretty design, we'll use vellum to add the sentiment. We'll cut a piece about 1″ x 6″. Then we'll add some double-sided adhesive as we did on the first card because the sentiment is so delicate. And then we'll use a die to cut it out.
Assembly
Assembly is a breeze. We'll begin it by folding the vellum over the card panel on each side. And then we'll use a dot adhesive runner to attach it to the card panel. Hint: we want to make sure that the sentiment banner is the same distance from the bottom of the card panel on both sides.
Now we'll attach the card panel to the card base and that's it.
Supplies
The following list may contain affiliate links. If you purchase something by following a link on this page, I may receive a small commission at no extra cost to you. Thank you for supporting my blog.
- Cardstock: Card base – Neenah Classic Crest 110lb Solar White; Card panel – Taylored Expressions. Accent panel – Paper Studio; Vellum Gina K Designs
- Stamp: Altenew Delicate Flower Bed
- Die: Kat Scrappiness Get Well Soon
- Colored Pencils: Prismacolor Dahlia Purple PC1009, Process Red PC994, Hot Pink PC993, Orange PC918, Sunburst Yellow PC 917, Lemon Yellow PC915, Olive Green PC911, Apple Green PC912
- Adhesives: Altenew Double-sided Adhesive Sheets; Gina K Designs Dot Adhesive Runner
Colored Background Fantastic Floral
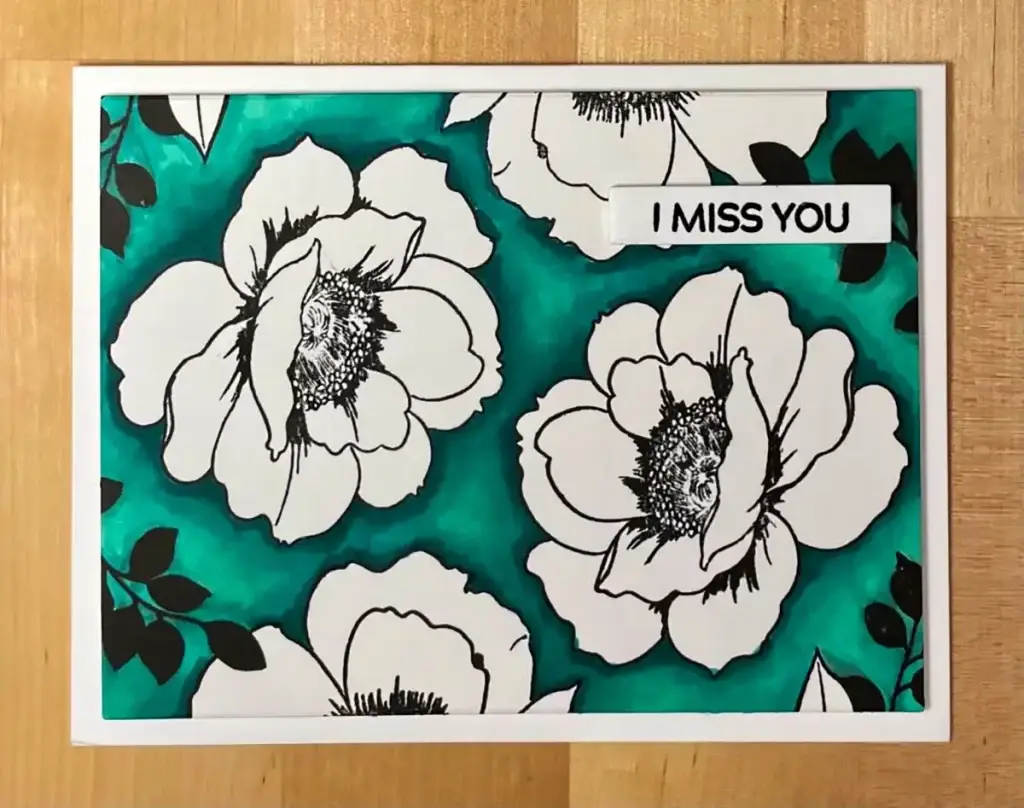
Justine Hovey, the instructor for the class, uses a gorgeous Altenew stamp set for the beginner technique of the first lesson. And she teaches how to align the stamps in a stamp positioner to create a quick and beautiful design.
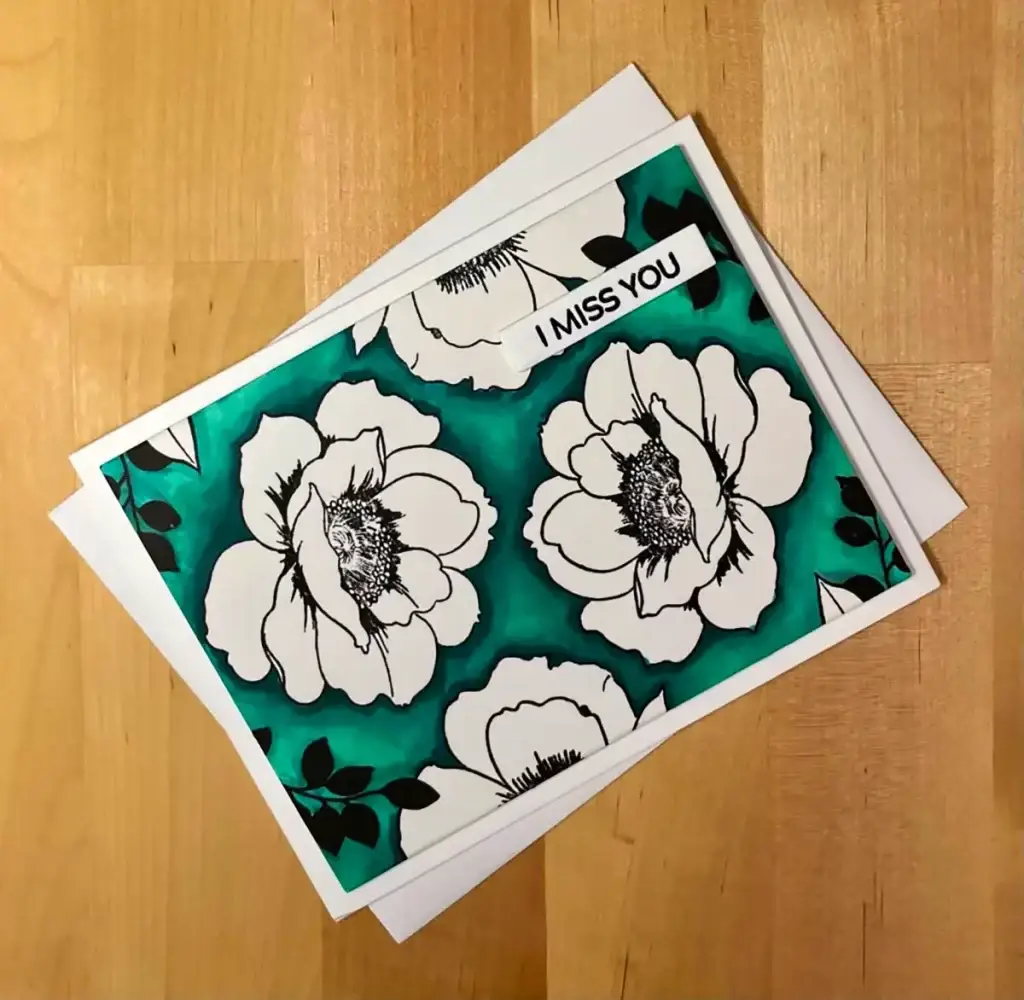
Then in the advanced portion of the lesson, she teaches how to color the flowers using alcohol markers. But after I stamped the flowers onto my card panel I thought that the images were stunning just the way they were. So, instead of coloring the flowers, I decided to try coloring the background. And that is what we're going to do for this card.
Stamping the Fantastic Floral I Miss You Card
We'll start by aligning our stamps in the stamp positioner. Draw an imaginary line from the bottom left corner of your card panel to the top right corner. And then arrange your stamps on one side of your line.
Now, we'll load up our stamps with multi-media ink and stamp our images. Hint: we want to make sure that our ink is dry before we begin the next step so that the black ink doesn't bleed into our background. We can use our heat gun to speed up the drying process.
Coloring
To color the background we'll create a wash over the entire surface that we're coloring with the lightest color. Then we'll use the darkest tone around the edges of each flower. Then we'll use the next darkest and then we'll blend it all with the lightest marker.
Disclosure: I had forgotten that I had stamped the images onto watercolor cardstock for the card in the photos. I didn't realize this until I began to blend the different tones. This didn't ruin the card, but I'm sure that the Neenah Classic Crest 80lb Solar White will produce smoother blending.
Sentiment
For the sentiment, we'll stamp it onto a scrap of white cardstock in black pigment ink. And then we'll use the coordinating die to cut it out. We'll pop it up with a piece of foam tape and there we have it.
Supplies
The following list may contain affiliate links. If you purchase something by following a link on this page, I may receive a small commission at no extra cost to you. Thank you for supporting my blog.
- Cardstock: Card base – Neenah Classic Crest 110lb Solar White, Card panel – Neenah Classic Crest 80lb Solar White
- Stamp: Altenew Wallpaper Art; Hero Arts DC286 Message Strips Stamp & Cut XL
- Ink: Altenew Pigment Ink – Obsidian
- Alcohol Markers: Altenew Sea Shore Set
More Fantastic Floral inspiration
Check out How to Conquer Color in Handmade Cards for more beautiful floral card ideas.
