
The August Large Die of the Month from Spellbinders is a real beauty! And, there are so many different things that you can do with it!
This is a really fun one! I’ve made two cards that begin to indicate that fall is coming.
August Large Die Of The Month – Thoughts Card


The intent of this card is to show off the pretty little blossoms that you can create with this die set.
To create the card we begin by attaching a piece of medium gray cardstock to a white A2 (4 1/4″ x 5 1/2″) card base with a tape runner. Next, we’ll spritz a little water onto a white card panel. And then, we’ll put it inside a pretty floral embossing folder and run it through our die-cutting and embossing machine.
While that is drying, we’ll die-cut all of our little floral pieces and the background oval that we’re going to use to showcase the focal point. Following that, we’ll make all the little flowers by gluing all the little pieces together with liquid glue. And, to add a little dimension, we’ll fold up the petals of the tiniest flowers.
Once the panel is dry, we’ll trim it down to 4″ x 5 1/4″ and attach it centered on the gray panel with our tape runner. And then, we’ll pop up the light gray oval with foam sheets. And, to finish the focal point, we’ll use liquid glue to fasten down the stems, leaves, and the smallest flowers. But, we’ll use foam squares to pop up the larger flowers.
The last thing we’ll do is add a sentiment. I love Always and Forever Sentiments from the new BetterPress collection. With it, you create sixteen beautiful letterpress sentiments at once. And, it comes with a coordinating die. I choose “You’re in my Thoughts” for this card. And, pop it up with foam squares and that is it for this card.
August Large Die Of The Month – Thanks Card
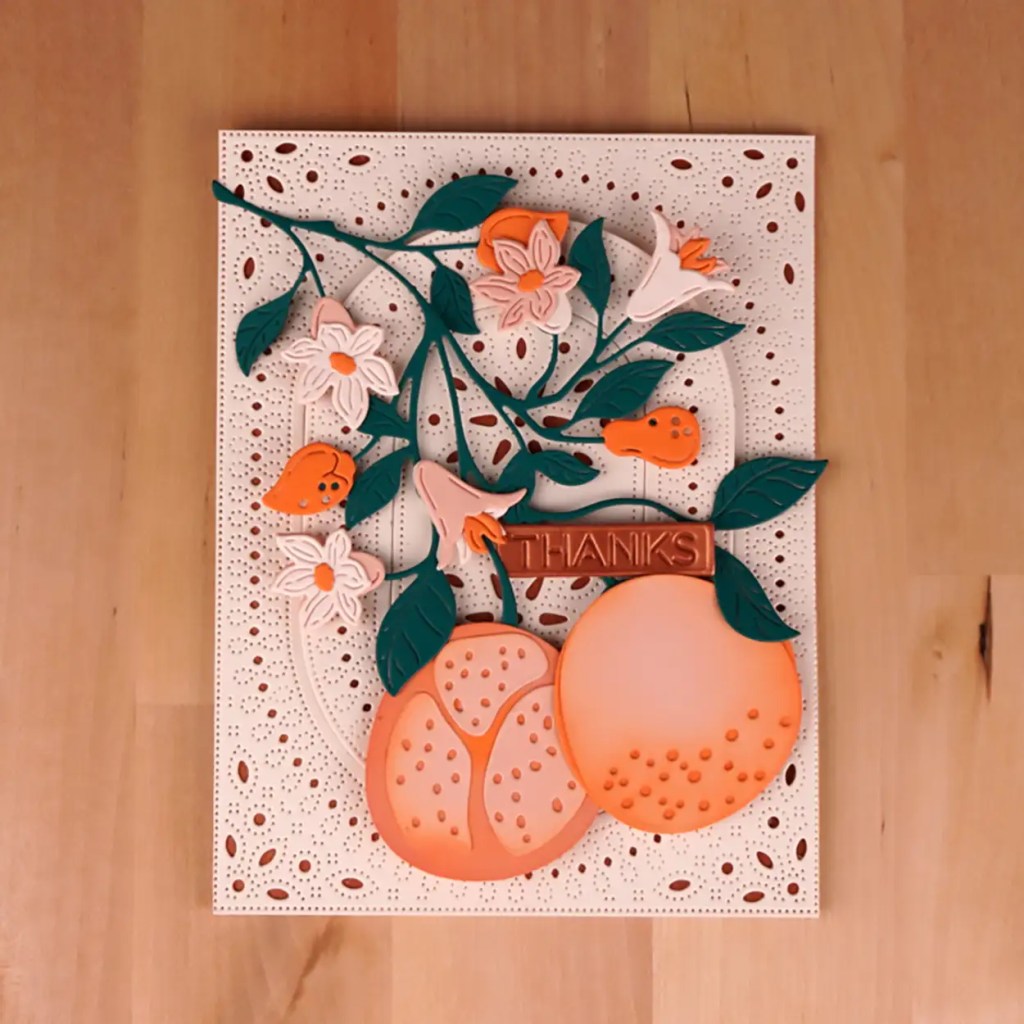
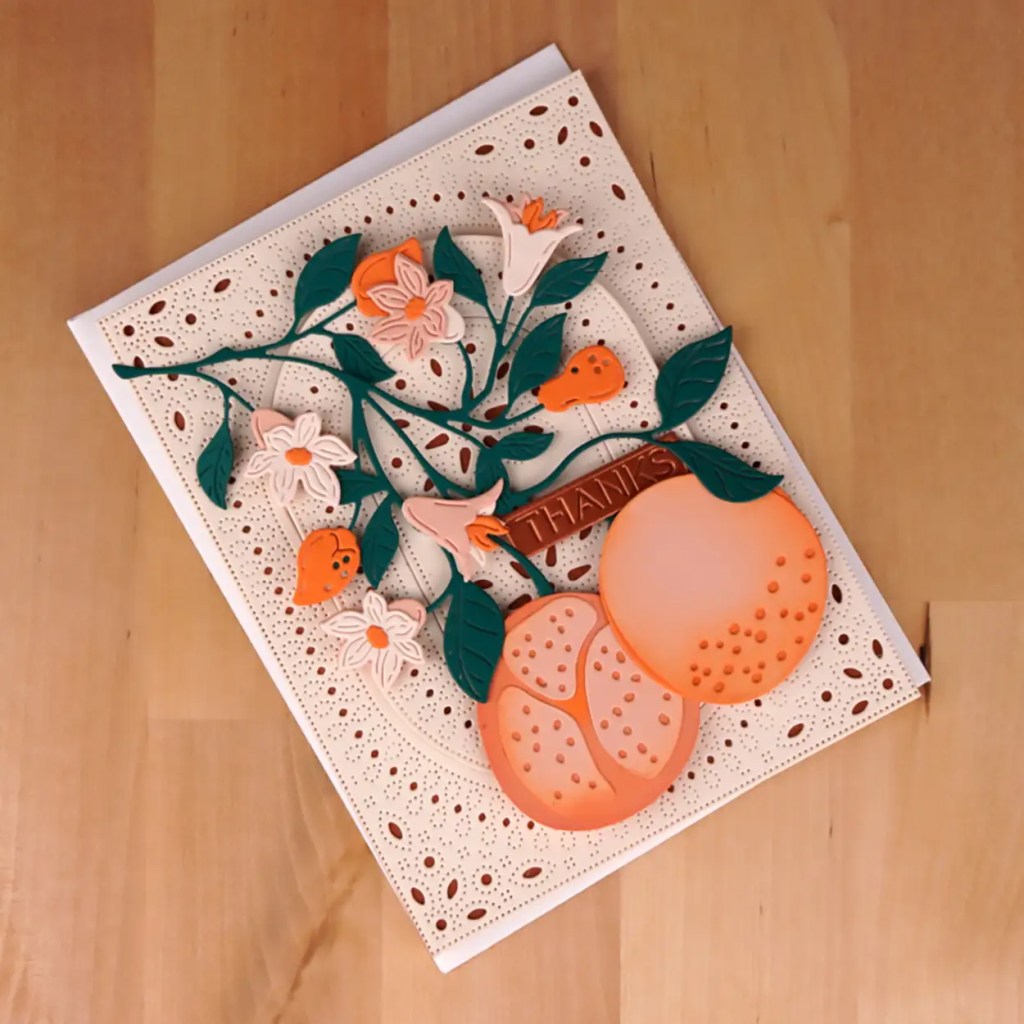
The basics are the same for this card as they are with the first one. The real differences are that we use more dies from the set, a totally different background, and of course, we change up the colors.
Let’s start with the floral pieces. We’ll use three shades of peachy orange to cut the fruit and flowers. And then, we’ll just use the ink that’s on the blending brushes that we use with Distress Oxides to add a little dimension to the large round pieces (I think these are persimmons, at least that is what they are in my card).
Background
We’ll use liquid glue to assemble all the floral pieces in the same way as the first card.
Now that we’ve got our focal point established, we can select the color to use behind the pierced background piece. I go with metallic copper to help ground it. And, decide to go with the same cardstock for the sentiment.
To add some dimension, we’ll pop up the center two oval pieces with a foam sheet. But before we do that, we need to cut an oval from the metallic panel so that we can back the center ovals with it.
I use a tape runner to fasten the metallic panel and the outer circle of the pierced background. But, I will use liquid glue the next time I make a card similar to this as the pierced ring pulls away from the metallic cardstock.
Next, we’ll pop up each of the floral pieces with foam squares, but we’ll use a little liquid glue on the stem and leaves. Finally, we’ll poke the sentiment in above the fruit and fasten it with foam squares. And that is it for this pretty fall-colored card.
WP Supply List


Looking For More Fun Cards To Make With Dies?
Check out Have You Seen Country Roads For Cards?


