

You can make the Thinking of You card too using die-cuts, embossing folders, and heat embossing.
Steps To Make the Thinking of You Card
1. Create A Card Base For The Thinking Of You Card
Begin by making a white A2 card base. For help on how to do so HERE.
2. Make The Background For The Thinking Of You Card
Next, emboss a piece of onyx cardstock with the April 2024 3D Embossing Folder of the Month. I recommend that you use a half sheet (5 1/2″ x 8 1/2″) because the embossing folder is big enough to make two card panels. To emphasize the incredible detail provided by the embossing folder we're going to paint them with pearlescent watercolor paints. And then, we'll use a silver metallic marker to emphasize the needles in the design. Set the panel aside to dry.
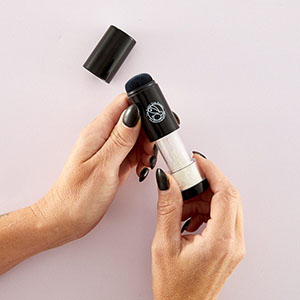
Heat emboss the sentiment on white cardstock with Spellbinders black embossing powder.
Now, we're going to do all of our die-cutting as follows:
- Embroidery floss – Poppy Field, Teal Topaz, Sunkissed, Lilac Blossom
- Wrappers for embroidery floss – Brushed Gold
- Thimble – Brushed Silver
- Floss spool – Snowdrift
While we have the die-cutting machine out we need to die-cut the sentiment with the coordinating die. And then, we'll die-cut three more from white cardstock.
Card Assembly
To put this card together, we'll begin by trimming the background panel to 5″ x 3 3/4″. I always use White Liner sheets when I am attaching a card panel that has been embossed. I do this because it helps to “grip” the embossed panel and hold it tight to the card base. Trim the adhesive sheet to 4 7/8″ x 3 5/8″, remove the backing paper from one side and attach it to the back of the embossed panel. Now, remove the remaining backing paper and attach the embossed panel centered on the card base.
Now, we'll prepare the die-cut pieces. Starting with the sentiment, we'll layer the three white pieces with liquid glue and then we'll attach the sentiment on top. Next, we'll attach the wrappers to the three different colored skeins of embroidery floss with liquid glue. And then, we'll bend the thimble a little to give it some dimension,
Arrange the die-cuts on the card front, adding a little dimension to some with foam squares. Finally, fasten everything down with liquid glue.
And that's it!
There are affiliate links in this article. If you use one I may receive a small commission at no extra cost to you. Thank you for your support!

Lilac Blossom

Brushed Silver Cardstock

Yasumoto 36 Color Watercolor Palette

Silver Metallic Marker

White Liner Sheet

Poppy Field Cardstock
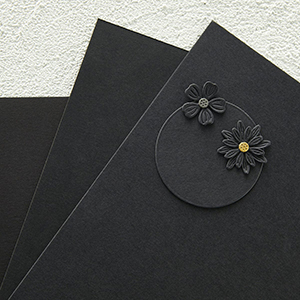
Spellbinders Onyx Cardstock
Spellbinders Black Embossing Powder

3D Embossing Folder of the Month - Spellbinders 3EOM

Large Die of the Month - Spellbinders DOML
Sunkissed Cardstock

Spellbinders Foam Squares

Clear Stamp & Die of the Month

Brushed Gold Cardstock - Spellbinders
Versamark Watermark Ink
110lb Solar White
Bearly Art Glue

Teal Topaz Cardstock

Stampwheel
Tonic Studios - Tim Holtz - 8.5 Inch Comfort Trimmer
Glue Press
Teflon Bone Folder
Platinum 6 Die-cutting Machine
Cottontail Anti-Static Powder Tool
Sizzix Dual Speed Heat Tool