

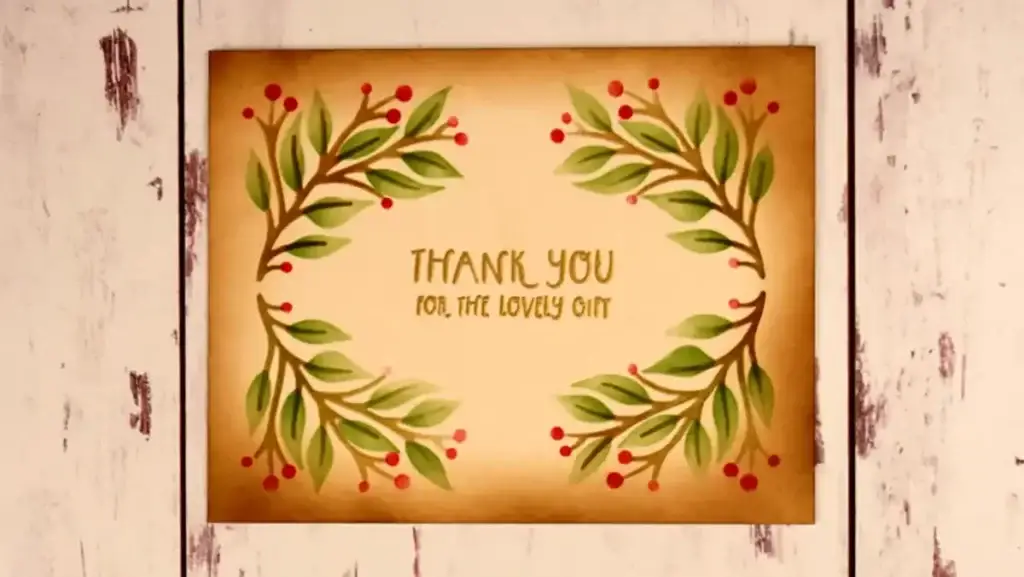
This stenciled Thank You For The Lovely Gift card is perfect for sending thank you's after the holidays. And, it's easy to mass produce too.
Steps To Create The Thank You For The Lovely Gift Card
- To start, we'll make an A2 size (4 1/4″ x 5 1/2″) piece of alabaster cardstock look antique by blending around the edges with brown ink
- Next, place the first stencil layer over one end. Use a pencil to mark each of the four guide holes. Blend brown ink over the stencil. Once you're done, carefully pick the stencil up and move it to the opposite end (so that the design is mirrored) and repeat.
- Use the guide marks to align the second layer over the top of the first and blend lightly with green ink. And repeat on the other end.
- Use green ink for the third layer, but use a little pressure.
- Finish the stenciling with red ink using the fourth stencil layer
- Heat emboss the sentiments with gold embossing powder
- Lastly, fasten the card panel to a white A2 card base with a tape Runner
Supplies List
I use affiliate links. If you purchase after clicking on one I may receive a small commission. Thank you for your support!

Alabaster Cardstock
Ground Espresso Distress Oxide

Lumberjack Plaid Distress Oxide Ink
Sweet Petunia Mini Misti
Teflon Bone Folder
Versamark Watermark Ink
Spellbinders Gold Embossing Powder
Cottontail Anti-Static Powder Tool
Sizzix Dual Speed Heat Tool
Altenew Scoring Board
110lb Solar White
Rustic Wilderness Distress Oxide Ink
Tape Runner - Spellbinders

Spellbinders Large Blending Brushes
I created the Thank You For The Lovely Gift card and more while playing with products in Spellbinders 2023 Advent Calendar.