


The Happy Thoughts Card is bright and cheery. It's created by using a little cross-stitched heart stamp in rainbow colors. Instructions with a supply list for the card and a coordinating envelope are included.
Steps To Make The Happy Thoughts Card
Begin by making a white, A2 size (5 1/2″ x 4 1/4″) card base with the fold on top. If you need help on how to do so, you can find instructions on how to make a card base HERE.
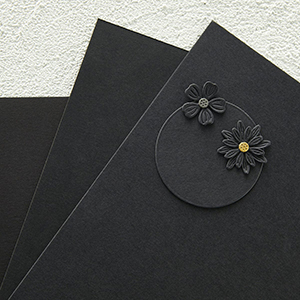
Trim a piece of black cardstock to A2 size for the color panel
Once you have the color panel ready, go ahead and attach it to the card base with a tape runner. If you struggle with getting color panels straight when you're attaching them to your card base take a look at How To Align A Color Panel Squarely.
Happy Thoughts Card Stamping
Now we'll do some stamping. We're going to start with a white piece of layering weight cardstock, like Neenah Classic Crest 80lb solar white It's easier to get everything straight if you draw a light pencil line on the cardstock. To demonstrate how to do this, my line goes from the bottom left hand corner to 1/4″ below the top right hand corner.
Using a small square stamp block, begin stamping in alternate directions (one upwards, the next down facing). Additionally, you can change the colors, For example, I use rainbow colors in mine. Our eyes like to see things in odd numbers, so it will be best if you stamp an odd number of heart rows.
Heat Embossing For The Happy Thoughts Card
We're going to heat emboss the the large stitched “happy” sentiment on black cardstock with white embossing powder. Once the embossing is cool, die-cut the sentiment with the coordinating die. Use the die to cut three more from black cardstock.
And then, we're going to heat emboss the sentiments directly onto the stamped card panel with black embossing powder. For help and tips on high quality heat embossing click HERE.
Assembly
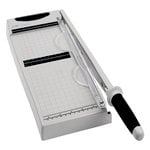
Assembly is quick and easy. Trim the stamped card panel to 5″ x 3 3/4″. You can do this with a paper trimmer, but I like to use a rectangle die to do this because it cuts a perfect rectangle. Now, go ahead and center the stamped panel on your card using a tape runner. Finally, we'll layer the black sentiment die-cuts together with liquid glue with the embossed one on top. And then, fasten it to the card front.
Coordinating Envelope
Open a white A2 envelope and then stamp it using the same technique we used for the card. Next, heat emboss the little “hand made scissors” stamp on onyx cardstock with Spellbinders white embossing powder. And then, fasten it to the envelope with liquid glue.
Wax Seal
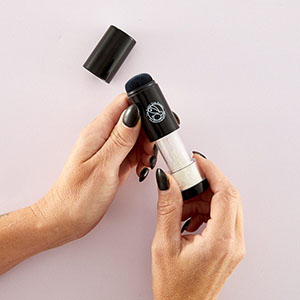
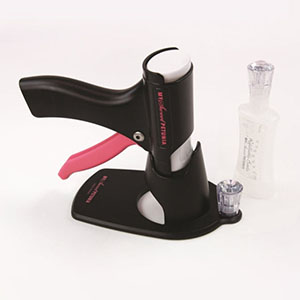
Besides the stamping decoration on the envelope, another thing that makes it special is a wax seal that coordinates with it. To create it, you'll need a wax seal starter kit, a wax seal stamp, and twilight wax beads.
Light the candle and then lower the furnace down over it. While the furnace is heating up set the spoon on top and add 5 wax beads to it. Swirl the wax until it is completely melted. You can do this by moving the spoon with your hand, but I like to use the wood match that I used to light the furnace with.
Once the wax is melted thoroughly, lift the spoon off of the furnace and pour the wax in a pool onto the silicone mat. Lightly lower a wax seal stamp down onto the wax using it's weight to make the impression in the wax. Let cool.
Once the wax has cooled, carefully remove the wax seal stamp from the wax. If the wax sticks on the stamp you can use your hands to remove it.
Wax seals are beautiful on their own, however coloring the impressions adds an extra punch to them. You can do so with a silver metallic marker. Once the marker is dry you can attach the seal with an adhesive circle.
Supply List
I have affiliate links on my site. If you use one I may receive a small commission at no extra cost to you. Thank you for your support!

Happy Stitching Clear Stamp of the Month April 2024

Red Hot Dye Ink

Wild Dandelion Ink

Lucky Clover Ink

Blue Raspberry Ink

Passionate Pink Ink

Wild Lilac Ink

Twilight Purple Wax Beads - Spellbinders

Master Layouts 01 Die Set - Gina K Designs
Spellbinders Onyx Cardstock
Altenew Instant Dimension Foam Tape
Spellbinders Black Embossing Powder

Spellbinders White Embossing Powder

Wax Seal Of The Month

Adhesive Circles
Versamark Watermark Ink
Bearly Art Glue
110lb Solar White

Silver Metallic Marker

Wax Seal Starter Kit - Spellbinders
Glue Press