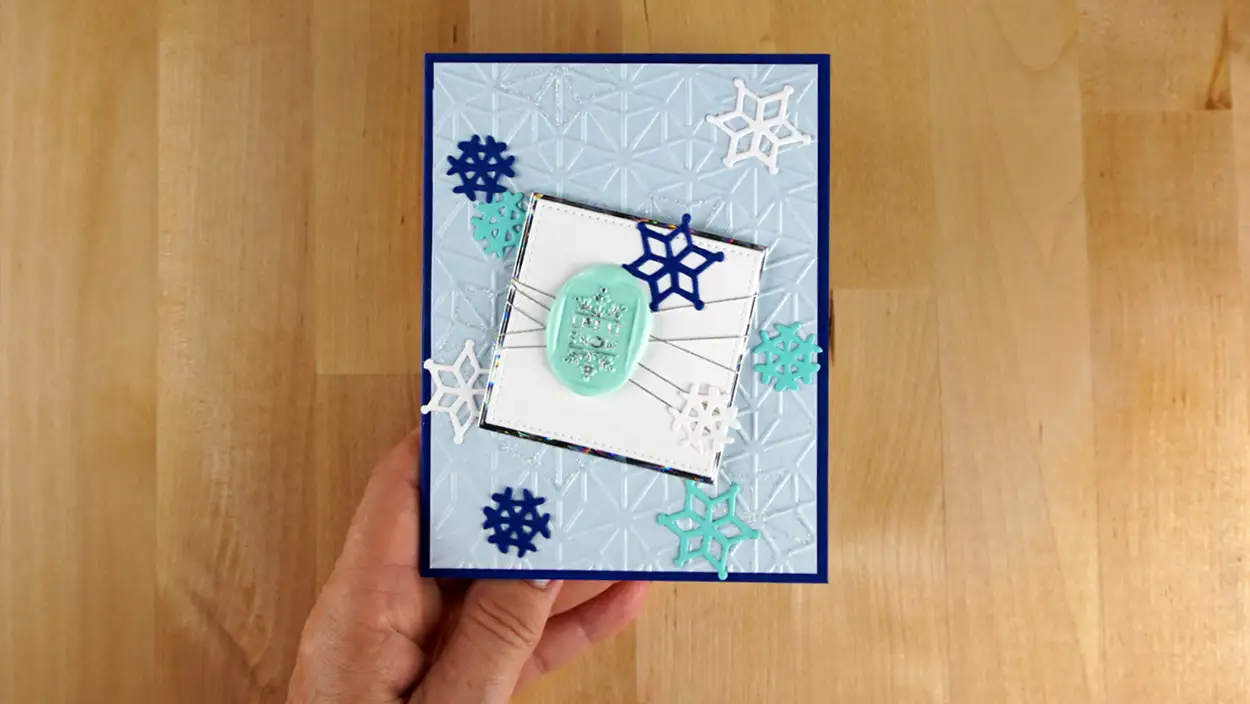
Where's the wax seal? Well, it's on the cover of this fantastic pop-up snowflake card. Learn how to make both right here in this article!
Hi there! Welcome to my blog!
Whether you're jumping over here from the video hop or just here on your own I'm really glad you're here!
You can have a lot of fun making this card! Anything that is 3D or pop-up is fun, don't you think? And, to make one that the pop-up is a snowflake is even better.
But, before we get to the snowflake, let's talk about how we can make a card front that is pretty spectacular too. For example, I use a combination of snowflake die cuts, metallic thread, glitter, and a wax seal to create a beautiful snowy scene. And this all takes place over a beautiful embossed background.
How Do You Make Wax Seal?
Did you know that wax seals date back to Ancient Rome prior to the invention of paper? According to Zetta Florence, they were used to sign clay tablets as a form of authentication back then. Once paper was discovered, but before there were envelopes, wax seals were used to seal letters. And then much more recently to seal envelopes.
And now, they are making a resurgence. But, we're not only using them to seal envelopes we're also using them for decoration. As a result, there's a wide variety of beautiful seal stamps and waxes to choose from. One of my most prized possessions is a stamp that my grandmother gave to me when I was just a little girl. But, to be honest with you I never really perfected the technique until recently.
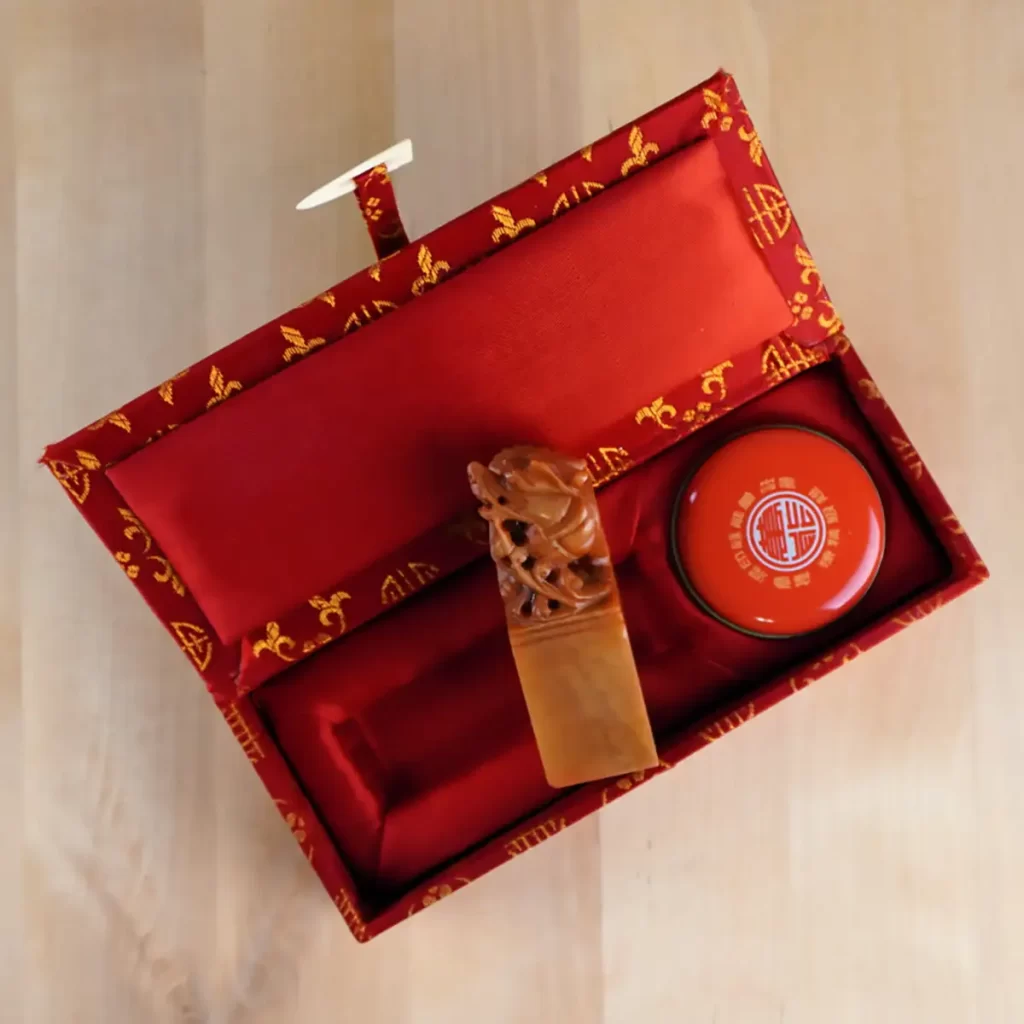
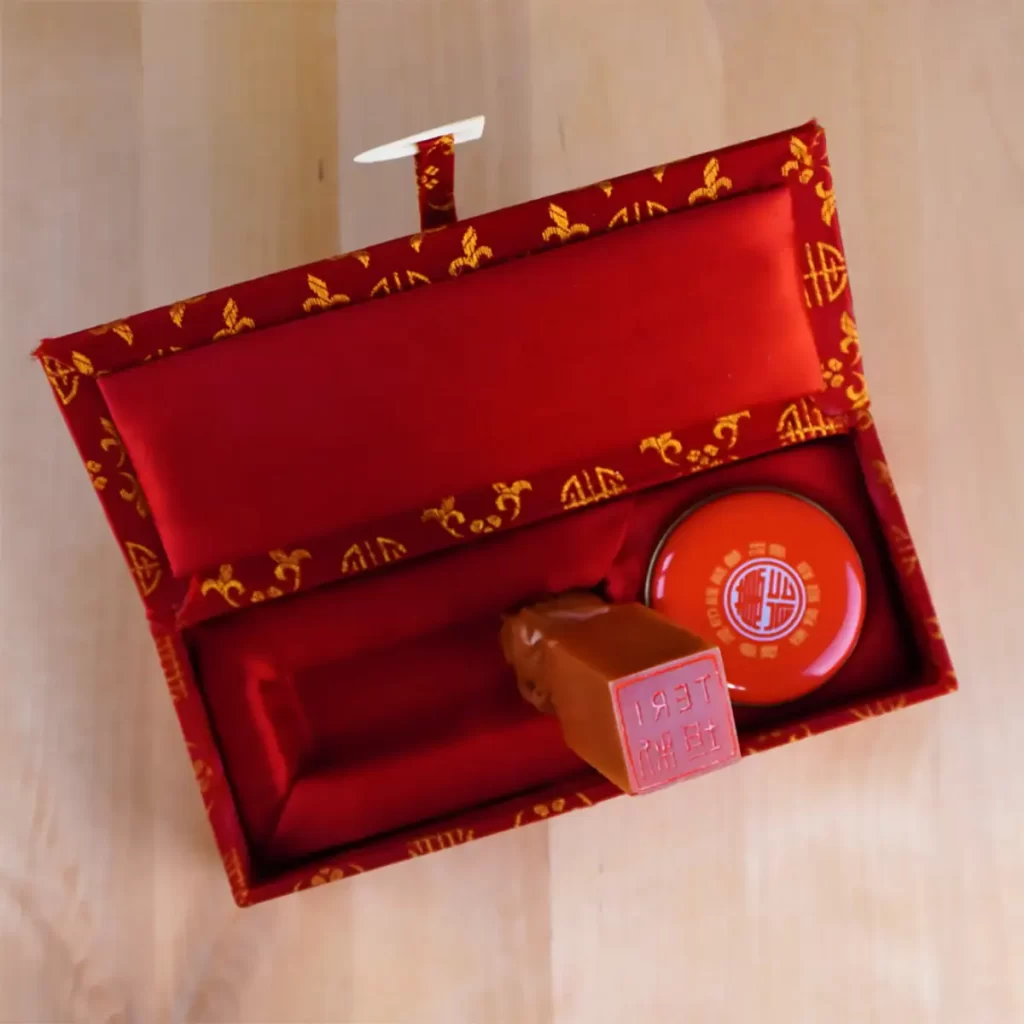
It is actually quite easy to craft wax seals. And, to help you with making them, I have created a video with some tips and tricks. Enjoy the video:
We'll use light teal wax and the Let It Snow seal stamp from the new 3-stamp seal pack from the Spellbinders September release for our card front. Once your seal cools you can dress it up by using a metallic marker to highlight the design and sentiment on it.
Pop-Up Snowflake
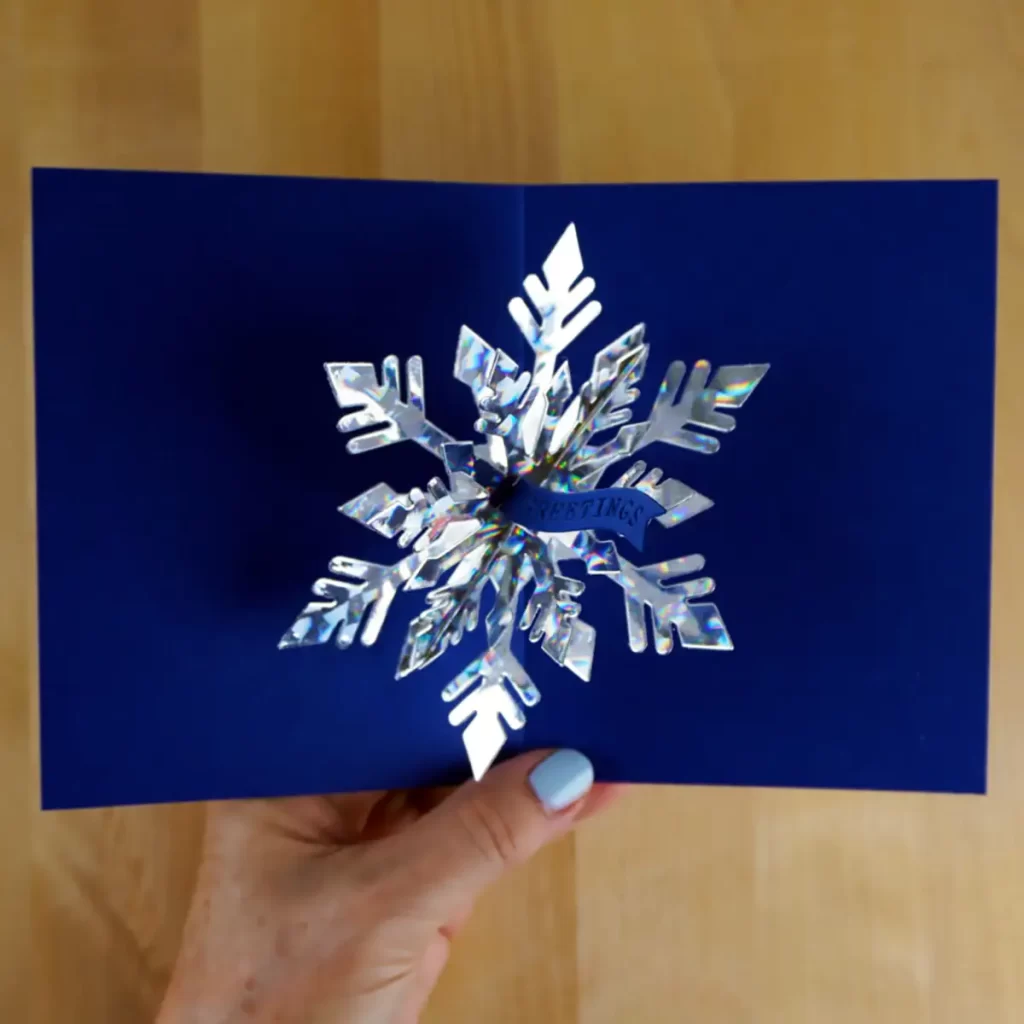
Okay, now that we've got our seal ready, let's go ahead and create our snowflake next. We'll begin by prepping a blue A2 (4 1/4″ x 5 1/2″) card base and spray the inside with shimmer spray to make it sparkle.
I use Bibi Cameron's Pop-up Snowflake die set from Spellbinders' August 2023 release with holographic mirror cardstock to make the spectacular pop-up for this card. I learned how to make the pop-up snowflake by watching Bibi's video. Why not learn from the master herself, right? I suggest that you do too. Enjoy her video:
Card Front
Now that we've got the inside of our card complete, let's go ahead and finish the front. First, we'll emboss a piece of light blue cardstock with the Monoline Stars Embossing Folder. It is also in the new Spellbinders release.
Next, we'll add some sparkle by drawing lines of glue over some of the stars we embossed. And then, we'll sprinkle glitter over the top to make them look like snowflakes. And, the final thing we'll do with the background is trim it to 4″ x 5 1/4″. This is just the right size to cover up the little tabs we created for the snowflake.
Because the background is embossed, we'll use a piece of double-sided adhesive trimmed to 3 3/4″ x 5″ to attach it centered onto the card front. To showcase the wax seal, we'll wrap some silver metallic thread around a white square. And then we'll layer it on top of another square cut from the same cardstock that we use for our pop-up snowflake. And, we'll pop it up on our card front on an angle.
Next, we'll die-cut some little snowflakes from blue, teal, and white cardstock. I use the ones in the Gnome Hugs set for mine. And finally, to finish off the card we'll attach the snowflakes and the seal with liquid glue.
HOP
Just in case you haven't heard about the hop, let's talk about it for a minute.
I'm collaborating with some of my crafty friends today to share some inspiration featuring the latest release from @spellbinders! We're excited to share our projects showcasing some of the fun new products to hit the shop! Be sure to check out my teammates makes by clicking #SpellbindersSept2023Collab or clicking on the video links below.
This hop is closed.
