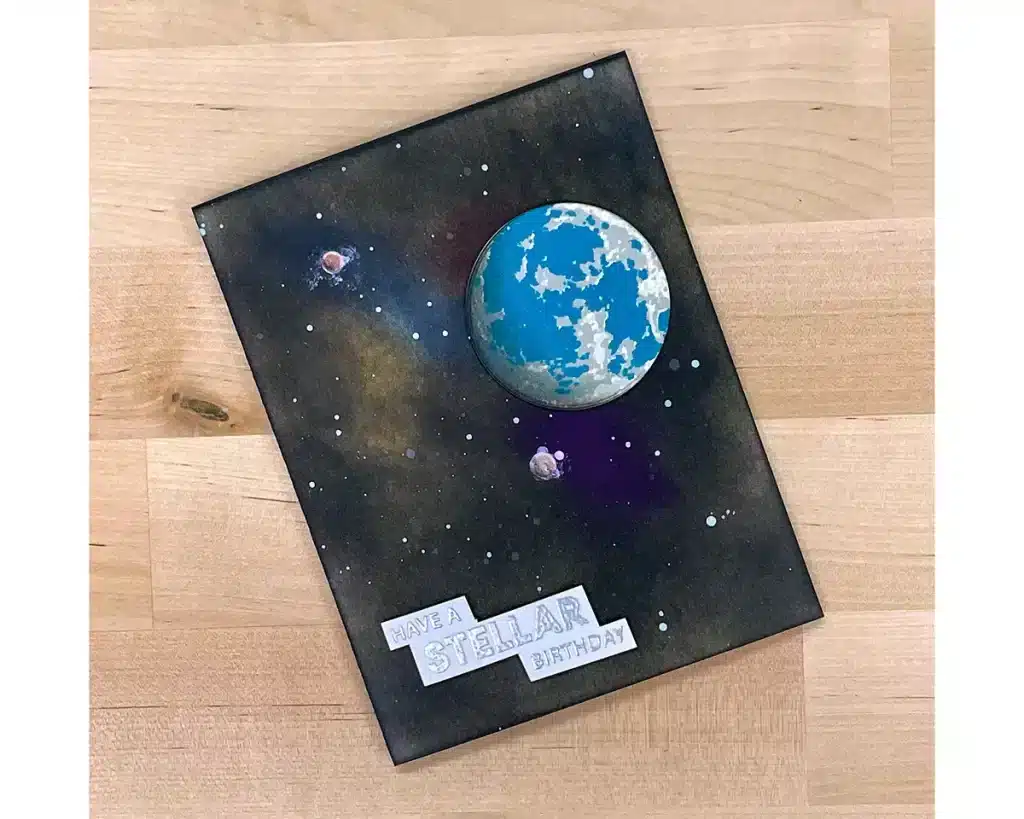
Here is your go-to card for anyone who loves space and the steps for how to make this out-of-this-world card too. Instructions and a full supply list included.
This is my favorite card so far. My Dad helped to make components for the navigation systems for the Gemini and also worked on the Apollo rockets. I have seen every rocket that has been shot off into the sky since the time I was a very little girl. Now, my nephew wants to be an astronaut and will carry on his Grandpa’s love of all things related to space.
So it's only natural that I make a card that is related to space for his birthday. That and Altenew's course For the Guys is the inspiration for this card.
Out-of-This-World Cardmaking Idea

Creating The Out-Of-This-World Galaxy
So it's only natural that I make a card that is related to space for his birthday.
To create the card we begin by blending the galaxy onto an A2-size piece of white cardstock. First by adding red, yellow, blue, and violet with a blending brush. Then we blended around those brighter colors with black using a heavy hand and going over it several times. We continue with a lighter touch until we can just barely see the colors through the black.
Next, we'll achieve a galaxy effect by sprinkling water onto the card base taking advantage of the ink's water-reactive qualities. We let the water sit on the card for 30 seconds and then dab it with a paper towel. To finish the sky we dilute a little bit of white acrylic paint water. We then load it onto a small paintbrush and flick it onto the card front.
Creating the Planets
We'll use Altenew's To The Moon layered stamp set for the focal point of the card. Beginning with the lightest color for the first layer and ending with the blue we'll load up our stamps with ink and stamp them onto white cardstock.
The stamp set comes with coordinating dies however, a circle die matching the size of the stamp can be used to cut out the image as well. Once the moon is cut out we'll use the same brush we used for blending the sky (without adding ink) and lightly add a little shading on one side. Hint: test the blending brush on a piece of paper towel to make sure that too much ink doesn't transfer when adding the shading.
To create two smaller planets we'll use colored pencils to add some color to the two largest white flecks.
Adding the Sentiment
We're going to heat emboss our sentiment so we'll start off by brushing some anti-static powder onto a piece of white card stock. We'll then stamp the sentiment using watermark ink. After which we'll sprinkle our embossing powder over our stamped sentiment and flick the card to remove any that isn't stuck to the ink.
We'll heat up our heating tool for about fifteen seconds before using it on the back of our cardstock first. We do this to reduce warping. Next, we'll use it on the front of the card just until all the powder is melted and is glossy.

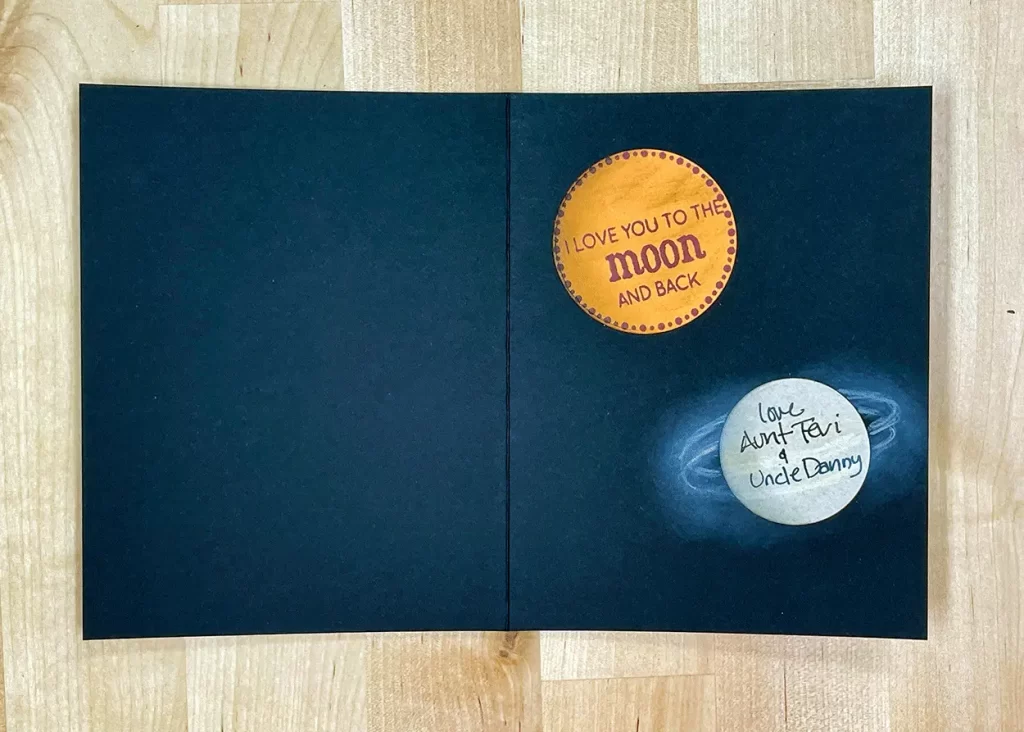
To add a special surprise on the inside of the card we'll use circles to create a couple more planets to add more sentiments. We'll add some shading to these planets using the same technique as we used for the moon. We can add some rings using colored pencils. To finish it off we rub a paper towel over the rings to make them appear as though they are glowing.
Assembling the Out-of-This-World Card
To put the card together we'll attach the card panel to the card base using a glue runner. Click HERE for hints on how to get the card panel attached straight. To give the moon and the sentiments on the front of the card some dimension we'll use foam tape to attach them. And we'll use a glue runner to attach the planet sentiments on the inside. Hint: It will be helpful to attach the planet that has the rings before we draw the rings.
Out-of-This-World Supplies
The following list may contain affiliate links. If you purchase something by following a link on this page, I may receive a small commission at no extra cost to you. Thank you for supporting my blog!
As an Amazon Associate, I earn from qualifying purchases.
- Cardstock: Card base – Lawn Fawn Black Licorice; Card panel – Neenah Classic Crest 80 lb Solar White
- Stamp: Altenew To The Moon; Lawn Fawn Super Star; Gina K Designs Original Wreath Builder
- Die: Waffle Flower Nesting Circles
- Inks: Altenew Crisp Inks: Crimson, Warm Sunshine, Midnight Violet
- Colored Pencils: Prismacolor
- Embossing Powder: Hero Arts Silver
- Anti-Static Tool: The Rabbit Hole Cottontail
- Heat Gun: Sizzix Dual Speed
- Adhesives: E-Z Dots: Therm-o-web Foam Tape


