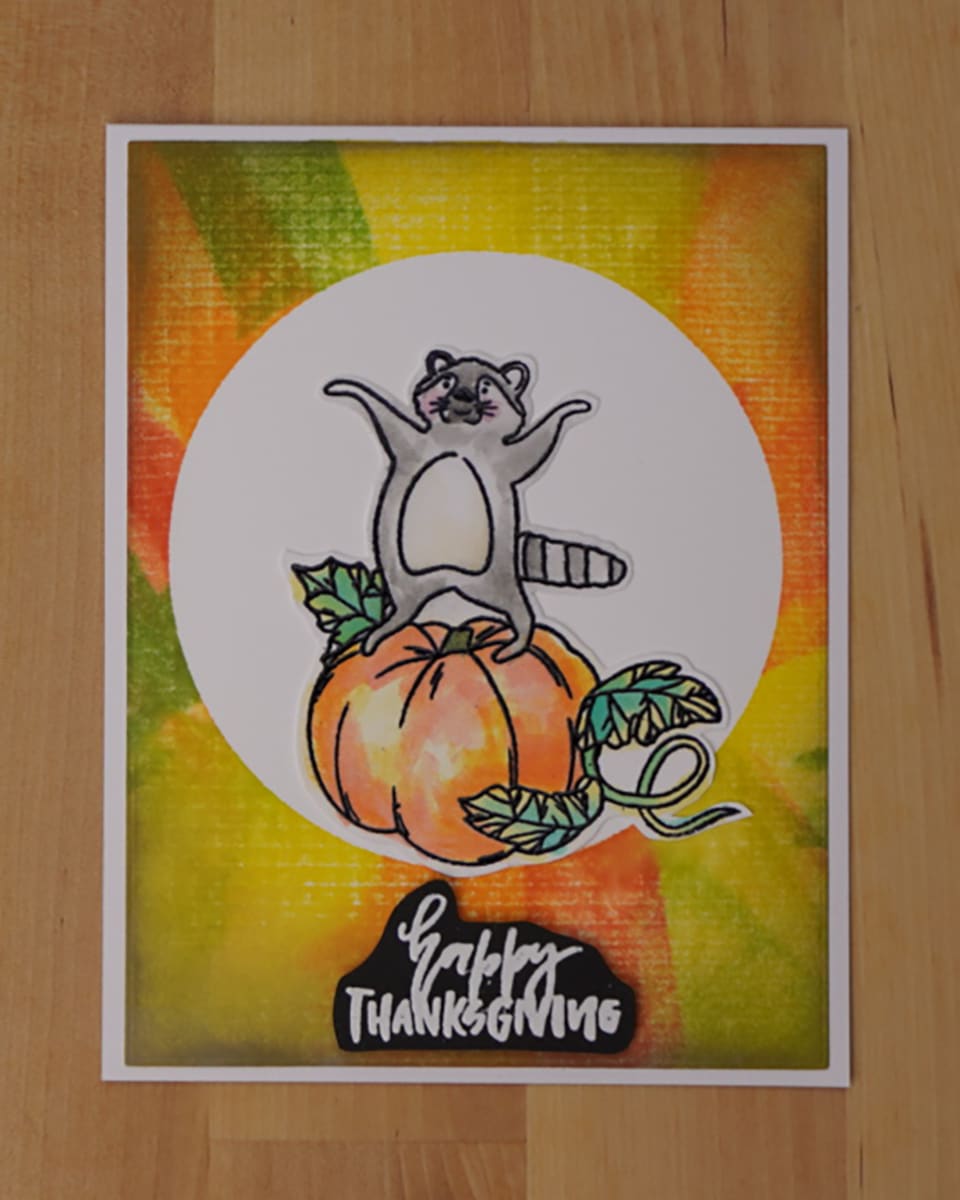
A unique Thanksgiving card is the perfect way to celebrate the holiday. And keep reading, we show how to make this cute card right here!
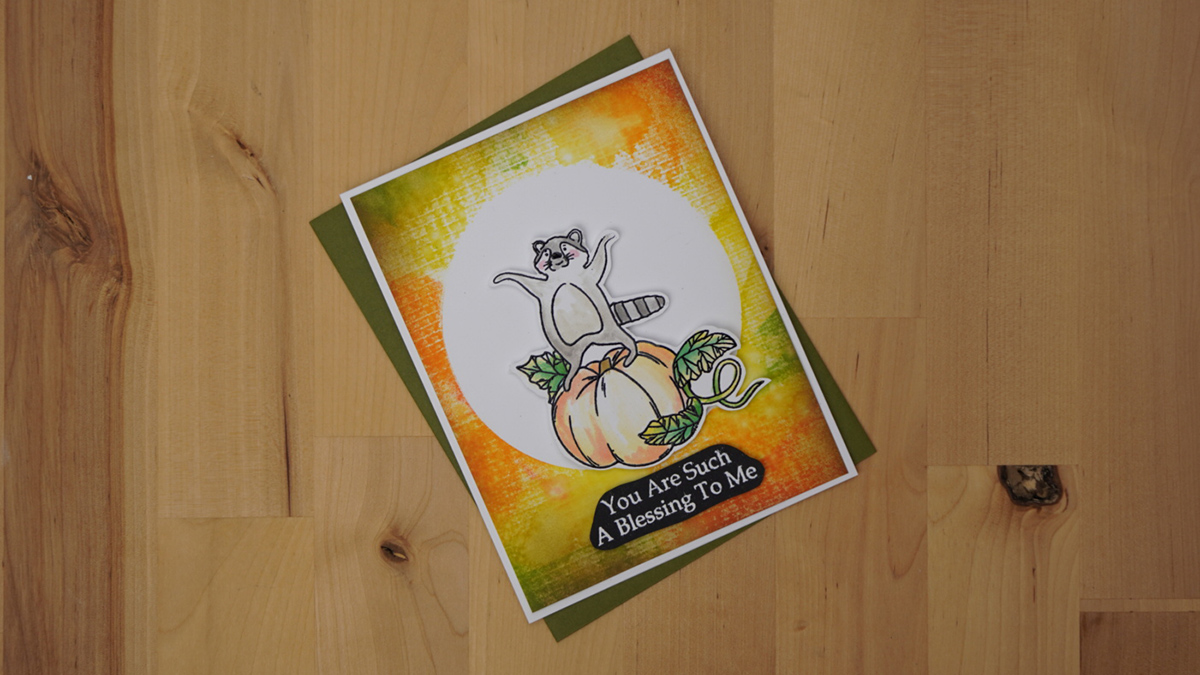
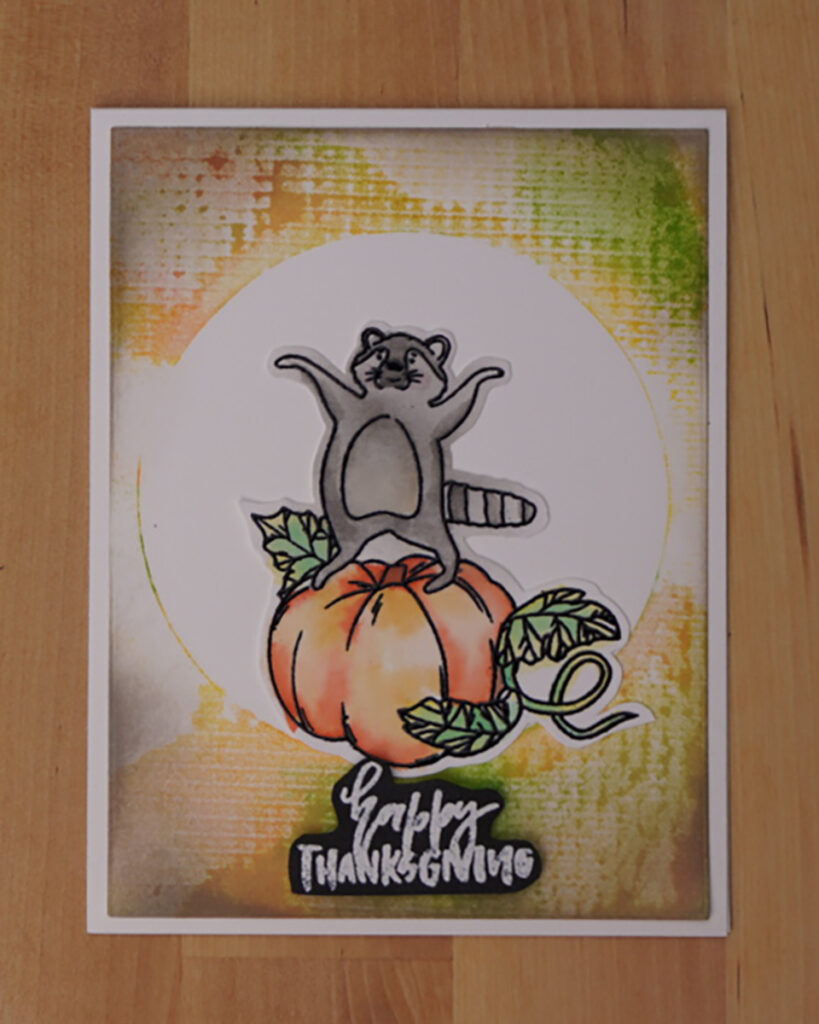
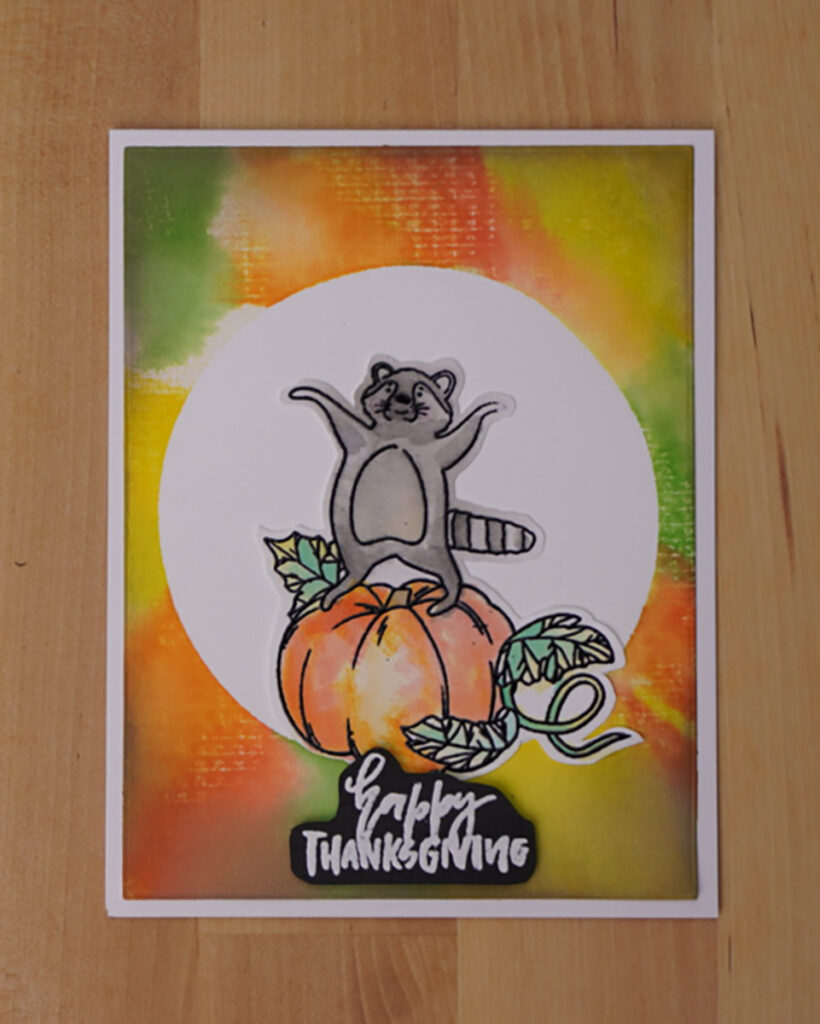
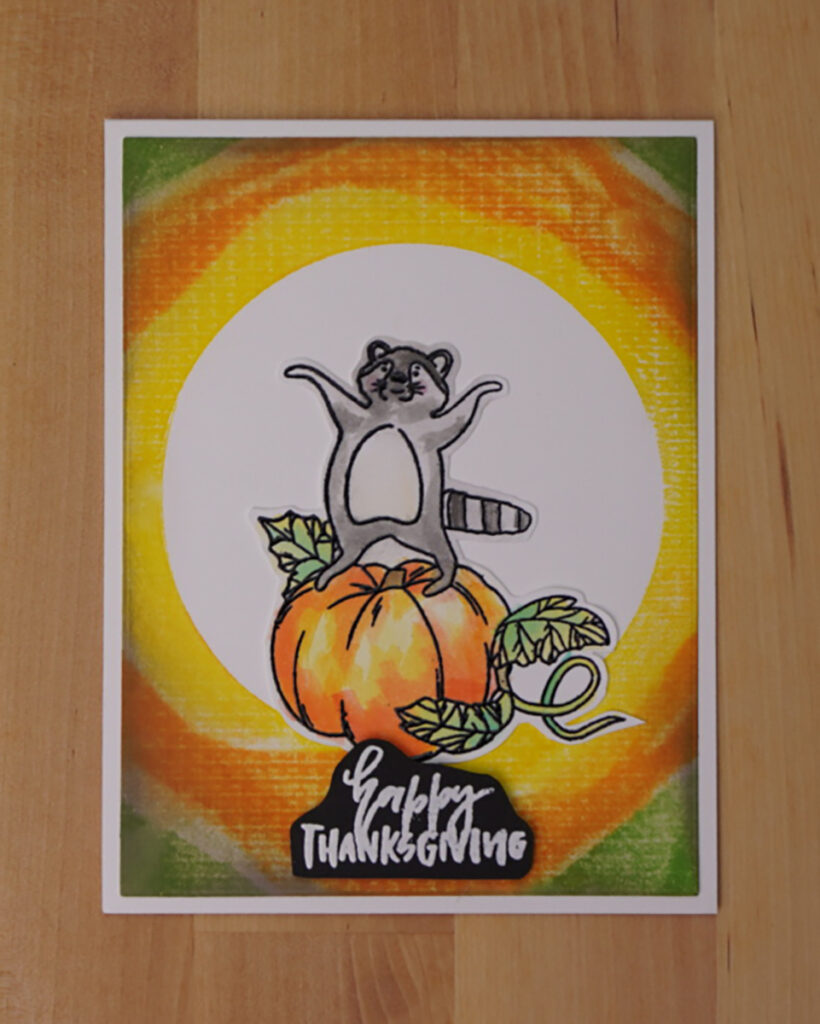
I fell in love with the cute stamp set that we use for this card during a class that @SimonHurley taught during Create Your Own Ending 2022 last summer. I love Simon's card design so I use it. But I decide to play with the background and, I also change up the coloring for the focal image. The changes are subtle, but fun! I have a gallery of all the variations I made at the bottom of this article.
Before we get into that though, let's learn the basics of how to make the card.
Unique Thanksgiving Card Background
We'll begin with the background so that it has some time to dry while we work on the raccoon. We'll use @SimonHurley's stamping foam with the circle cut. Find a texture that you really like. The texture on these cards is from a woven plastic project bag. Attach the stamping foam to an acrylic block for stability. Now heat the stamping foam with a heat tool being sure not to stay in any one place for too long. We do that because the foam can burn.
Once the foam is good and warm we'll press it into the textured item and give some good pressure in order to shape the foam. When we lift the foam the textured design will be embedded in it. At this point, we'll remove the circle because we won't be using it for this project. But, we will have it for some other time.
Now comes the creative step. In order to create our background we will rub the ink pads that we're using directly onto the textured side of the foam. For this project, we are using a yellow, a yellow-green, a light orange, a darker orange, and a green. You can add the color wherever you want. Then we'll spray some water on it and quickly “stamp” it onto a piece of A2 size (4 1/4″ x 5 1/2″) white cardstock. Press the foam into the cardstock to get a good transfer and then lift straight up.
As a result, we get a beautiful, mottled, background with a clean white circle in the middle. We'll set that aside to dry.
Heat Embossing
Now we're going to heat emboss our focal point, the cute little raccoon, onto white cardstock with black embossing powder. To do so, we'll brush some anti-static powder over our cardstock. And then we'll use watermark ink to stamp the image. Next, we'll sprinkle the black embossing power over the image, pour it off and give it a good tap. We do this because we want to remove any look embossing powder that may have stuck in places where we do not want it to stay. And then we'll heat the powder until it is smooth and changes color.
While we're heat embossing, we might as well create our sentiment also. For it, we'll follow the exact same process but we'll use white embossing powder on black cardstock.
Coloring for the Unique Thanksgiving Card
We will use our ink pads to watercolor our focal point. To do so we'll begin by smooshing the colors we're using onto our work surface or palette. We'll color the pumpkin first. So, we'll smoosh some pale yellow and light orange.
And then, we'll add a little water to the yellow and then start laying it down onto the pumpkin. I like to add it where I think that the shadows would be. And because we're going to come in with some orange, we'll spread some of the yellow to color the pumpkin. Now, we'll come in with the orange. However, we'll apply it more sparingly to give a nice contrast.
Next, we'll do the leaves by putting down some of the yellow-green. And then, while it is still wet we'll pick up some of the Teal and tap it into where the darkest spots are on the leaves. The colors should blend quickly, but you can help them along with your paintbrush if they don't.
For the racoon, we'll add the darker gray to his face and every other stripe on his tail. Then we'll add some water to the same color. We do this to dilute it. And then, we'll paint his body. Next we'll add some water to the brown and paint his belly.
And, just because he is so cute we'll add an little pink to give him rosey cheeks.
Sentiment & Assembly
Assembly is really easy. We'll trim the colored background to 4″ x 5 1/4″. As a result, we'll have a nice white border around the card. The foam stamping leaves very bright colors, so to tone them down a bit we'll just blend a little of the brown ink around the edges. And then we'll attach it to an A2 (4 1/4″ x 5 1/2″) card base with a glue runner. Finally, we'll pop up the raccoon and sentiment with foam tape.
Unique Thanksgiving Card Gallery
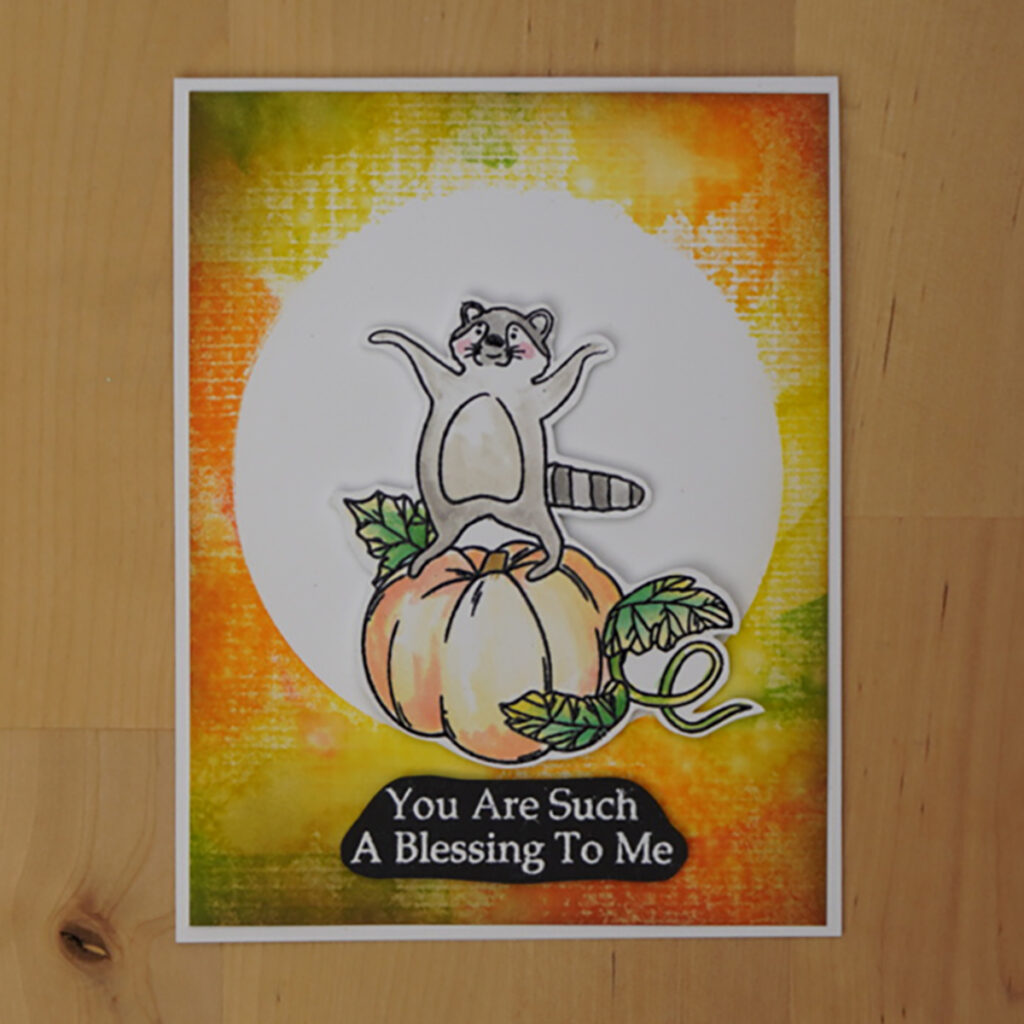
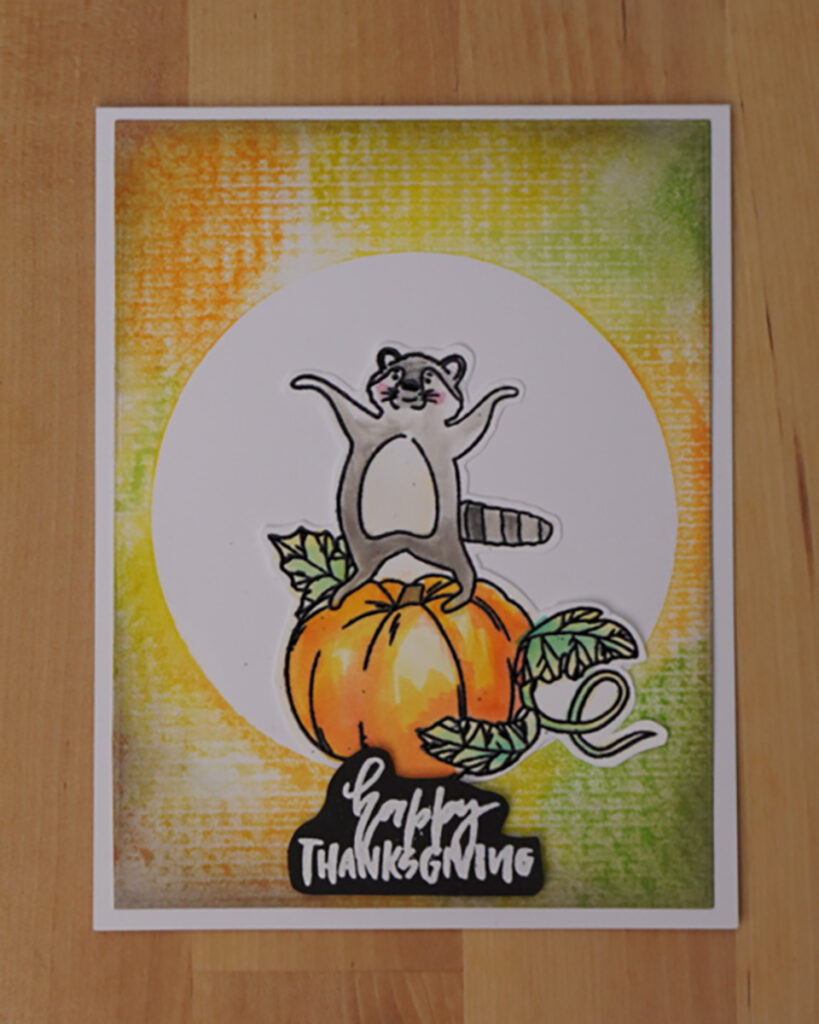
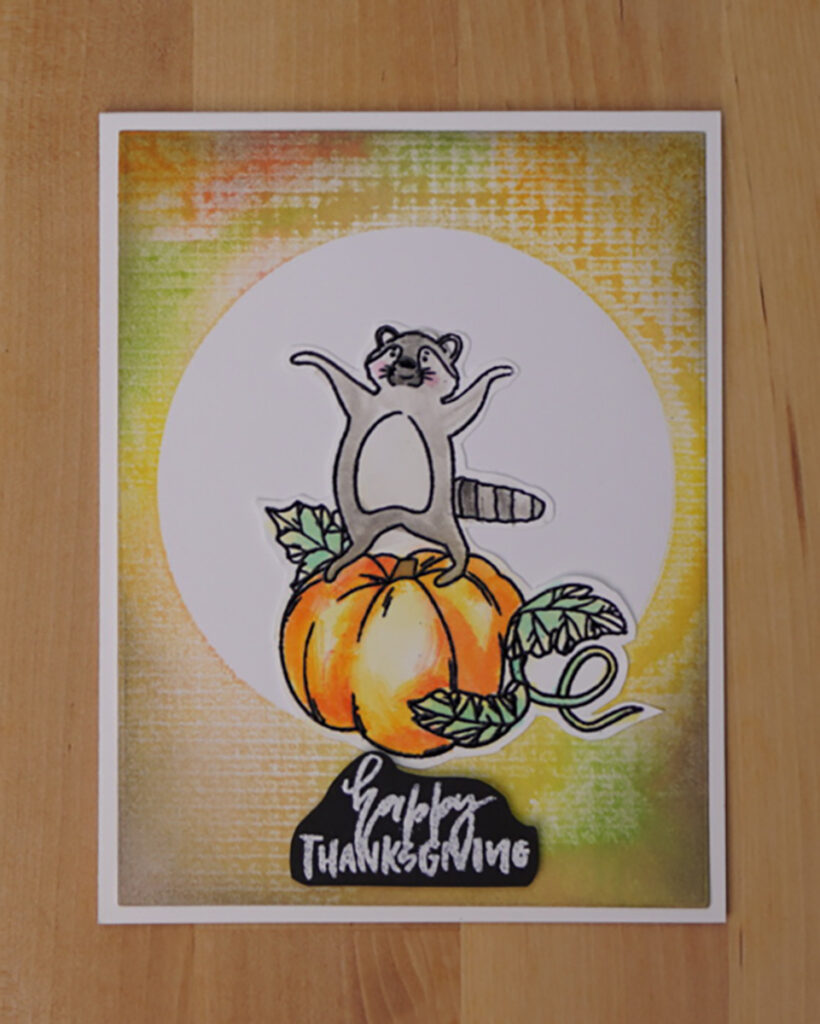
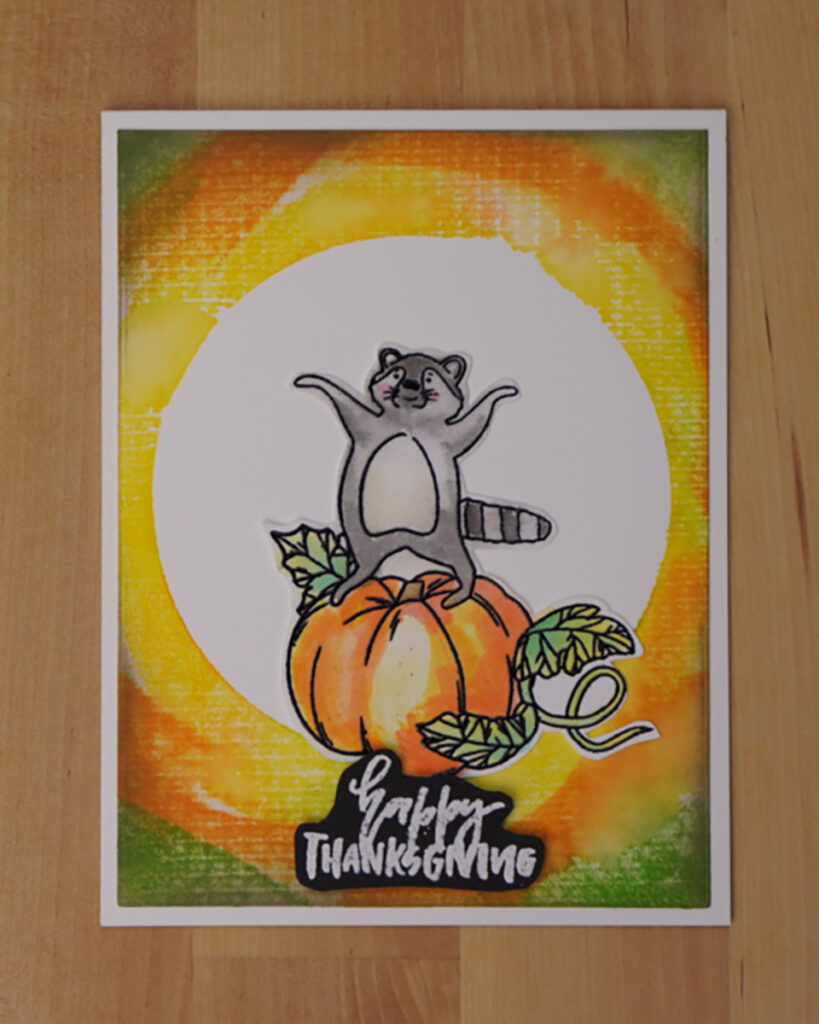
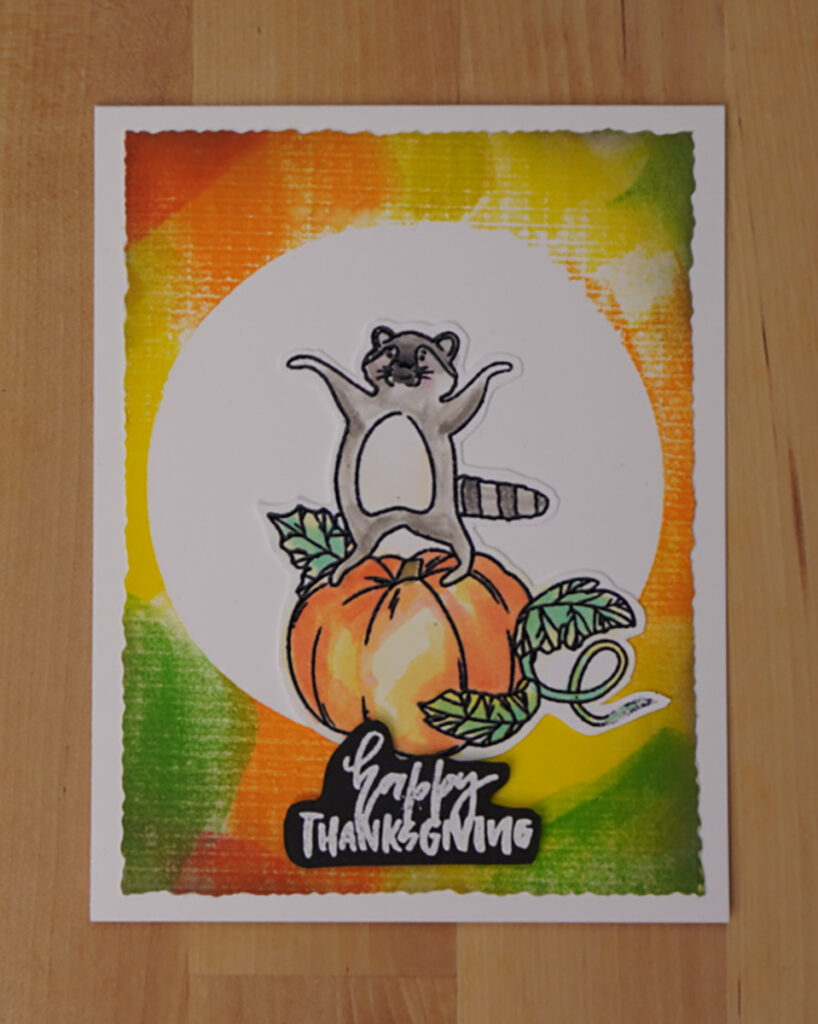
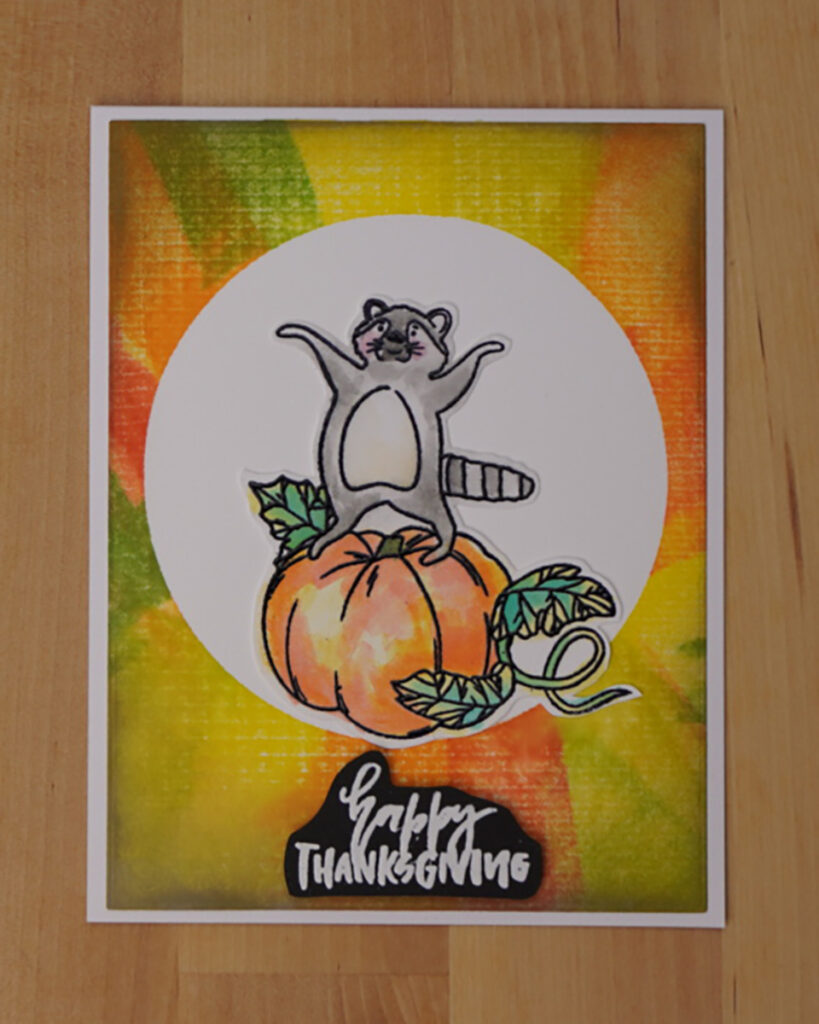
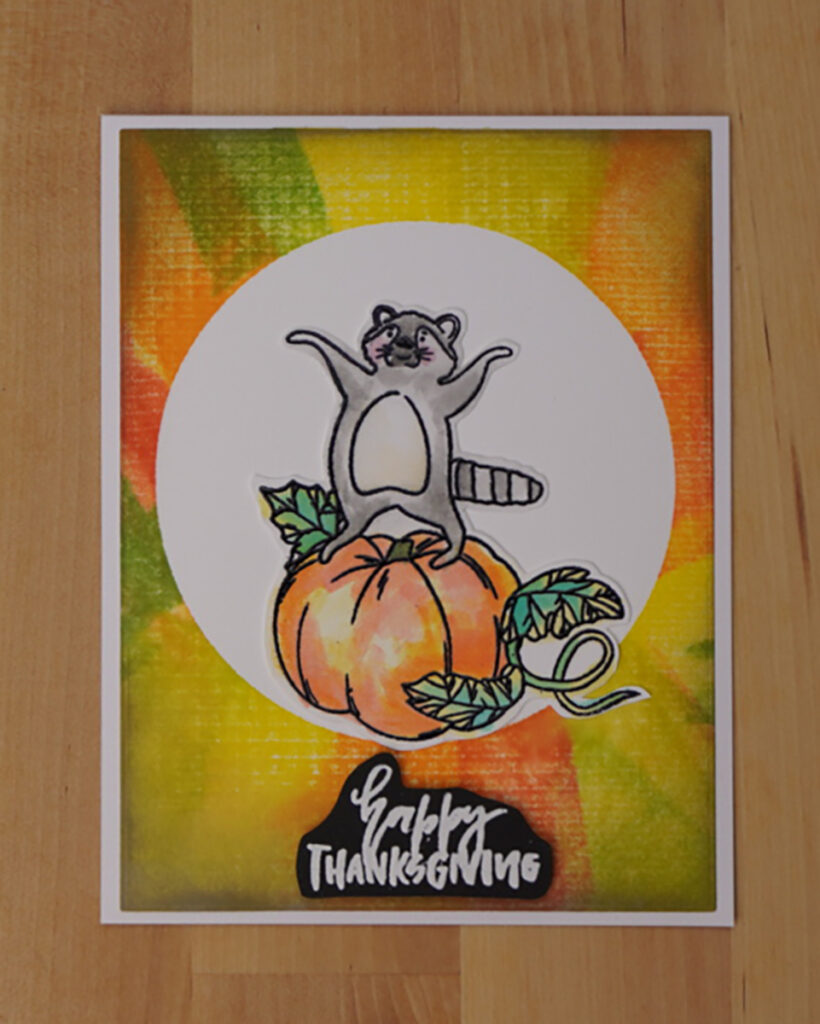
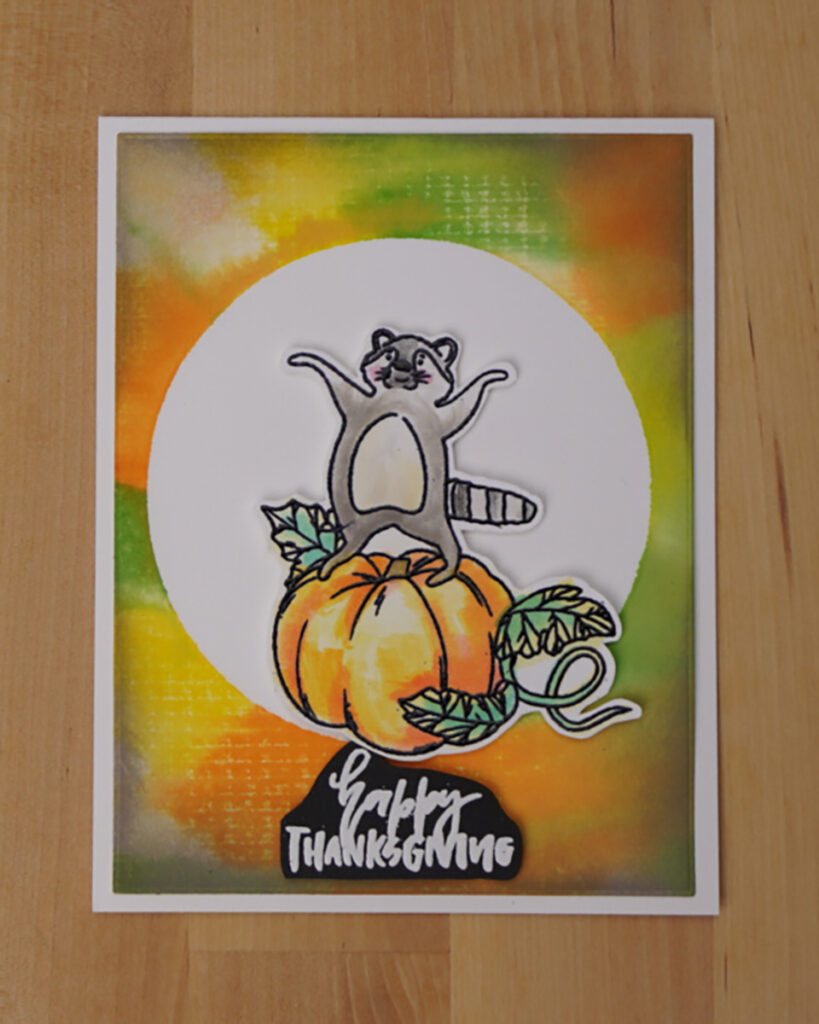
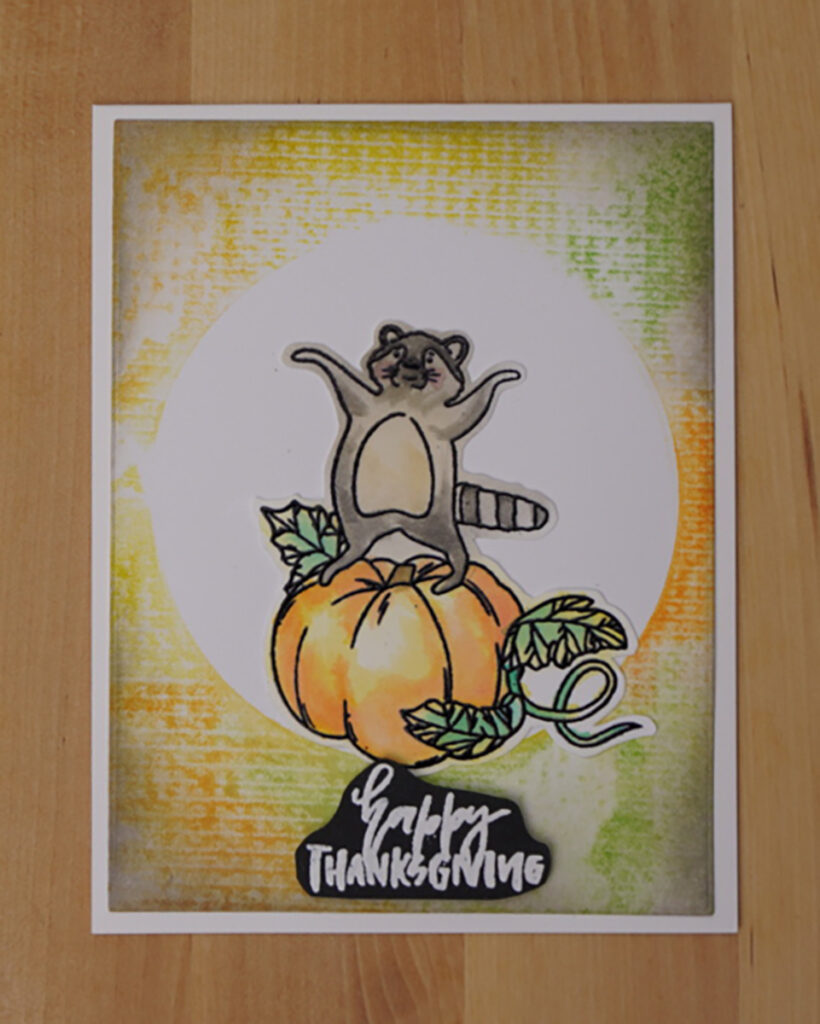
Here are the cards we made playing round first with the backgrounds. We changed up how we added the ink to the stamping foam, added more water, and double stamped. Then we also played with the coloring of the raccoon. First we made him a little darker and then we changed the colors from gray to more brown. As you can tell, we really love this card and the techniques we use to make it.
Supplies for the Unique Thanksgiving Card
The following list may contain affiliate links. If you purchase something by following a link on this page, I may receive a small commission at no extra cost to you. Thank you for supporting my blog.
- Cardstock: Card base – Neenah Classic Crest 110lb Solar White; Card panel – Simon Hurley Stark White; Black Sentiment – Gina K Designs Black Onyx
- Stamps: Simon Hurley Happy Fall; Brutus Monroe Occasional Greetings
- Stamping Foam: Simon Hurley Circle Cut
- Ink: Guppy, Rosey Cheeks, Grrr!, Later Gator, Syke!, Woof!, Shooting Star, Traffic Cone, Tropical Image, Shady, Over the Moon; Watermark Ink: Versamark
- Sprayer: Tim Holtz Distress
- Heat Tool: Ranger Heat It Craft Tool
- Acrylic Block: Simon Hurley
- Embossing Powder: Ranger Black; Hero Arts White
- Anti-static Powder: Ranger Anti-Static Pouch
- Paint Brush: Round Size 0
- Adhesives: Gina K Designs Adhesive Dot Runner
Looking For More Thanksgiving Card Inspiration?
Check out HOW TO MAKE 2 RAINBOW CARDS IN MINUTES to learn how to create two gorgeous rainbow cards with Thanksgiving colors.
