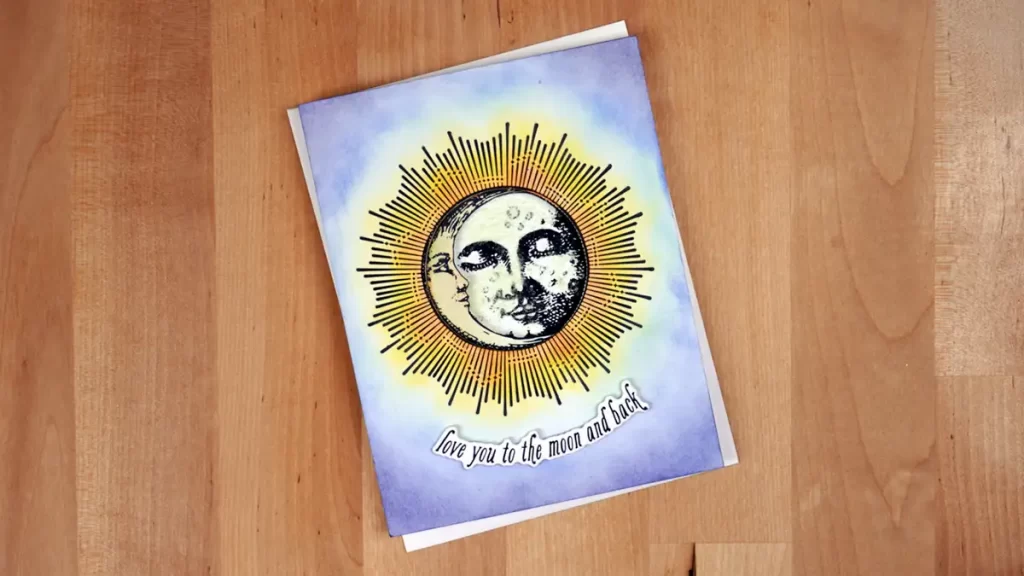
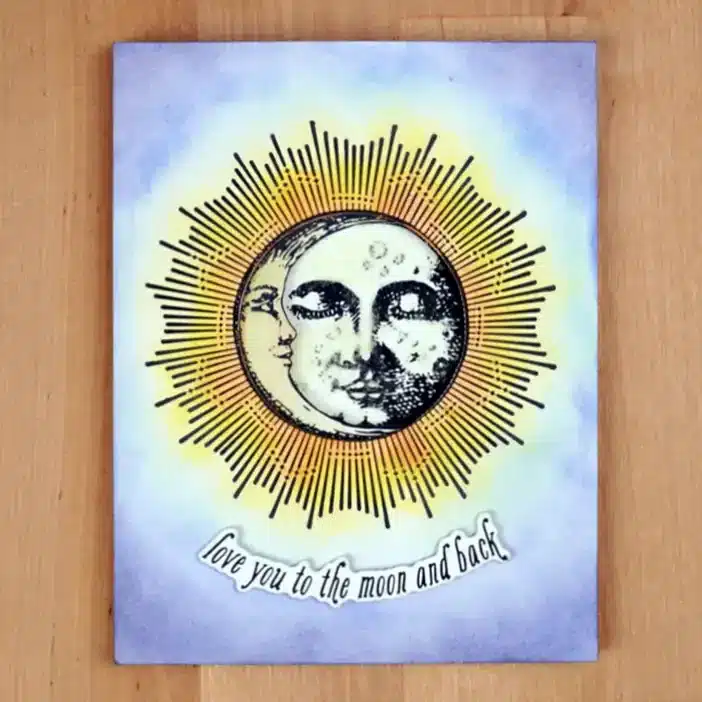
Hello, today I'm celebrating the Sun & the Moon. And, I'm sharing how you can layer with a single letterpress plate.

My card features the “Sun & The Moon” BetterPress press plate and oh boy, is it a fun one! To create this beauty, we'll start by pressing the image twice using black BetterPress ink. As a result, you'll end up with two A2 size (4 1/4″ x 5 1/2″) card panels with the sun and the moon pressed on them in the same spot. Leave the press plate on the chase (the thing that's holding the magnetic sheet).
Next, we're going to make the moon glow by adding a little grit paste to the moon's face to give it some dimension. And, to make it glow in the dark. Your finger works well to do this. Set that panel aside to dry.
Sun & The Moon Ink Blending
Now, we'll use a 2″ circle die to cut out the faces. And then, we're going to do some ink blending. For the front card panel, we'll begin with the lightest yellow ink and blend it around the tips of the sun's rays. And, blend it a little beyond them to make it look like the sun is glowing in the sky. Then working in towards the center of the circle blend darker yellow, and light orange.
And finally, we'll create the sky by blending a light blue into the yellow. And then, we'll use a medium blue, and finish with a dark blue at the outer edges.
Next, we're going to fussy cut out the crescent. And then, we'll blend all but its nose and mouth with Paper Bag. Then, we'll finish the blending with beige on the nose and mouth.
Adding Dimension
Now for the fun part. Make sure that the paste is dry on the first panel before we move on. Be sure that it is before going on. Attach the panel with the paste to a white A2 size card base with double-sided adhesive tape.
Next, we're going to put some distance between the two faces. To do so, trim a piece of double-sided foam sheet to 4″ x 5 1/4″ and fasten it to the BetterPress platen (the clear plastic piece) centered within the A2 registration marks. Add ink to the press plate and place the platen over the chase with the foam sheet in between. Now, press the foam sheet onto the press plate so that the ink transfers onto the foam sheet backing paper.
Place the foam sheet into your paper trimmer and make a cut right at the edges of the crescent moon. This makes it easy to trim away the foam sheet to just behind the moon and the sun rays with scissors that adhesive doesn't stick to.
Fasten the crescent to the foam sheet in the exact same spot that it is stamped on the foam sheet. And then remove the backing paper and carefully fasten the foam sheet to the card panel using the pressed design as a guide. And then, use foam tape to pop the front card panel on top making sure that all the edges are even.
All that is left is to press a sentiment onto porcelain cardstock and then pop it up with tiny foam squares.
Looking For More Fun Space Related Card Ideas?
Check out How To Rock An Out Of This World Card.


