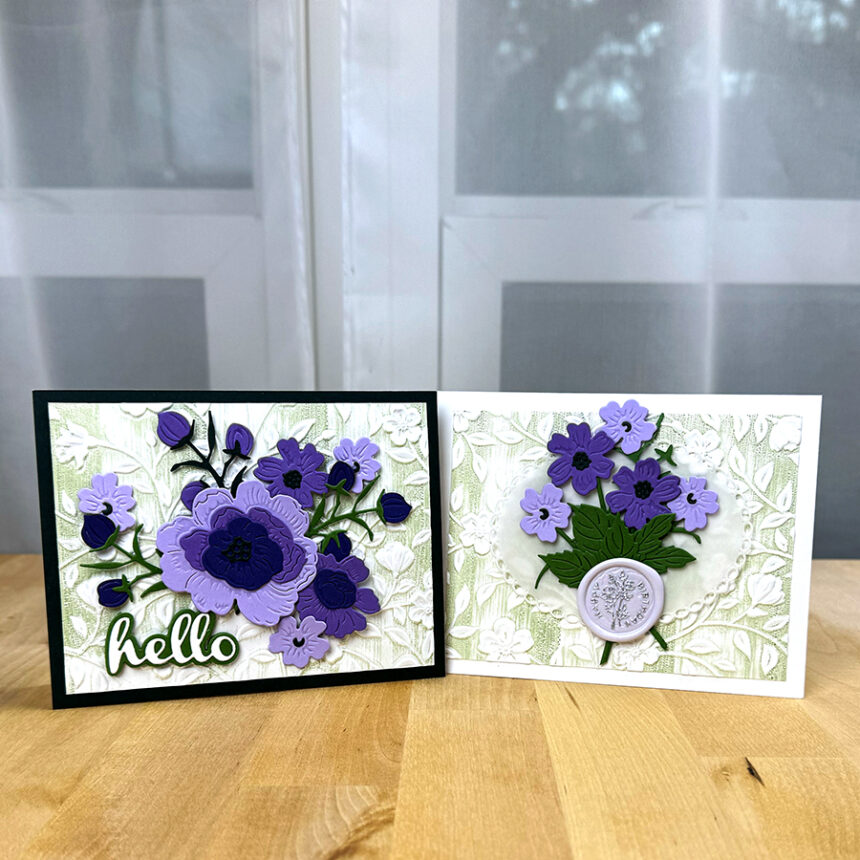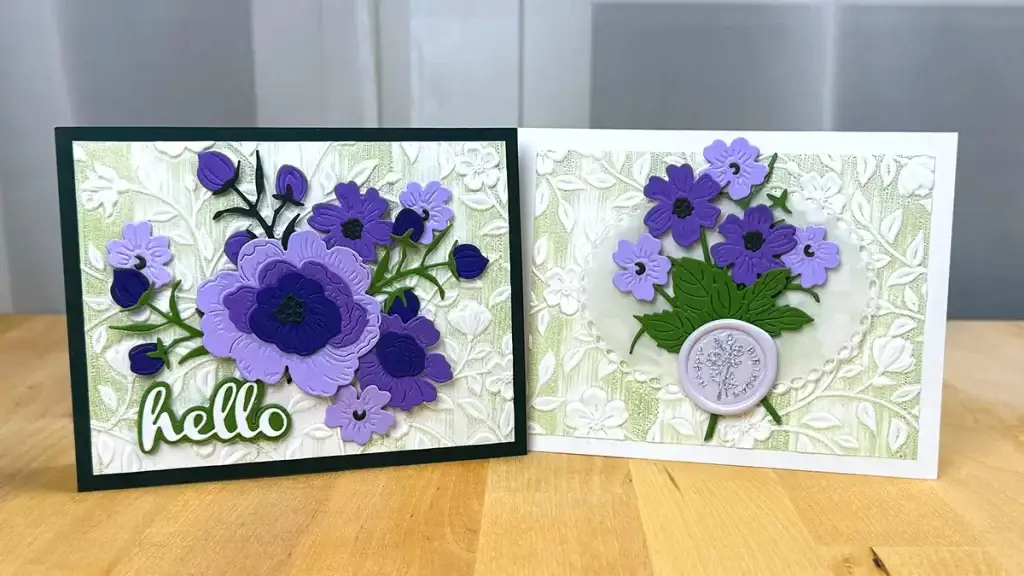
Learn how to make these 2 floral greeting cards plus the new Spellbinders' From Your Garden Release right here!
Spellbinders Paper Arts just released the new From Your Garden collection and I have two cards for you using the following two elements from the release:
And, I have an extra treat for you too that I'll share with you later in this article. I'll link the supplies I use for my cards for you and will have a full list at the bottom of this article. Most are affiliate links, meaning that if you buy something after clicking on them, I may be compensated at no extra cost to you. Thank you!
Backgrounds for the 2 Floral Greeting Cards
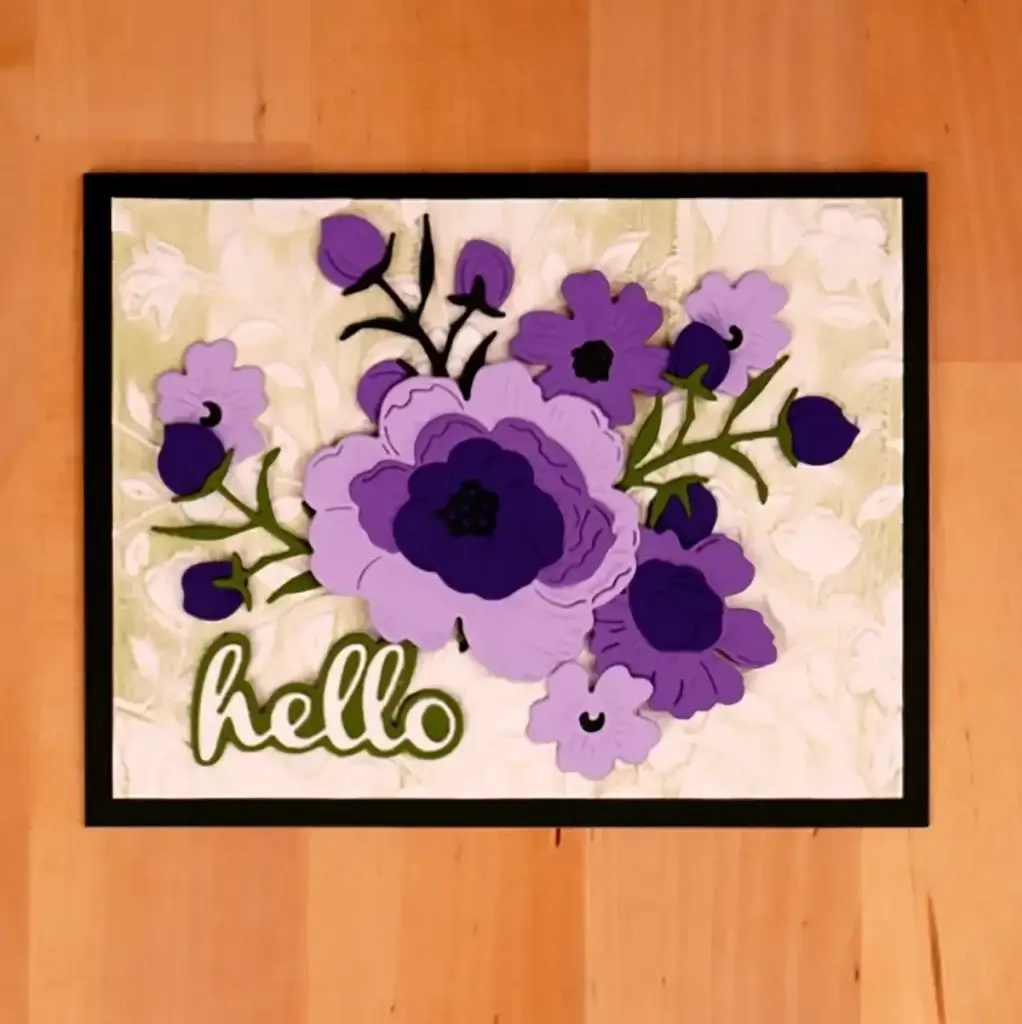
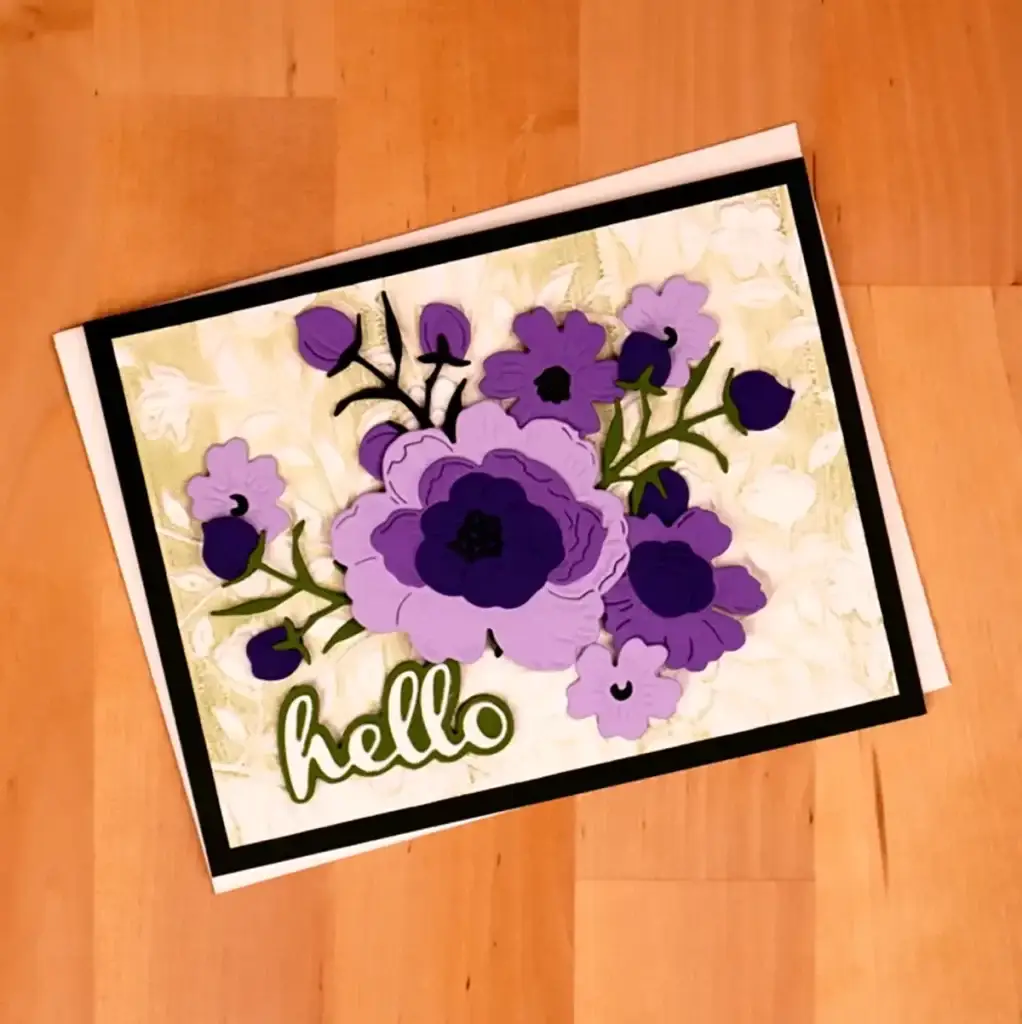
The goal for both cards is to create a vintage vibe. To do so we're going to use two colors that are commonly found in Victorian color schemes, green and purple.
We'll begin by creating the backgrounds for both cards by swiping Bundled Sage Distress Oxide on the smooth side inside the embossing folder. Then, we'll add a half sheet of white cardstock and run it through our die-cut and embossing machine.
The great thing about Spellbinders' embossing folders is that they are large enough to emboss a 5 1/2″ x 8 1/2″ piece of cardstock. That means that you can emboss two card panels at once. For example, we'll cut our embossed panel in half vertically. And then we'll trim both pieces down to 5″ wide by 3 3/4″ tall.
Then, we'll fasten one of them to a white A2 size (4 1/4″ x 5 1/2″) card base with a tape runner. And then for the second one, we'll attach an A2 piece of Forest cardstock to a card base first. After that, we'll fasten the embossed card panel.
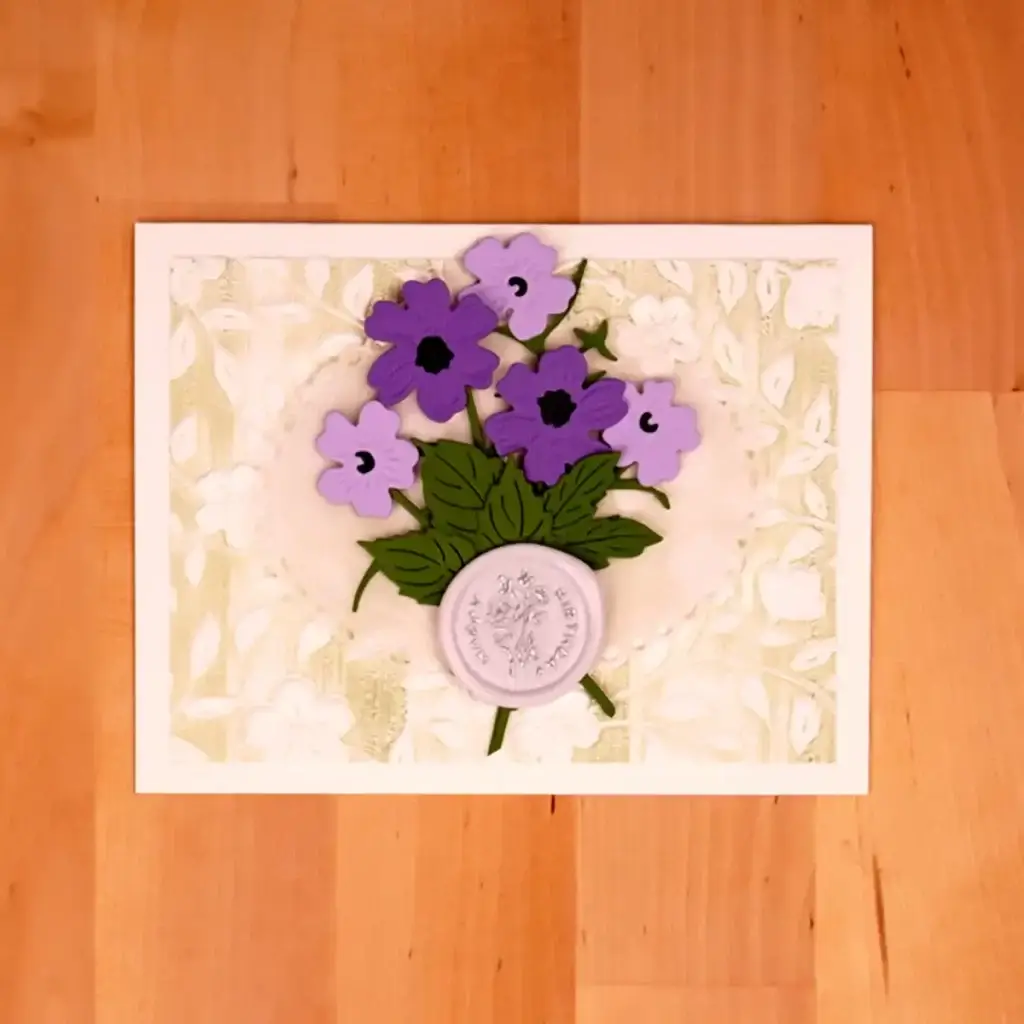
There's one more thing that we need to do for the background with the white frame. We're going to die-cut a decorative oval from vellum. The die that I use, Elliptical Ovals, isn't available from Spellbinders anymore, but a good alternative is the Postage Edge. We'll wait until later to attach the oval to the card base.
Die-cutting for 2 Floral Greeting Cards
To create cards similar to mine, you'll want to use three shades of purple cardstock, Purple Mist, Lilac Blossom, and Royal Amethyst. And we'll use two shades of green for the stems and flower centers, Fern and Forest. Go ahead and die-cut enough for both cards.
We'll also need to die-cut the sentiment, hello, from white cardstock, and four of the shadows from Fern.
Once the die-cutting is complete, we'll go ahead and assemble the flowers with liquid glue. We'll also layer the shadows with the liquid glue and then attach the sentiment on top.
Wax Seal
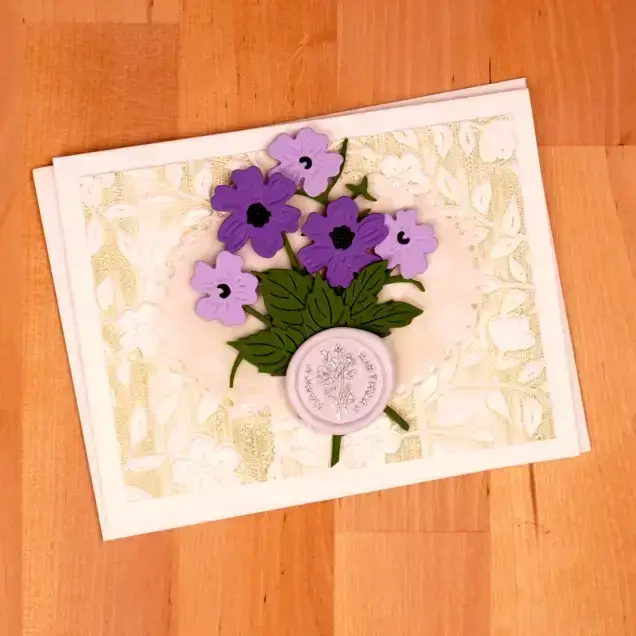
For one of our cards, we're using five of the lightest purple wax beads from the new Purple Must Have Wax Beads. And, we'll create a seal using the Wildflower Happy Birthday Wax Seal Stamp to use for our sentiment. Once we've created our wax seal I like to use a metallic marker to accentuate the seal design. But you have to be very careful that you don't get marker anywhere but on the design.

Must-Have Wax Bead Mix Purple from The Sealed byCollecti – Spellbinders Paper Arts
from: Spellbinders
While we're talking about seals I thought it would be fun to take a look at more of the new wax beads in the Sealed Collection. Here are some practice seals I made while playing with them. They are gorgeous, aren't they?
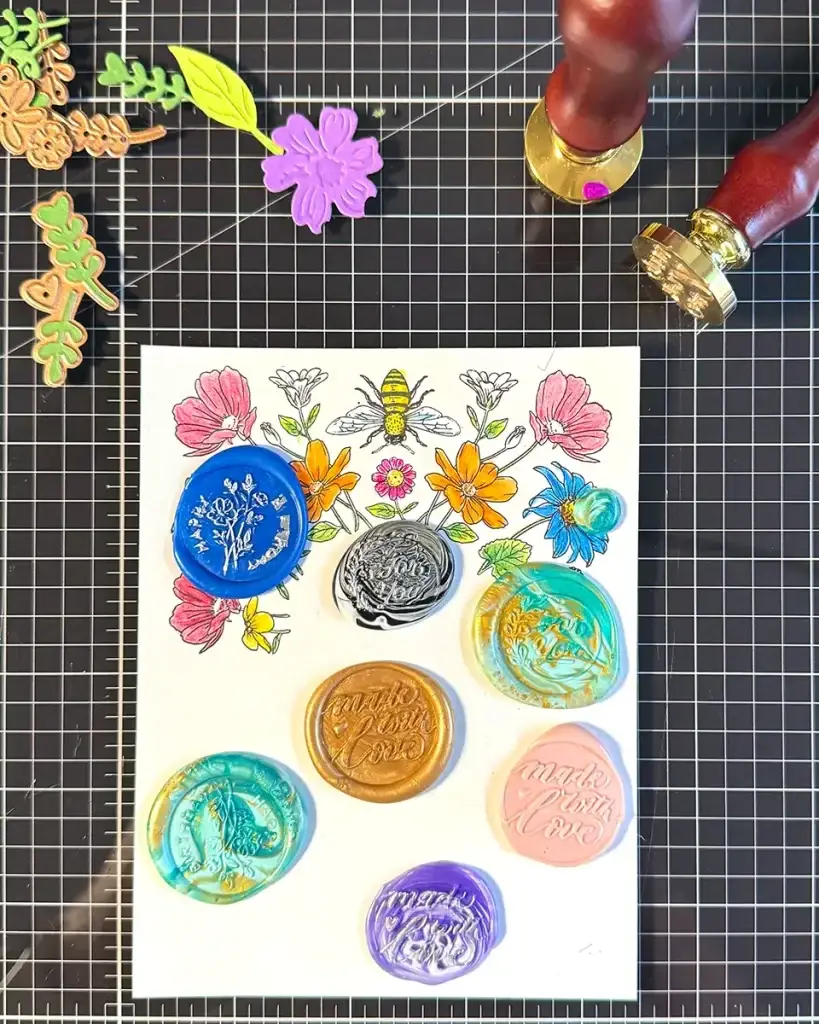
Here is a list of what I used:
- Deep Blue – Ink Wax Beads, Wildflower Happy Birthday Wax Seal Stamp, silver metallic marker
- Black, White, Silver, & Gold Mix – Must-Have Wax Bead Mix Basic, For You Wax Seal Stamp, silver metallic marker
- 3 shades of Teal, & Gold Mix – Must-Have Wax Bead Mix Teal, For You Wax Seal Stamp, Wildflower Happy Birthday Wax Seal Stamp
- Metallic Gold – Golden Wax Beads, Made With Love Seal Stamp
- Pink – Velvet Rose Wax Beads, Made With Love Seal Stamp
- 3 shades of Purple & White Mix – Must-Have Wax Bead Mix Purple, Made With Love Seal Stamp, silver metallic marker
2 Floral Greeting Cards Assembly
Assembly for Greeting Card With Green Frame
I like to arrange my die-cut flowers on top of the card panel first. Then, I take a photo of my arrangement before pressing a piece of Press-N-Seal onto it to preserve the arrangement. Then, you can carefully turn the arrangement over and attach foam squares to some of the flowers and glue where you need it.
I leave all of the flowers on the Press-n-Seal. Then I use a combination of liquid glue and foam squares. When ready, I then remove the backing paper carefully turn the arrangement over and lower it down over the card base.
Lastly, we'll use liquid glue to attach the sentiment.
Assembly for Greeting Card with White Frame
Again, we'll get a general idea of what our arrangement is going to look like first. This will help us to determine where the oval and the seal will be placed. Be sure to place your flowers high enough so that your seal will fit nicely in the arrangement. Use the Press-N-Seal to capture your arrangement and carefully lift it off.
Next, we're going to attach the vellum oval to the card base. I like to use glue dots with vellum for a couple of reasons: they are tiny and they hold extremely well. As a result, you can place them in behind your floral arrangements without being seen. And, you're sure that your card won't fall apart after a while.
Place a couple of the glue dots on the back of the oval behind where the flowers are going to be. Remove the backing paper and attach the vellum to the card base.
Fasten the floral arrangement together and onto the card base with liquid glue and foam squares just like we did for the first card. All that is left is to attach the seal. Using a seal adhesive circle makes this an easy task.
I use affiliate links. If you purchase something upon clicking on them I may receive a small commission at no extra cost to you. Thank you for your support.
Want Some More Flowery Greeting Card Inspiration?
I hope that you enjoy making these cards. And, if you want to make more there is a ton of flower inspiration in Want 6 Cards From the January Club Kits?
Have fun crafting! Bye for now.
